Learn Ghost

Young blogging platform build on tope of node.js for fast loading speed and easy scalability!

• Last Updated: 05/07/2020
• ( 6 minutes reading )

How to create and publish posts in Ghost blogging platform

Introduction

As a blogging platform, Ghost’s content deployment does not differ from other blogging applications. It is done by submitting posts, and these posts contain the text, pictures, and videos you want to share with your readers. In this article, we are going to go over the process of adding new posts and publishing them on your Ghost blog. Lets being!


Accessing the Posts Section

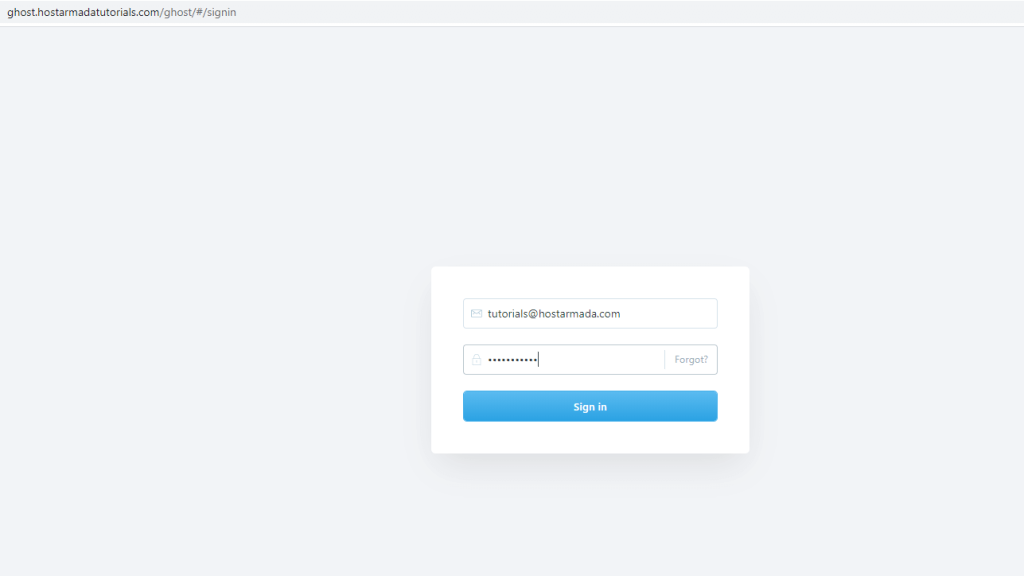
To access the post section, please log into your Ghost’s admin dashboard. You can do so by typing your domain name followed by /ghost at the end. For example:

  • ghost.hostarmadatutorials.com/ghost


Login page


After logging in, please select the “Posts” option in the left-hand sidebar.


Access Posts section


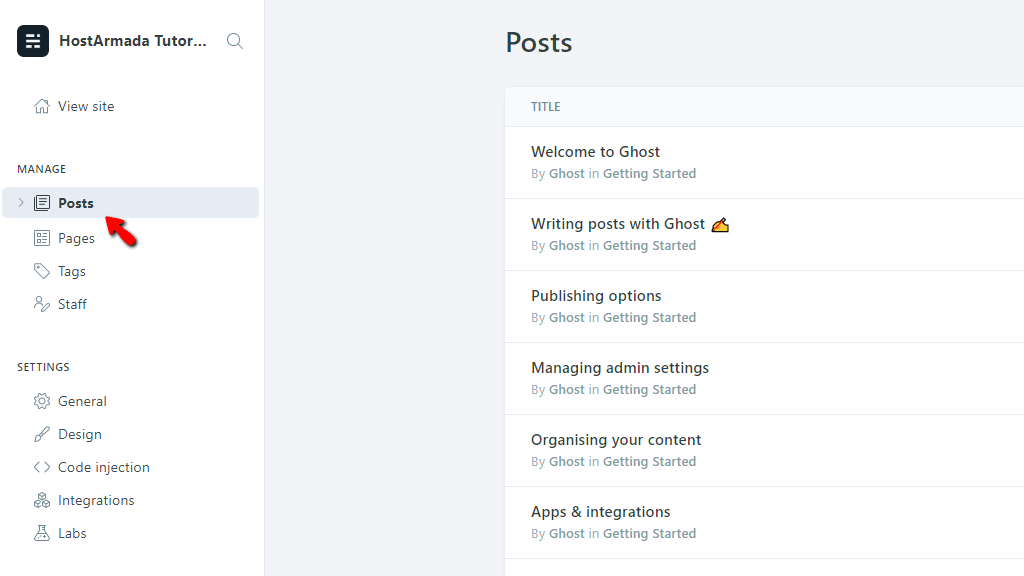
When selected, all of the currently deployed posts are shown in the middle of the screen.


Adding a new Post

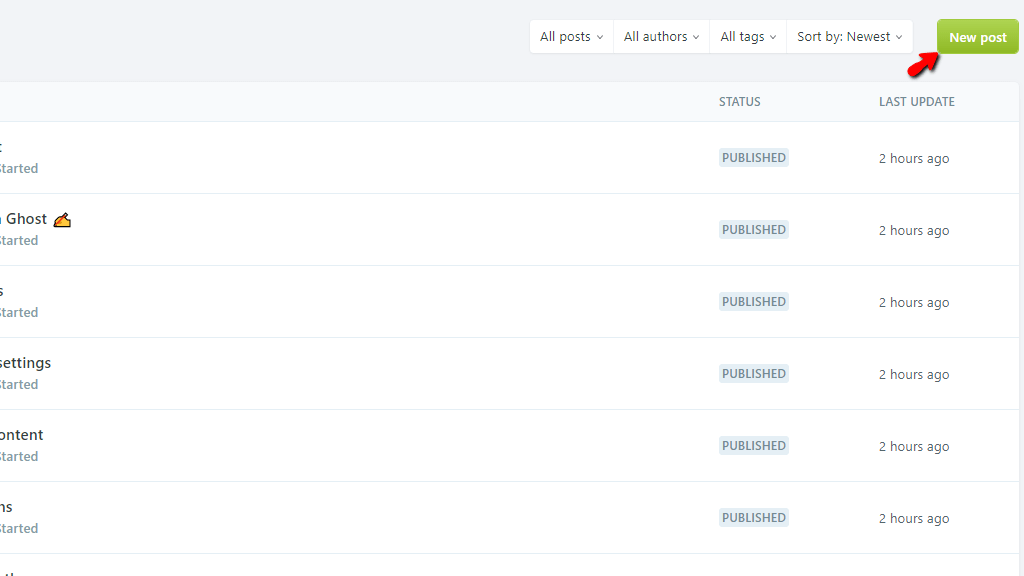
To add a new post, please click on the “New Post” button located on the top right side of the page.


Add new post


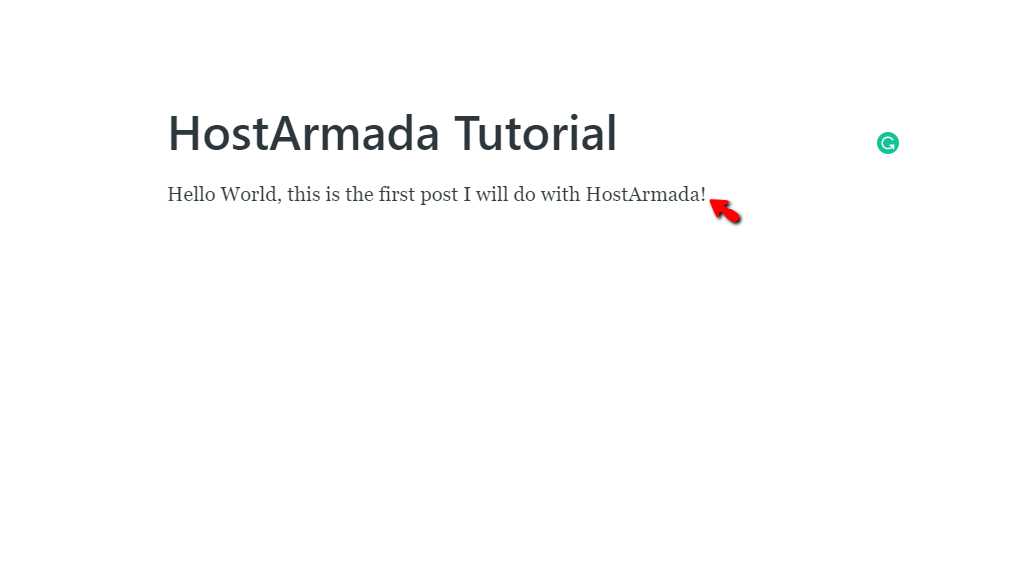
Upon clicking it, you are immediately taken to the “New Post” page. In the middle of the page, you can see the “Post Title” Heading.


Post Heading Label


Clicking on it allows you to assign a name to your past and, respectively, the main title that is further displayed on the page when accessed.

Right underneath, you should see the “Begin writing your post...” section where you should insert the content of your brand new page. 


Add Content to Post


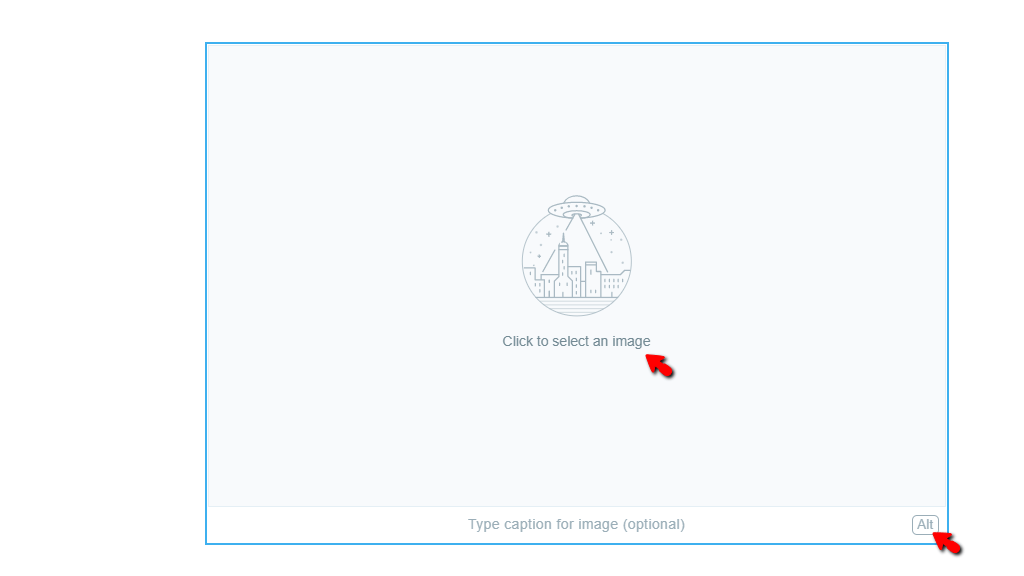
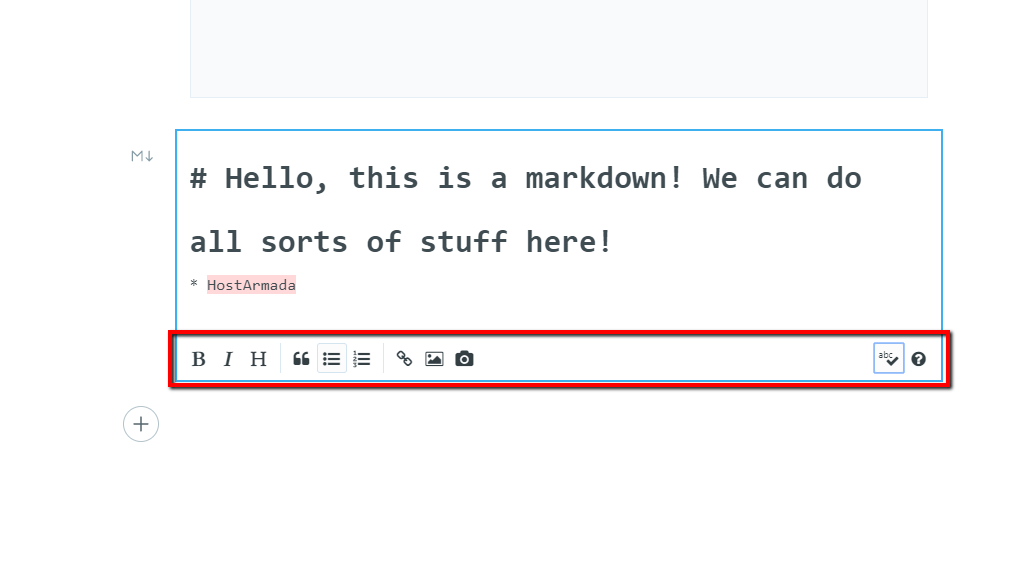
If you click on the plus “+” button right in front of the content field, you can see an additional pop-up window, showing you all the predefined types of content you may add to your post.


Predefined content types


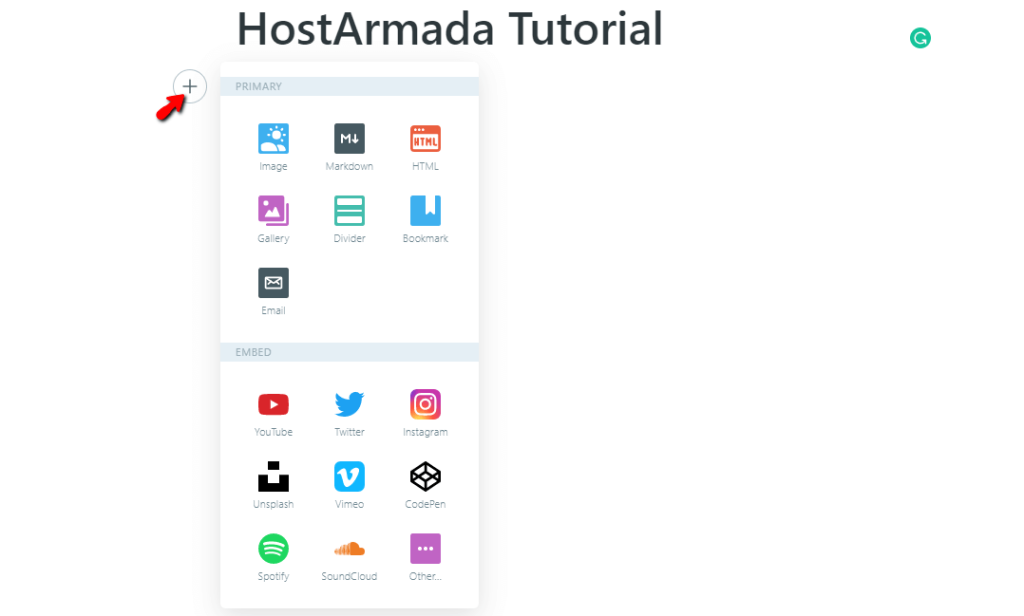
Let’s go over all the options inside this pop-up window:


Primary Content

  • Image - Pressing on the “Image” link allows you to upload an image from your computer. In addition to that, you are also able to type a caption or alt text for your photo or image.


Add Post image


  • Markdown - Pressing the “Markdown” link allows you to add a markdown content-box enabling you to change the output format of the text within.


Add Post markdown


  • HTML - Pressing the “HTML” link allows you to add HTML code and tags to your blog post.
  • Gallery - Pressing the “Gallery” link allows you to create a gallery of multiple images inside your post.
  • Divider - Pressing the “Divider” link lets you set a dividing line, separating the different sections of your post.
  • Bookmark - Pressing the “Bookmark” link allows you to create bookmarks on your post.
  • Email - Presing the “Emails” link allows you to create email cards, letting you personalize the content of the newsletters sent to your readers.


Embed Content

  • Youtube - Pressing the “Youtube” link allows you to embed videos from YouTube on your post.
  • Twitter - Pressing the “Twitter” link allows you to embed tweets from Twitter on your post.
  • Instagram - Pressing the “Instagram” link allows you to embed videos, posts, or pictures from Instagram on your post.
  • Unsplash - Pressing the “Unsplash” link allows you to embed high-resolution pictures from Unsplash on your post.
  • Vimeo - Pressing the “Vimeo” link allows you to embed videos from Vimeo on your post.
  • CodePen - Pressing the “CodePen” link allows you to embed custom front-end codes developed by the CodePen social community.
  • Spotify - Pressing the “Spotify” link allows you to embed songs from Spotify on your post.
  • SoundCloud - Pressing the “SoundCloud” link allows you to embed songs from SoundCloud on your post.
  • Other - Pressing the “Other” link allows you to embed whatever content you need from all sorts of third-party sites, as long as this feature is supported on their end.


Additional Post Settings

Ghost offers additional settings you can perform for your post before publishing it. 


Additional Post settings


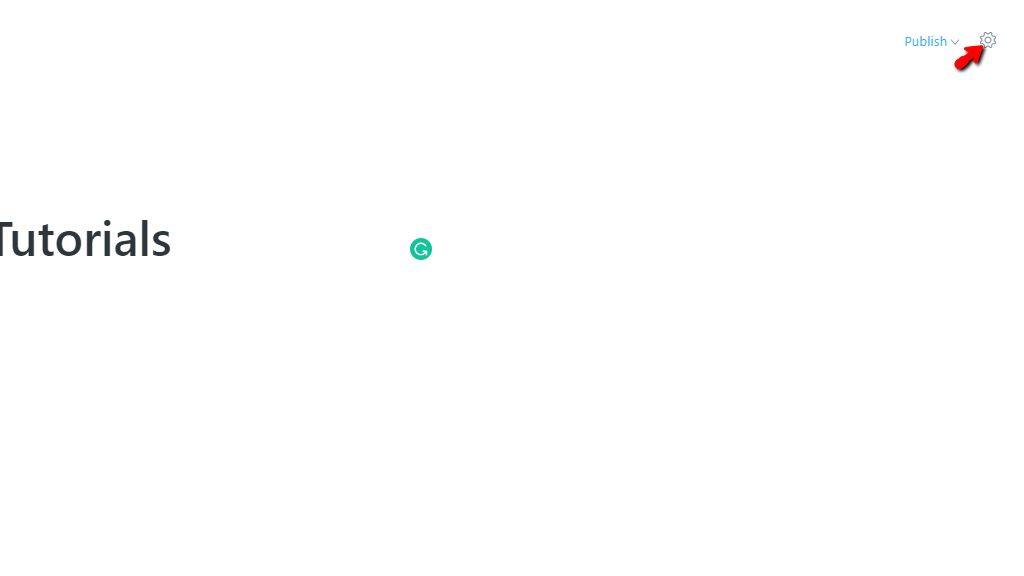
To use these settings, please click on the cogwheel icon, located on the top right side of the screen, right next to the “Publish” dropdown menu. This opens the “Post Settings” window from the right side of the screen.

Let’s go over all of the settings in the same manner. They are presented within the window.

  • Upload post image - Clicking on this button allows you to add a picture for this post.
  • Post URL - Using the text field, you are able to set the URL of your post.
  • Publish date - These two text boxes allow you to set a publish date and time for your post.
  • Tags - This dropdown menu allows you to select tags for your post, giving it keywords or labels for better search engine visibility.
  • Excerpt - This content box allows you to add a brief description of the post.
  • Authors - This dropdown menu lets you associate this post with a specific author.
  • MetaData - This button takes you to a new window, allowing you to add extra content to your post for search engines.
  • Twitter Card - This button takes you to a new window, allowing you to customize your structured data for Twitter.
  • Facebook Card - This button takes you to a new window, allowing you to customize your Open Graph data for Facebook.
  • Code Injection - This button takes you to a new window, allowing you to customize the footer and header of your post with different scripts and styles.
  • Feature this post - Putting a tick in this checkbox sets this post as “featured”, making it stand out from the rest, emphasizing the fact that it is particularly important for your audience!
  • Delete Post - Clicking this button deletes the post.


Publish your new post!

Finally, when you are done with your post, and you want to show it on your site, press the “Publish” dropdown menu located on the top right corner of the page.


Publish Post


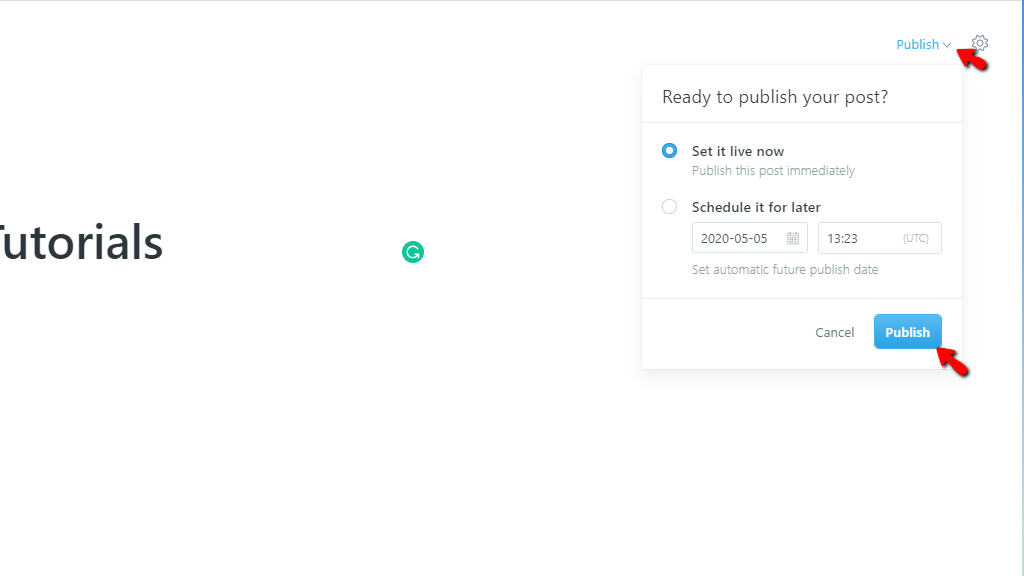
You can see two radio buttons. The first one immediately sets it live after you publish it, while the second one allows you to schedule it for later. Upon selecting the desired option, please click the “Publish” button located on the bottom right side of the expanded dropdown menu.

You know that it has been successfully published by the notification that shows up on the left side of the screen.


Post published notification


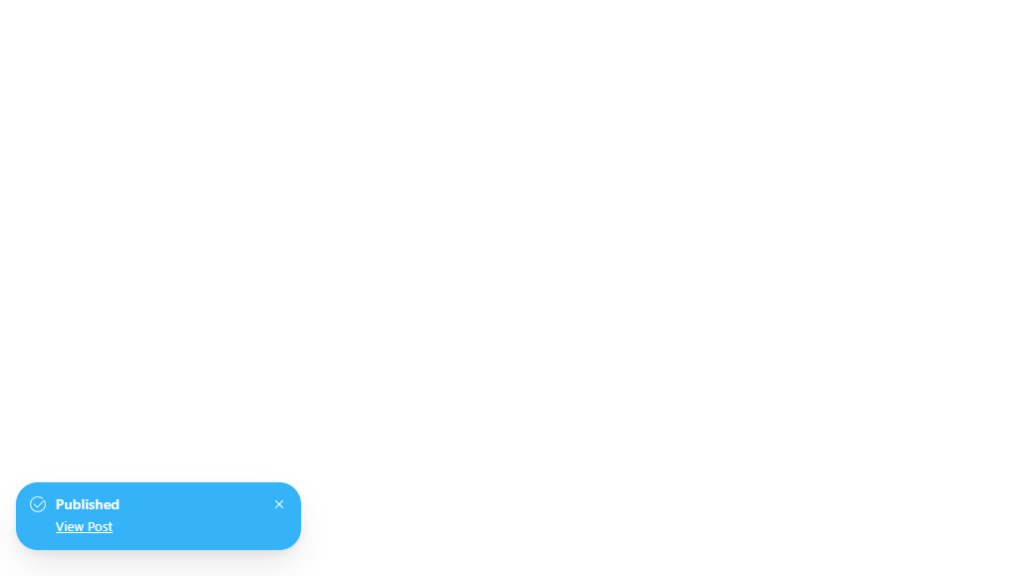
Clicking on the “View Post” link there takes you directly to your post in a new browser tab!


Congratulations! You have now created and published your first post using the Ghost application! We hope that the information we provided was sufficient, and now you are able to freely operate and create even more posts on your blog.


...
Sebahat
Content Marketing Specialist

Sebahat is a young and bright woman who has become an invaluable part of our team. She started as a Customer Care Representative, mastering that role and, along the way, growing into a tech-savvy individual who is well acquainted with every support layer of the company. Driven by her aim to improve our customers’ experience constantly, she is committed to enhancing the extraordinary support we deliver.