
Shell Access is highly sought out by users who are familiar with the Linux terminal, as it allows them to automate their tasks and operate through their cPanel and website files much faster. During this tutorial, we will go through all of the available Shell types on the WHM control panel, how you can enable them and which one is best for a given situation. Let’s get started!
As with all other WHM control panel features you need to log into the WHM service for your VPS or Dedicated Server in order to access them. If you are not sure how to do that, please check our How to Access WHM tutorial. After you have logged in, please use the search field on the left side of the page and type “Manage Shell Access”.
WHM will then show a single result underneath the search bar. All you need to do is click on it so that you are redirected to the “Manage Shell Access” page.

As with many of the WHM’s features, you will be presented with a search bar allowing you to filter all the accounts based on their username or the type of shell they are using.
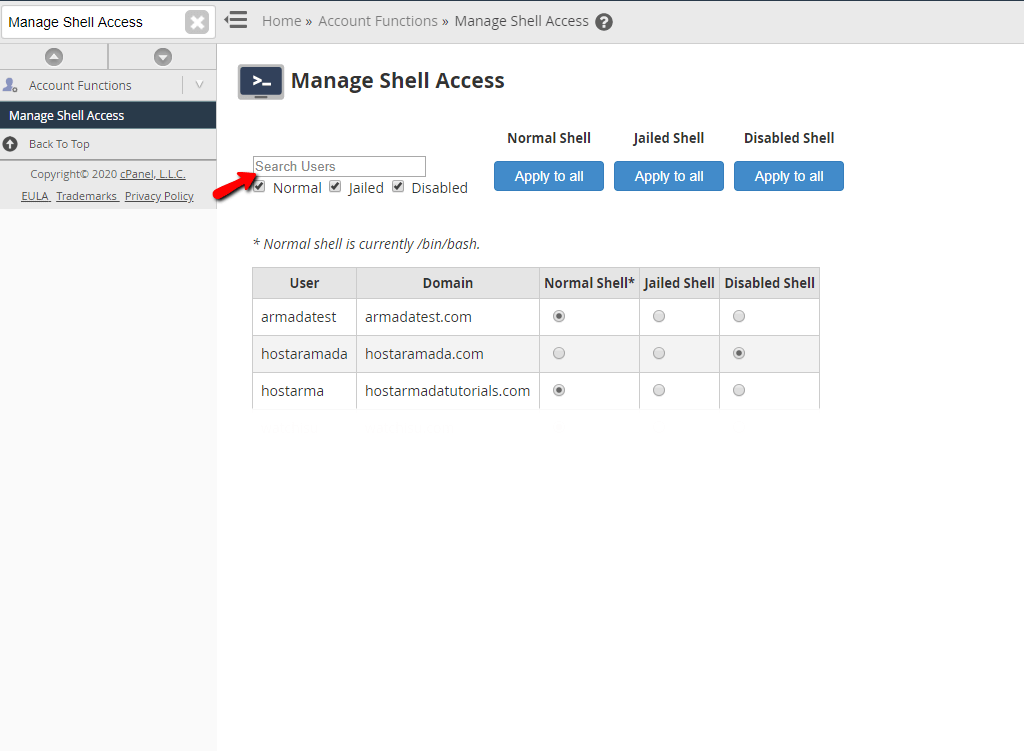
On the right side of the search bar, you will find three buttons. All of these have the “Apply to all” text attached to them, however, what’s important in this case is what is written right above them. We will go over these 3 options below:
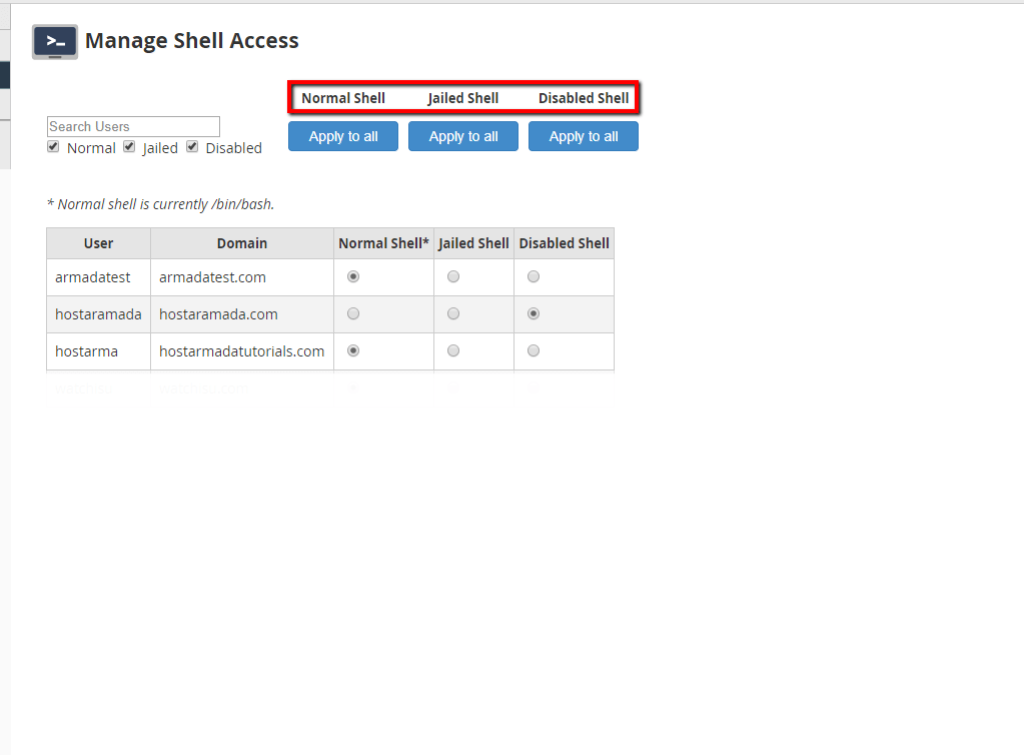
Depending on what you are looking to achieve, these buttons can serve a great purpose. If you want to disable shell globally, simply click on the “Apply to all” button under the “Disable Shell” text, if you want to have global “Normal Shell” then clicking on the “Apply to all” button below it is the way to go. Lastly, if you want to give limited “Jailed Shell” to all the users, click the “Apply to all” button beneath the text.
The last thing we are going to discuss is the section containing the list of users, their primary domain names, and the type of shell they are using.

Each cPanel account is represented as a row where the username and the domain name are displayed in the first two columns. The next three columns have a radio button and depending on its position it represents the current shell type. In order to change the shell type, you need to change the position of the radio button and select the one under the desired shell type. For instance, if you want an individual user to have “Jailed Shell” select the radio button under the “Jailed Shell” column.

The changes are applied instantly and there is no need to save them.
This concludes the tutorial in regards to managing the shell access of your cPanel accounts through the WHM control panel. As always, you can count on our Technical Support Crew if you are faced with a problem when it comes to this feature. In order to reach them, please submit a ticket from your Client Area.

Sebahat is a young and bright woman who has become an invaluable part of our team. She started as a Customer Care Representative, mastering that role and, along the way, growing into a tech-savvy individual who is well acquainted with every support layer of the company. Driven by her aim to improve our customers’ experience constantly, she is committed to enhancing the extraordinary support we deliver.
Learn more about WHM in the other tutorials that we have:
