Businesses / Sunday April 12, 2026
How To Create a One-Pager Business Website (Detailed Guide)

If you’re a freelancer, startup founder, or small business owner looking to establish an online presence quickly, a one-page website might be exactly what you need. With minimal resources and a clear focus on lead generation, one-pager websites (also known as business card websites) offer a streamlined way to showcase your services, portfolio, and contact details – all in a single scrollable page.
In this step-by-step guide, you’ll learn how to create a one-page business website from scratch, including what sections to include, how to structure your content, and which tools to use. This guide will help you launch a professional one-page website efficiently and effectively.
What Is a One-Pager Website?
The one-pager is also known as a business card website. It’s a website that fully represents a business on just a single page. No pages, no blogs, no product or service pages. It’s just a simple landing page that says all there is to know about a brand or a person.
The one-pager should work as both a home page and a sales page. Naturally, the page will host the entire customer journey, so you need outstanding content. One of the most significant advantages of such pages is their simple navigation, fast, clear content, extreme mobile-friendliness, and the absence of complicated design solutions. In a sense, this type of website corresponds with how people relax. Usually, people scroll through social media. No need to click, no need to divert and get back. This makes the entire customer journey much more relaxing, and your business proposal is much less intrusive.
The best feature of a one-pager, however, is its straightforward and simplistic look. It looks professional, and it inspires trust. However, one-pagers can’t effectively target multiple keywords, as the lack of a blog prevents them from targeting long-tail keywords. Moreover, organic visits are minimal and often are the second or even the third contact with the business proposal. Most often, such one-pagers are used as landing pages for digital marketing campaigns or as online business cards to send leads you find offline. So, this begs the question, who needs such a business card?
Who Needs a One-Pager Website?
As we shared before, one-pagers are great for anyone who needs a fast, relatively simple introduction to their business. Note that one-pagers are not at all suited for e-commerce websites; they are mainly lead generators.
So, if you operate a nano business, a freelance gig, or you offer a unique single product, a one-pager is perfect for your needs. For a nano business in particular, such a website can showcase your portfolio, your availability, your services, their benefits, and how to contact you. It’s a perfect way to redirect people you meet offline to see if your services will suffice their needs.
Some small businesses or agencies also opt for a single-page website, as it’s much cleaner, and their customers can find the information they need much faster.
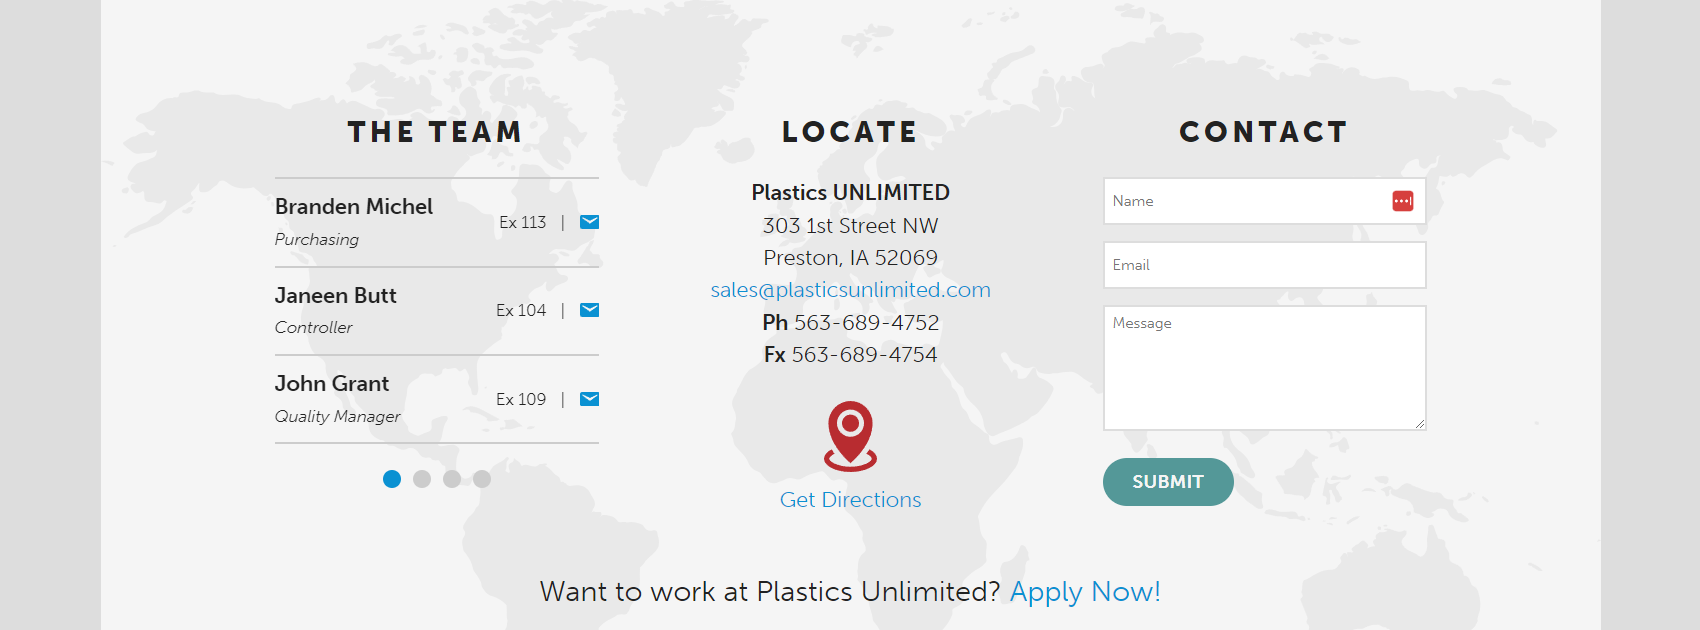
Still, if you are going for a one-page website, make sure you can fit all relevant information inside. Plastics Unlimited is a small business that tried to use a one-pager, but it didn’t fit their needs. The website offers too much information to be handled on a single page. As you can imagine, creating plastic is not easy, and if you want to explain it in detail, you will need separate pages.
A genuinely visually stunning one-pager is the Neverland agency website.
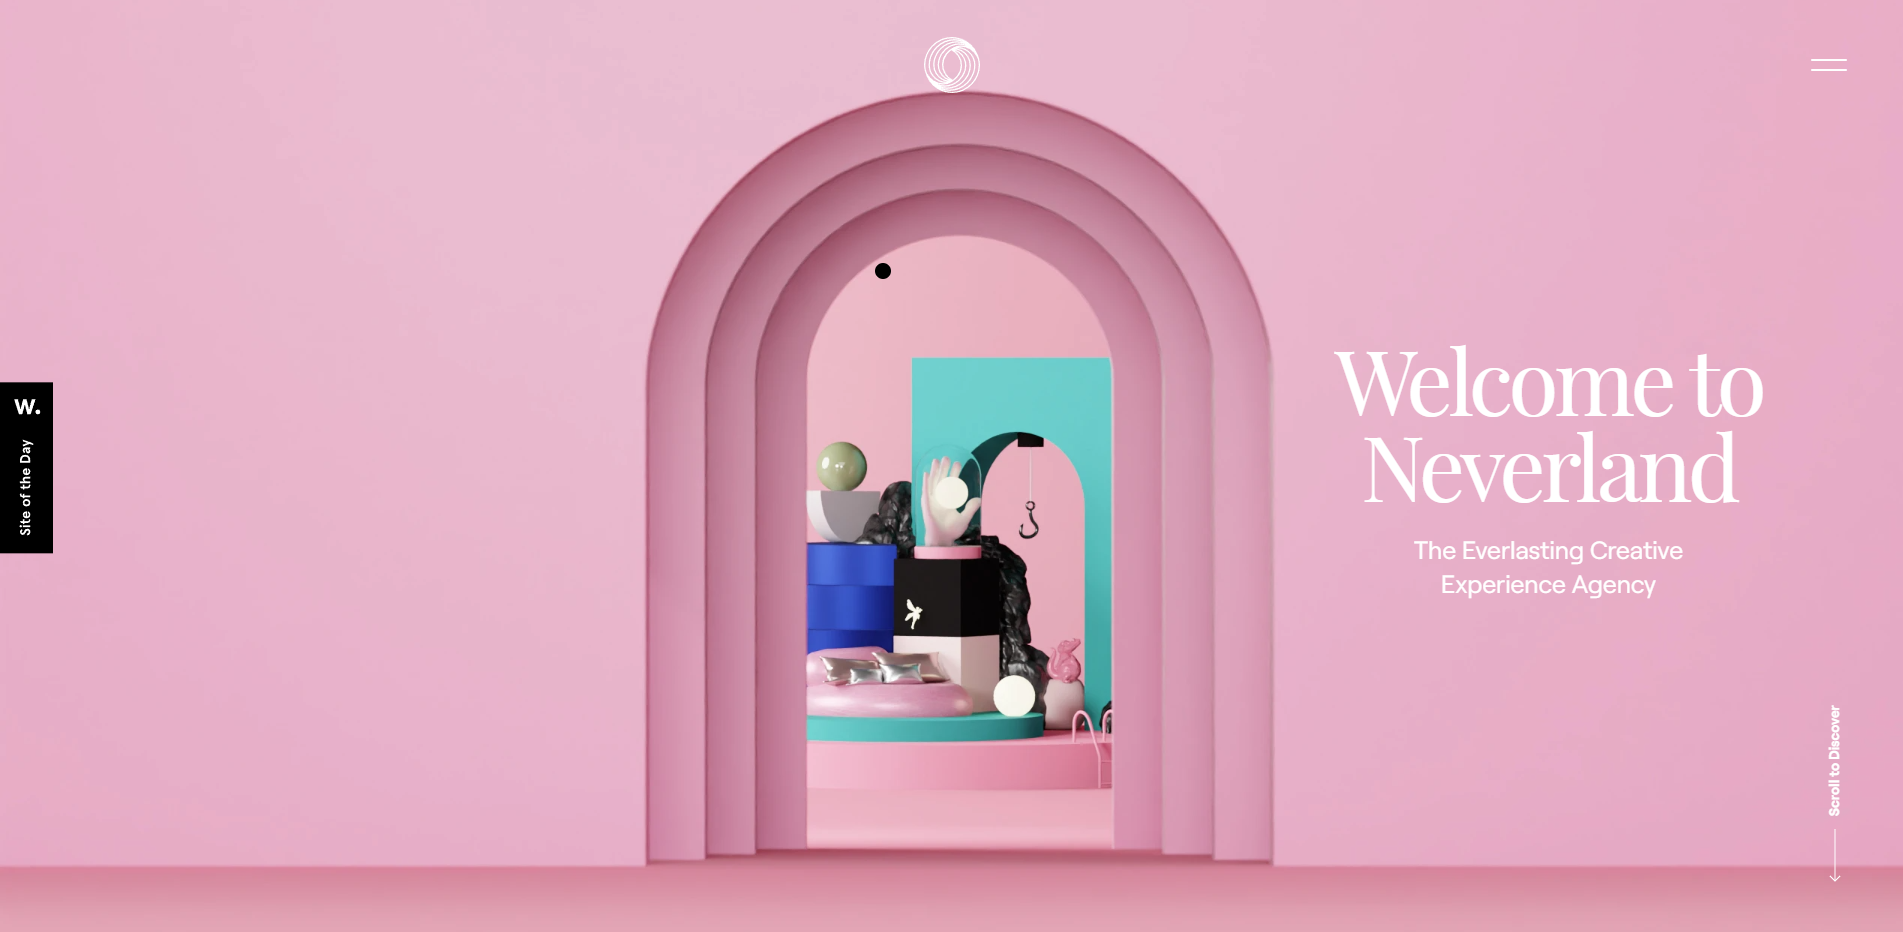
Just scrolling through it makes you feel in a whole other world. Their website is a prime example of how to build a customer journey on a single page.
What Sections Should Your Website Have?
Each website is unique, and how it looks depends on its goals, the product or service it offers, the audience it serves, and, of course, the owner’s preferences. Still, whatever your website, adding some essential information to your one-pager is a good idea.
1. Hero Section
First off, you need a hero section. This is the title section of your website, where you must represent your product or service thoroughly within one headline and one subheading. Follow the visual hierarchy of your target audience. The hero’s section must be straightforward and show your customers precisely what you offer. No need to waste their time with hints or other metaphors of your work. This would be frustrating even for end customers, let alone B2B customers, who value time over anything else.
2. Product (Benefits) Section
Next, represent your product or service. Be straightforward and point out the benefits of what you offer. This segment should highlight all essential features of the product or service and encourage the reader to learn more. This will most likely sway them to ask for a free demonstration or a sample.
For instance, businesses offering client-based services can greatly benefit from appointment reminder software, which helps reduce no-shows and improve scheduling efficiency.
3. About Section
But before we get to the samples, you need to introduce yourself. This is where the “about me (us)” section comes in. Remember that this is not a separate page, so make it short and sweet. Be sure to focus on your expertise and your experience, but don’t forget to mention your story, why you love what you’re doing, and why you personally like your product or service.
4. Portfolio Section
The next section should be your portfolio. This is essentially a sample of your work. Not all single-pagers will have a portfolio section. For example, services like cleaning or moving stuff can’t be advertised online. Moreover, if you have a product, you will want to demonstrate it personally, not over the Internet. So, if you don’t need a portfolio, you may use the space for some authority proof.
5. Authority Proof Section
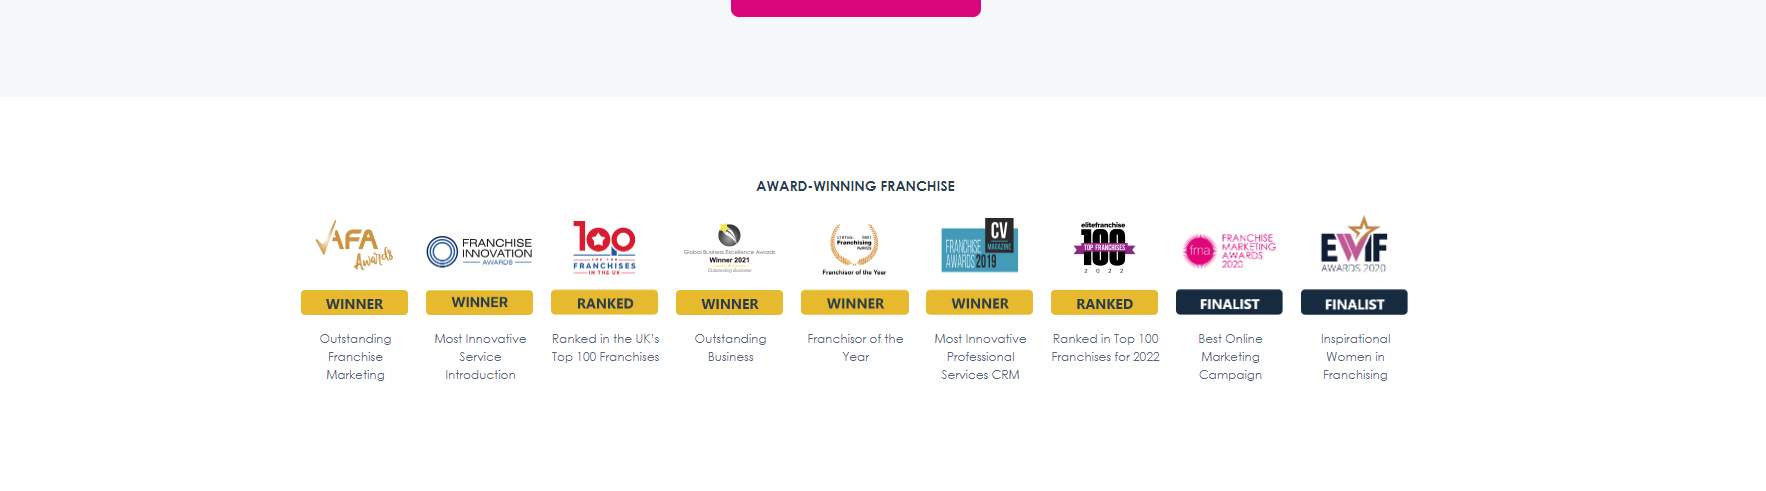
Add articles or reviews of your product or service by known websites and experts. If you don’t have any, you can always pay a relevant magazine or other media to feature you, so you can build your authority proof. This is the place to share all your certificates, awards, and anything issued by an authority figure regarding your business and quality. This is the digital representation of the office wall with the framed diplomas and certificates.
6. Social Proof Section
Along with the Authority proof, you must add some social proof. That includes user reviews and adding high-profile companies as partners. For example, if Coca-Cola ordered a new bottle design from you, be sure to mention it on your website. This is where you can add some reviews from third-party websites.
7. FAQ
Towards the bottom of your online business card, you should answer the questions that are usually asked. Make sure to research and know precisely what your audience is interested in. This is the place to share details about your product or service. Be sure to give examples and thoroughly explain everything people would want to know. You can start with only the fundamental questions, but track what other questions your potential customers ask over time.
Moreover, the FAQ section allows you to add some long-tail keywords to your page. This way, you will enrich your keyword library and improve your SEO.
8. CTA
Finally, we have the end of the customer’s journey – the CTA. One-pagers rarely have a “buy” button since they most often offer services or products that can be customized. So, more often than not, your CTA will push the customer to contact you directly with their needs. Many companies with unique products will offer free demonstrations or a free trial period rather than sell the product outright. Services can also offer free trial periods or a small sample of work. In general, however, the main idea behind the one-pager CTA is to drive lead generation.
What About the Header and Footer?
Of course, just like any other website, one-pagers also have headers and footers. Unlike multi-page websites, however, these elements are part of the customer journey, not just a branding tool.
The header must contain your logo, some contact information, and a menu. Place your phone number in the header if you prefer to conduct business over the phone rather than by email. Many customers prefer to speak to you directly rather than email.
The menu is also a bit different. It won’t lead to a new page; instead, it will go to a specific section on the home page.
The footer must contain only the two additional pages you must have – the terms of service and your privacy policy. These are legally required, so having them is a must. If you are a freelancer or you personally offer a service, you might want to attach a PDF with your CV. This way, if someone is interested in your experience, they can learn it without asking you specifically.
The footer should also contain a contact form, links to social media, your contact information, and an address if you have a physical location. For example, if you are a doctor or a dentist, sharing your physical location is obviously a must.
How To Build Your Business Card Website (Step-By-Step)
Now that you have all the elements, it’s time to build your website. Naturally, this is easier said than done, but we are here to help. We created a comprehensive step-by-step guide on making your first one-pager business card website.
Step 1: Find a Great Hosting Company
Most guides will tell you that you first must create your brand and set your goals. We tend to disagree. This is mainly because brands are now intertwined with your domain name, and most domain names, especially .com ones, are already taken. So, naturally, you’d first want to find a suitable domain name that can then become your brand name. But since you will need hosting, and most hosting companies offer domain name registration at no extra fee, it’s a good idea to start by choosing your website’s host.
When it comes to hosting, you must look for a reliable, fast, and correct provider. The faster your website is, the higher the CTR and the lower the bounce rate.
Moreover, even though you won’t accept payments on your one-pager, you still want all your data secured. Thus, you want to invest in a hosting company with high-end security features and a proven track record of protection. Finally, your website must be reliable. Imagine the image below if you advertise yourself offline, and a potential client decides to check your website, only to find an error message. This happens when your server is overloaded or unavailable.
HostArmada is the perfect solution for your one-page business card website. Our cloud-based technology offers lightning-fast website load time, impenetrable security, and unmatched reliability. Our 99.9% uptime is not mere words. We will actually reimburse you for any downtime over 0.1%. Most importantly, we offer highly competitive prices that otherwise will bring you a lot slower and barely secure hosting service. So, if you want to make a prominent first step in creating a one-page website, then check out our plans. If you need any help deciphering what exactly you need, contact our team, and we will happily help you.
Step 2: Reserve a Domain
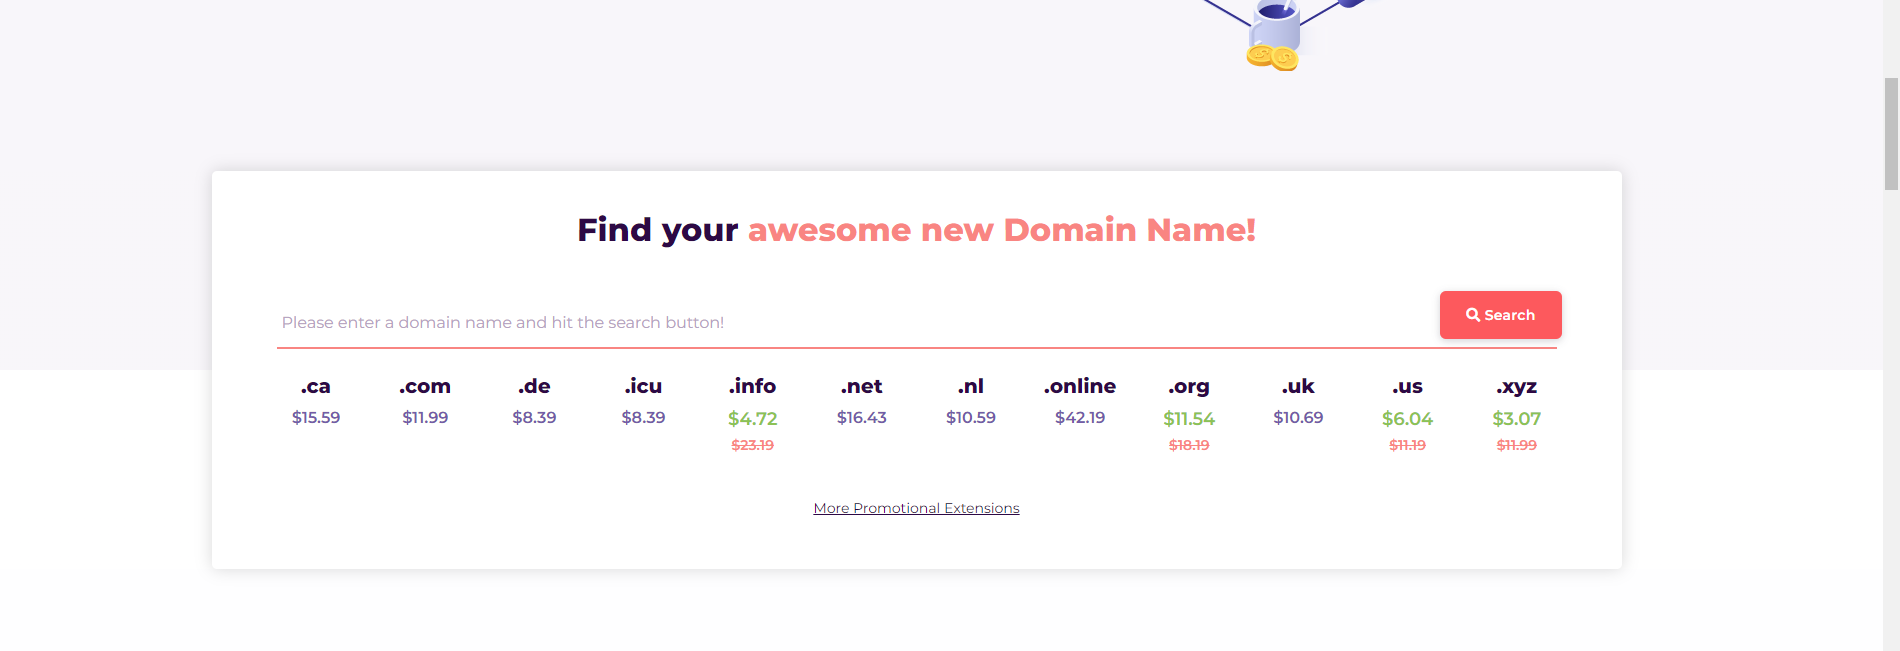
Your next step is to find a free domain name. You can use our awesome free domain name search engine. It will show you what domains are free and which ones are already taken. Finding the right domain name for your brand is an art form. So, before you go ahead, we urge you to read our dedicated article on how to choose a brilliant domain name.
Step 3: Register Your Brand and Business (Optional)
Once you’ve registered your domain name, it’s time to register your business according to the local laws. If you already have, skip this step and go straight to number 4. Naturally, the registration rules vary depending on where you live and operate, so you need to do your homework and learn what it takes to be considered a legal business in your area. Keep in mind that most businesses are reluctant to deal with unregistered businesses. In some states or countries, registering your business may take some time, so it’s good to start the process as soon as you have your brand name. And since we are not qualified to give you legal advice on how exactly to register your business, let’s move along with the more technical steps.
Step 4:Choose a Website Builder Platform
Choosing the right website builder platform is essential in creating a gorgeous website. We prefer using WordPress for more than one reason. Mostly, it’s effortless to use.
Moreover, WordPress is by far the biggest player in the website-building platform market and even bigger in the CMS market. Over 455 million websites, or 42.7% of the entire Internet, used WordPress to build their website. If that’s not social proof, nothing is. Moreover, WordPress has 64.3% of the global CMS market.
To sum it all up, WordPress is the best choice because everyone uses it. They have a vast library and support group when you need help, and with its plug-in-based builder, you can add almost any feature that comes to mind. Still, it’s up to you if you want to go for another builder.
Step 5: Structure Your Website
As we already explained, how your website looks depends entirely on what you are offering, your website’s goal, target audience, customer journey, and personal preferences. Still, starting with a Hero Section and adding all the sections we recommend above is a good idea. If you are entirely new and don’t have a unique perspective on how to create your customer journey, we would recommend following the classical structure:
- Hero section
- Product section (benefit section)
- About section
- Portfolio section
- Authority proof section
- Social Proof section
- FAQ section
- CTA
Step 6: Build Your Website

Building your website can be a bit frustrating if you have no web development knowledge. Even if you use highly comprehensive and easy-to-use page builders like WP Page Builder, Droip, Gutenberg, or Elementor, you still must put the right elements in the right spot.
Droip is a no-code, drag-and-drop website builder for WordPress. It features advanced tools for creating responsive websites, including a visual editor, CSS grid layouts, customizable typography, form and pop-up builders, media management, and SEO optimization. Droip also supports interactive design with animation options and ensures accessibility. Users can leverage its global style manager, adaptive design features, and various integrations to streamline web development. It offers a free version with the option to upgrade to more advanced features.
You must choose the correct color scheme, build your visual hierarchy, and create an overall design.
So, instead, you can use a ready template from WordPress’s vast library. There are literally thousands of them, and they cover almost any niche and industry. Some of them are paid, but their price is well worth the investment.
So, if you don’t have the time and knowledge to build your website, investing in a template is better. However, if you want to build your unique vision, you can always play around with the page builders and create something special.
Step 7: Test and Ask for Feedback
Once your website is ready, you can go for a test run. Try to see if all buttons work as they should, check if your website is SEO optimized, proofread your content, and make sure your website is responsive and mobile-friendly.
Also, making a controlled test is a good idea. This includes asking some of your friends and family members for honest opinions on the website. If you have a designer friend, you should definitely ask them what can be improved. You can even ask some strangers on social media groups to check your website and give their opinions as well. Many support groups will happily do you this favor.
Most importantly, don’t expect to nail it from the very first try. Creating a stellar website needs refinement. So once you have gathered your feedback, it’s time to get to the next step:
Step 8: Fix Problems
Once you’ve gathered substantial feedback, it’s time to analyze and fix the mistakes. See the mistakes that dominate in the responses and start with them. Some problems mentioned in the feedback will be personal preferences, so be mindful whether those who gave them are within your target audience. Still, any technical and user interface suggestions should be addressed.
Step 9: Advertise
The next step is to start building traffic. Make sure you popularize your website on Social Media and create a PPC campaign to start receiving some views. Follow closely your stats on Google Analytics and Google Search Console. They will give you invaluable data that will help you optimize your messaging, design, UX, and any other aspect of your website.
Step 10: Optimize Your Website
Once you’ve gathered enough information, you must optimize your initial website design to make users more comfortable. This information will give you an idea of what the users search for when on your website. For example, if most readers go straight to your social proof section via the menu, then you can draw this section right under the hero section and adjust the rest of the customer journey.
Moreover, you can start A/B testing different CTAs, designs, and layouts to see which one works better.
Finally, you will have to optimize your SEO. Once you start receiving some keyword data, it’s essential to change your keywords and adjust your metadata so you can draw even more free traffic.
There You Have It!
Your gorgeous one-pager is up and running. Now, all you have to do is build a marketing strategy and start growing your business. Who knows, at some point, you may even outgrow your one-pager when you diversify your business. Still, you are just beginning your entrepreneurial journey, so follow this step-by-step guide and start offering your product or service as soon as possible. That’s the only way you can grow, after all.
FAQs
A one-page website is a single-page site that presents all essential information about a business, including services, portfolio, and contact details, in a scrollable format.
One-page websites are ideal for freelancers, nano businesses, consultants, and small service providers who need a simple and effective online presence.
They are easy to build, mobile-friendly, fast-loading, and provide a seamless user experience without complex navigation.
Essential sections include a hero section, product/service benefits, about section, portfolio, social proof, FAQ, and a clear call-to-action (CTA).
While it can rank for primary keywords, it has limitations in targeting multiple keywords due to the lack of multiple pages and blog content.
Use clear messaging, strong CTAs, social proof, and ensure fast loading speed and mobile responsiveness.