
Learn Joomla
In Joomla, you are allowed to assign your articles and other site content to categories, and therefore, to organize and structure your website in an optimal way. You can assign and group similar articles into a given category. You will also be able to create parent categories and nest subcategories in order to keep everything tidy. In this tutorial, we will step-by-step walk you through the process of creating a new category, which is the first part of creating primary content on your Joomla website.
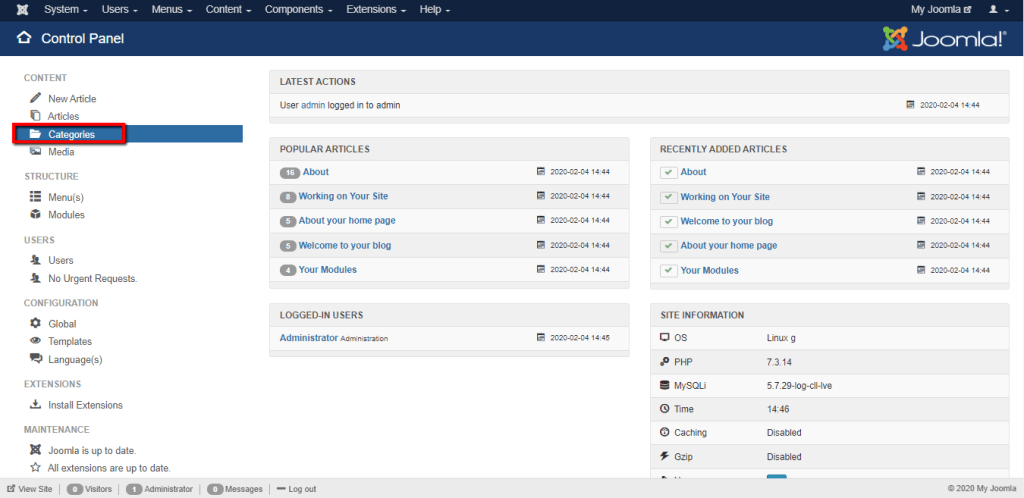
To begin, please log in to your Joomla Admin Dashboard and click on the “Categories” shortcut button located on the left-hand side of the Home page.
Afterward, you will be redirected to the “Categories” page, and you will need to click on the green “New” button in order to create a category.
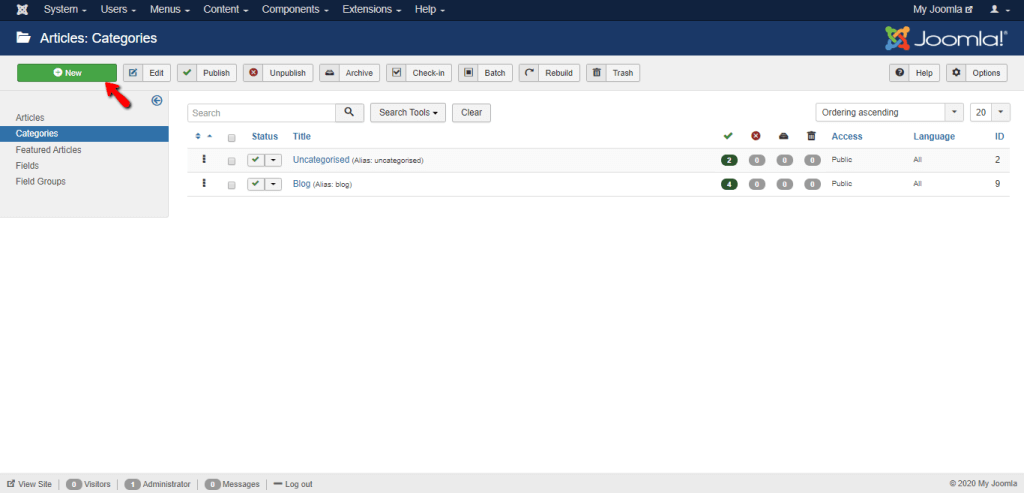
Alternatively, you can navigate through the top menu bar to Content > Categories > Add New Category.
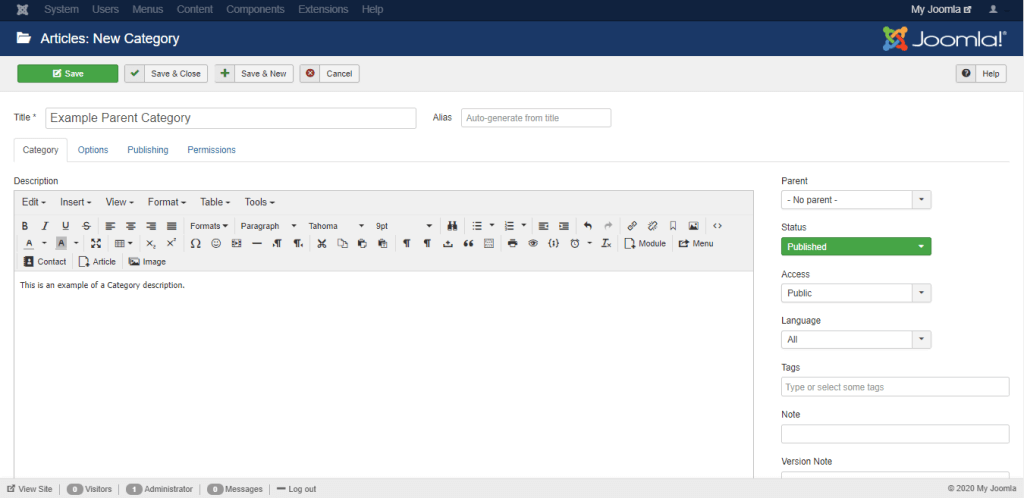
Now, let’s review the “New Category” page and the information you will need to specify. As you will notice, it is split into four separate tabs. The first “Category” tab is open by default, so we will begin with it.
For a start, you will need to enter the Category “Title” and write a “Description”, which is optional. You can leave the “Alias” field empty as Joomla will fill it for you. It will be used for the Search Engine Friendly URL of the category page. If you want to specify your custom alias, please make sure to replace all spaces with dashes (-) and all capital letters with lower case letters.
At the right end of the page, you will see a few options.
Next is the “Options” tab. From here you will be able to select a “Layout” for the category, to include a category “Image” and to configure an “Alt Text” which will be displayed in case the image cannot be loaded for some reason.

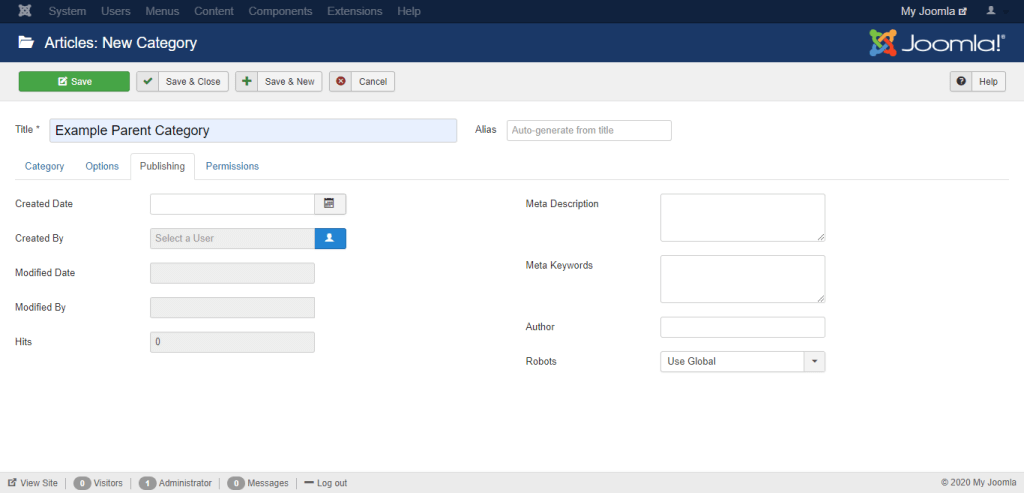
From the following “Publishing” tab, you will be able to schedule the publishing of the category, edit the creation date, and the user who created it, as well as specify the metadata information for the category.
From the last “Permissions” tab, you will be able to modify the permission specifically for this category. Note that this will override the Global Permissions we have previously reviewed in our How to configure Permission Settings in Joomla guide.
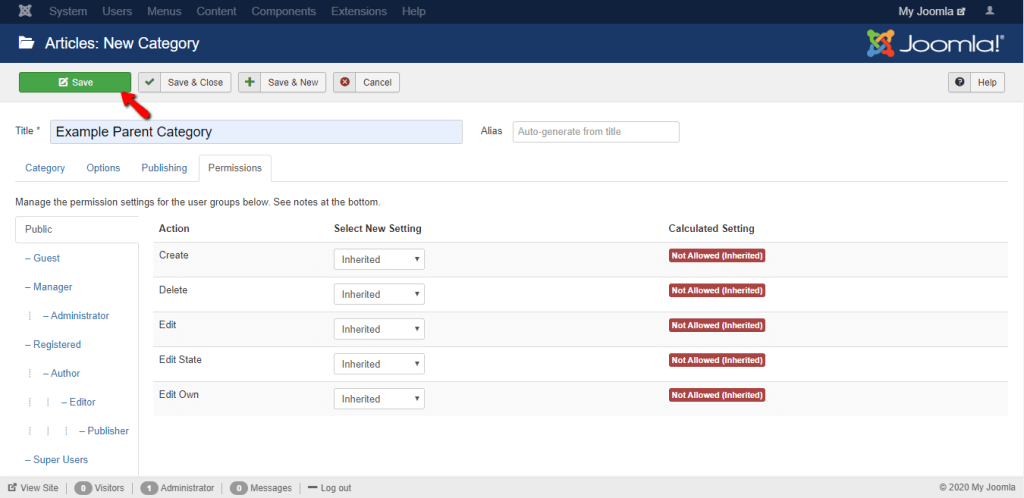
When you are ready, please do not forget to click on the “Save” button to finalize the creation of your new category.
All done! Congratulations on learning how to create Article Categories in Joomla. Now you will be able to organize your website and keep everything neat and ordered. We hope you have found the information in this tutorial useful and our guidance easy to follow. In case you have any additional questions on the topic, please do not hesitate to contact our Support Team.

Sebahat is a young and bright woman who has become an invaluable part of our team. She started as a Customer Care Representative, mastering that role and, along the way, growing into a tech-savvy individual who is well acquainted with every support layer of the company. Driven by her aim to improve our customers’ experience constantly, she is committed to enhancing the extraordinary support we deliver.
Learn more about Joomla in the other tutorials that we have: