
In the following guide, we will walk you through the process of setting up your new Online Store by manually installing the WooCommerce plugin on your WordPress website. Apart from the Automated Plugin installer built-in WordPress Admin, WooCommerce can be also installed by uploading an archive containing the necessary installation files. There are two methods for uploading the zip file on the server and we will review each of them in detail.
In both cases, you should first download the WooCommerce plugin archive file from the official WordPress source:
wordpress.org/plugins/woocommerce/
Now, as you have successfully downloaded it, we are ready to begin.
After you log in to your Wordpress Admin Dashboard, you will need to navigate through the vertical left menu bar to Plugins > Add New.

Once you access the Add Plugins page, you will locate the “Upload Plugin” button at the very top of the page. When you click on it, you will be provided with an option to “Choose File” from your local computer and upload it.

As soon as the archive file is successfully uploaded, you just need to click on the “Install Now” button.

This will initiate the installation process of the plugin and after a few moments, the plugin will get successfully installed. Of course, if there are any installation errors Wordpress will display those.
Now, as the Plugin is successfully installed, you are ready to activate it by clicking on the blue “Activate Plugin” button.

Pretty straight forward, right? Now you are all set to configure the general settings and start customizing your new WooCommerce Online Store.
Before we start uploading WooCommerce on your web hosting account where the Wordpress application is installed, you will need to extract the woocommerce.zip archive on your local computer. After the zip file is successfully extracted you will have a folder called ‘woocommerce’ - this is what we need in order to proceed further.
The first thing you need to do is to configure your FTP client and connect to your web hosting account. If you are not certain how to do this, you can always review our guides based on FTP Clients available here. As soon as you perform a successful connection to the web hosting server, your FTP client will present the file structure of your local machine and the one for your web hosting account. Next, you will need to navigate to the WordPress installation directory > wp-content > plugins.
From the folders of your local computer, please navigate to the location where you have extracted the WooCommerce installation archive. Once you locate the ‘woocommerce’ folder just right-click on it and select the Upload option.

This process of uploading the files may take a few minutes, so please allow some time for its successful completion.
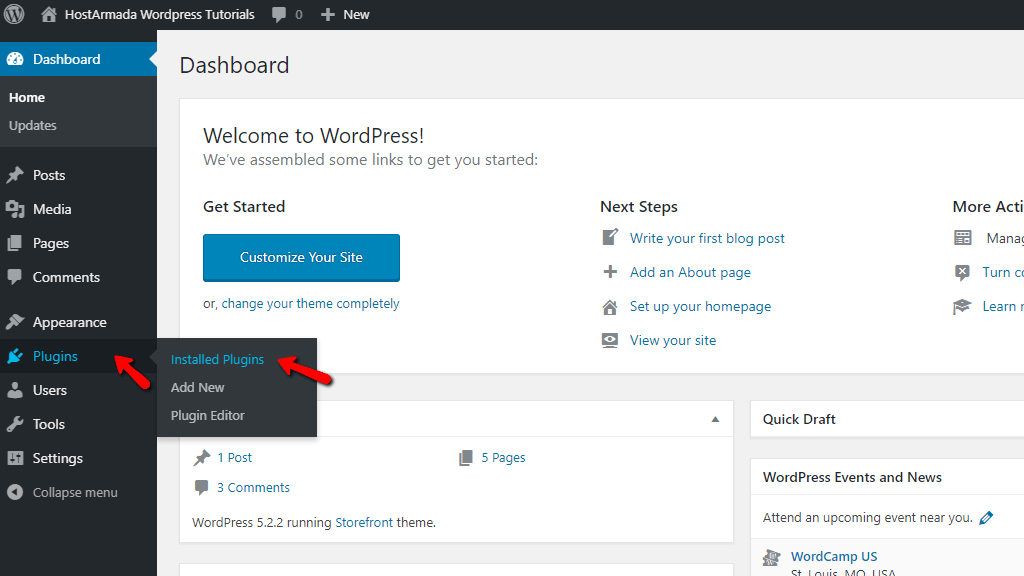
Now as everything had been successfully uploaded on the server, it is time to activate the WooCommerce plugin from your WordPress Admin Dashboard. As soon as you access the Wordpress Admin dashboard, please navigate through the left menu bar to Plugins > Installed Plugins.
Afterward, all you will need to do is simply click on the “Activate” option and you are all set.

Congratulations! You have managed to successfully activate the WooCommerce plugin on your website.
Regardless of which way you decided to follow, the result is pretty much the same - you have the WooCommerce plugin successfully activated on your WordPress website. Now we will review how to configure the general settings and get you ready to start selling online.
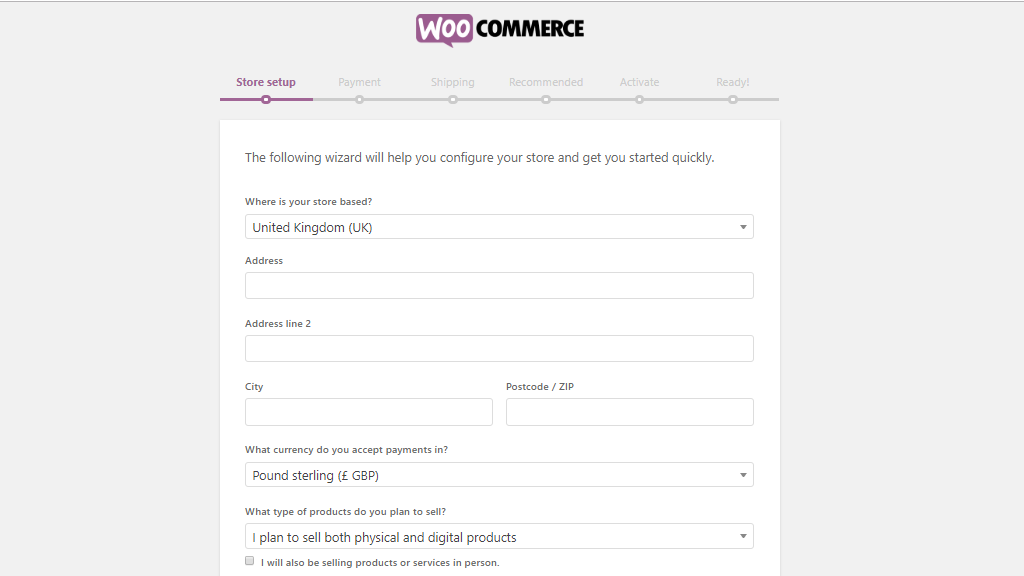
After the plugin is activated, you will be presented with the WooCommerce Setup Wizard which makes the whole process quick and easy to follow. In just a few steps your Online Store will be configured and ready to go - so, let’s begin, shall we?


Storefront Theme is the official WooCommerce theme that can be smoothly integrated and easily managed. We highly recommend considering it as an option.
The Automated tax Addon makes calculating taxes effortless and more convenient.
With MailChimp you can easily configure follow up emails and better manage your marketing campaigns.
As per Facebook, it is the official Facebook Addon for WooCommerce to connect your store with social media.
As you can see they are all pre-selected and will be automatically installed unless you untick the boxes on the left side. Also, you can manually install them anytime in the future.
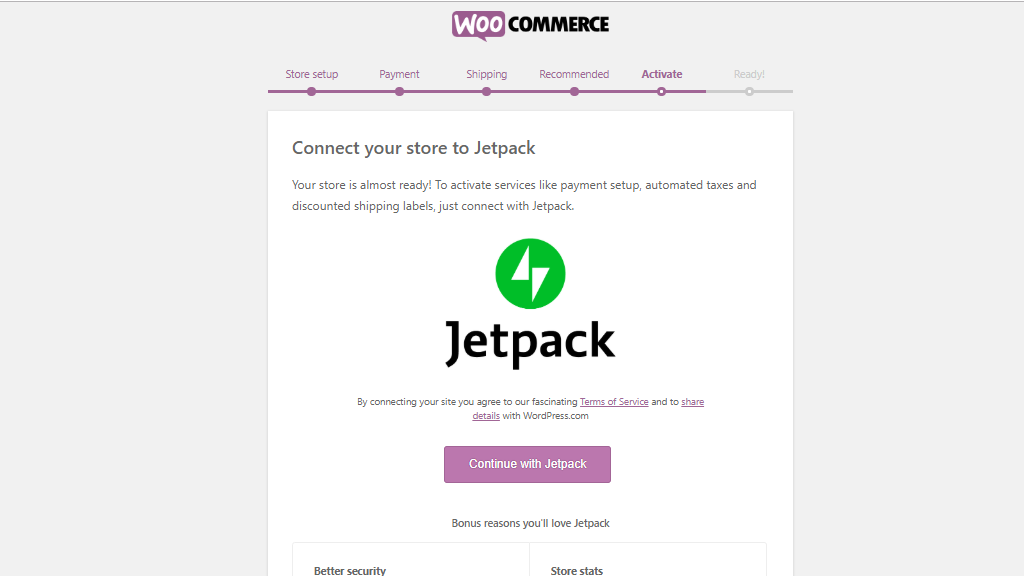
Activating JetPack is optional, therefore it is totally up to you whether to enable it or not. If you do not want to enable it now, just click on Skip this step at the very bottom of the page.

Here we would like to take a moment to congratulate you on successfully setting up and configuring your very own WooCommerce website. Now you are all set to start customizing your Online Store and enhance its functionalities. Take a step further to explore the power of WooCommerce and the endless possibilities it offers.
Although we believe this tutorial was easy to follow if you had some sort of difficulties at a certain point, we would like to welcome you to contact our support team for further assistance. Our techies are 24/7 on duty, ready to help.

Sebahat is a young and bright woman who has become an invaluable part of our team. She started as a Customer Care Representative, mastering that role and, along the way, growing into a tech-savvy individual who is well acquainted with every support layer of the company. Driven by her aim to improve our customers’ experience constantly, she is committed to enhancing the extraordinary support we deliver.
Learn more about WooCommerce in the other tutorials that we have:
