
WooCommerce is an easily customizable and flexible Оpen Source eCommerce platform built for WordPress websites. Using WooCommerce will allow you to build a fully functional Online Store in a manner of minutes. In the following lines of this tutorial, we will walk you through the process of installing and setting up the WooCommerce plugin. After a few easy steps, you will have your brand new online store up and running - so, let’s get started.
As soon as you login into your WordPress Admin Dashboard on the left vertical menu you will need to select Plugins > Add New.

Once you are on the Add Plugins page you will locate the search bar at the top right corner of the page. The Search functionality will allow you to easily find a concrete plugin in the global Wordpress plugin store. So to find WooCommerce you will need to type ‘woocommerce’ in the search bar and allow a moment for Wordpress to find the correct plugin. The author of the WooCommerce plugin should appear as ‘Automattic’. Now that you have found the plugin, you should just click on Install Now.

The installation may take a moment. Once it is successfully completed you need to click on the Activate button.

Congratulations! You have successfully installed and activated WooCommerce on your website. Now let’s set up your preferences.
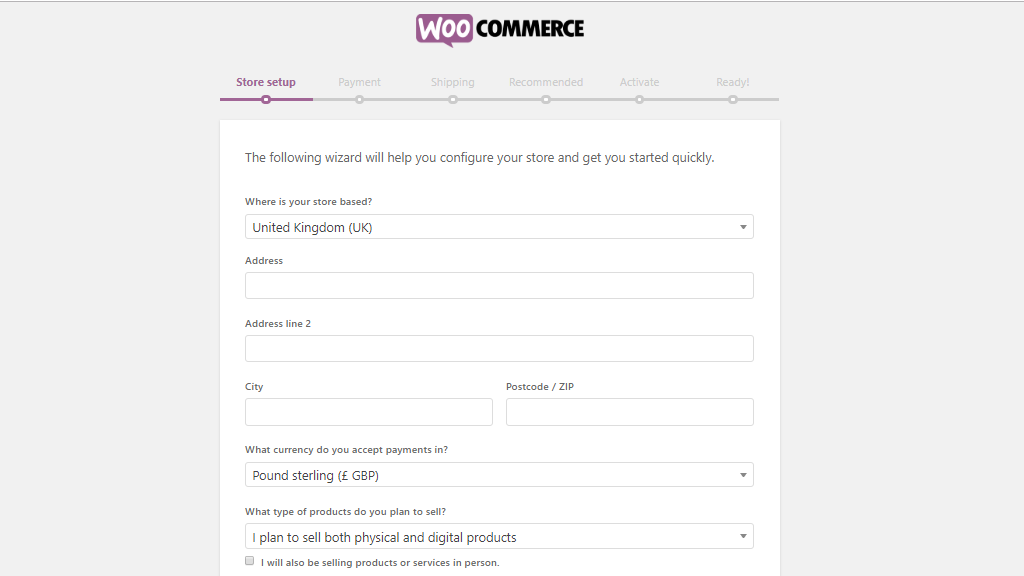
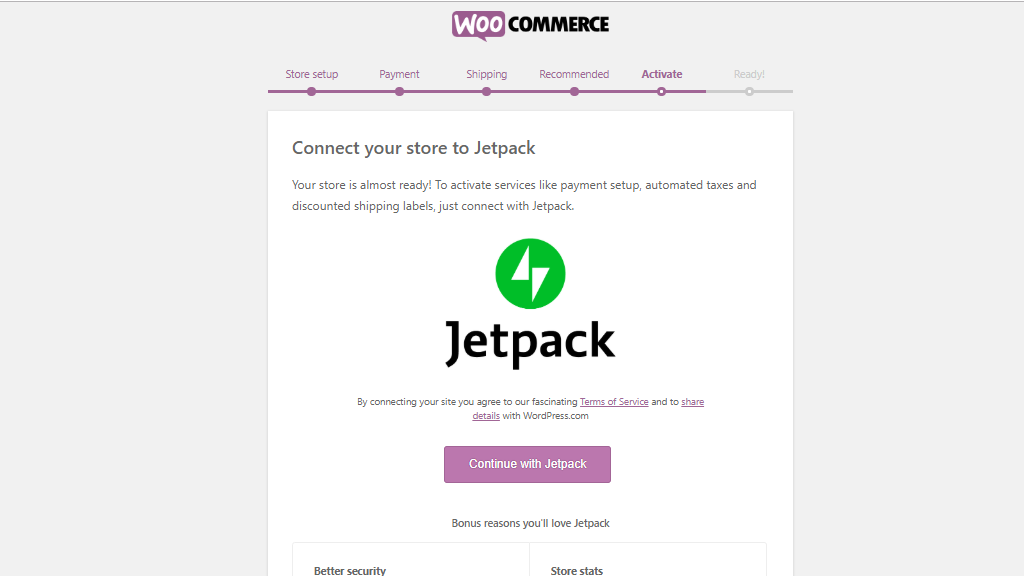
When WooCommerce is initially activated you will be presented with the WooCommerce Setup Wizard which will help you configure the general settings of your Online Store.


Storefront Theme is the official WooCommerce theme that can be smoothly integrated and easily managed. We highly recommend considering it as an option.
The Automated tax Addon makes calculating taxes effortless and more convenient.
With MailChimp you can easily configure follow up emails and better manage your marketing campaigns.
As per Facebook, it is the official Facebook Addon for WooCommerce to connect your store with social media.
As you can see they are all pre-selected and will be automatically installed unless you untick the boxes on the left side. Also, you can manually install them anytime in the future.

Although we believe in your skills and capabilities to handle it all by yourself, we are a customer-focused company, therefore if you happen to have any difficulties at a certain point do not hesitate to contact our support savvies who will be more than pleased to walk you through the whole process.

Sebahat is a young and bright woman who has become an invaluable part of our team. She started as a Customer Care Representative, mastering that role and, along the way, growing into a tech-savvy individual who is well acquainted with every support layer of the company. Driven by her aim to improve our customers’ experience constantly, she is committed to enhancing the extraordinary support we deliver.
Learn more about WooCommerce in the other tutorials that we have:
