
Getting instant recognition when sending emails is quite essential, especially when doing business. Achieving this is relatively easy, as the iPhone enables you to set a unique signature that will let people know who sent the message. The email application on the iPhone will typically place this signature at the very bottom of the message itself. In this tutorial, we will assist you with configuring an email signature on an iPhone mobile device and saving yourself the time and effort of manually typing it each time you send mail through your smartphone. Let’s begin!
This tutorial presumes that you have gone through the iPhone email setup and added it to your device. If you have not done that yet, please check our tutorial on How can I set up email on my iPhone?
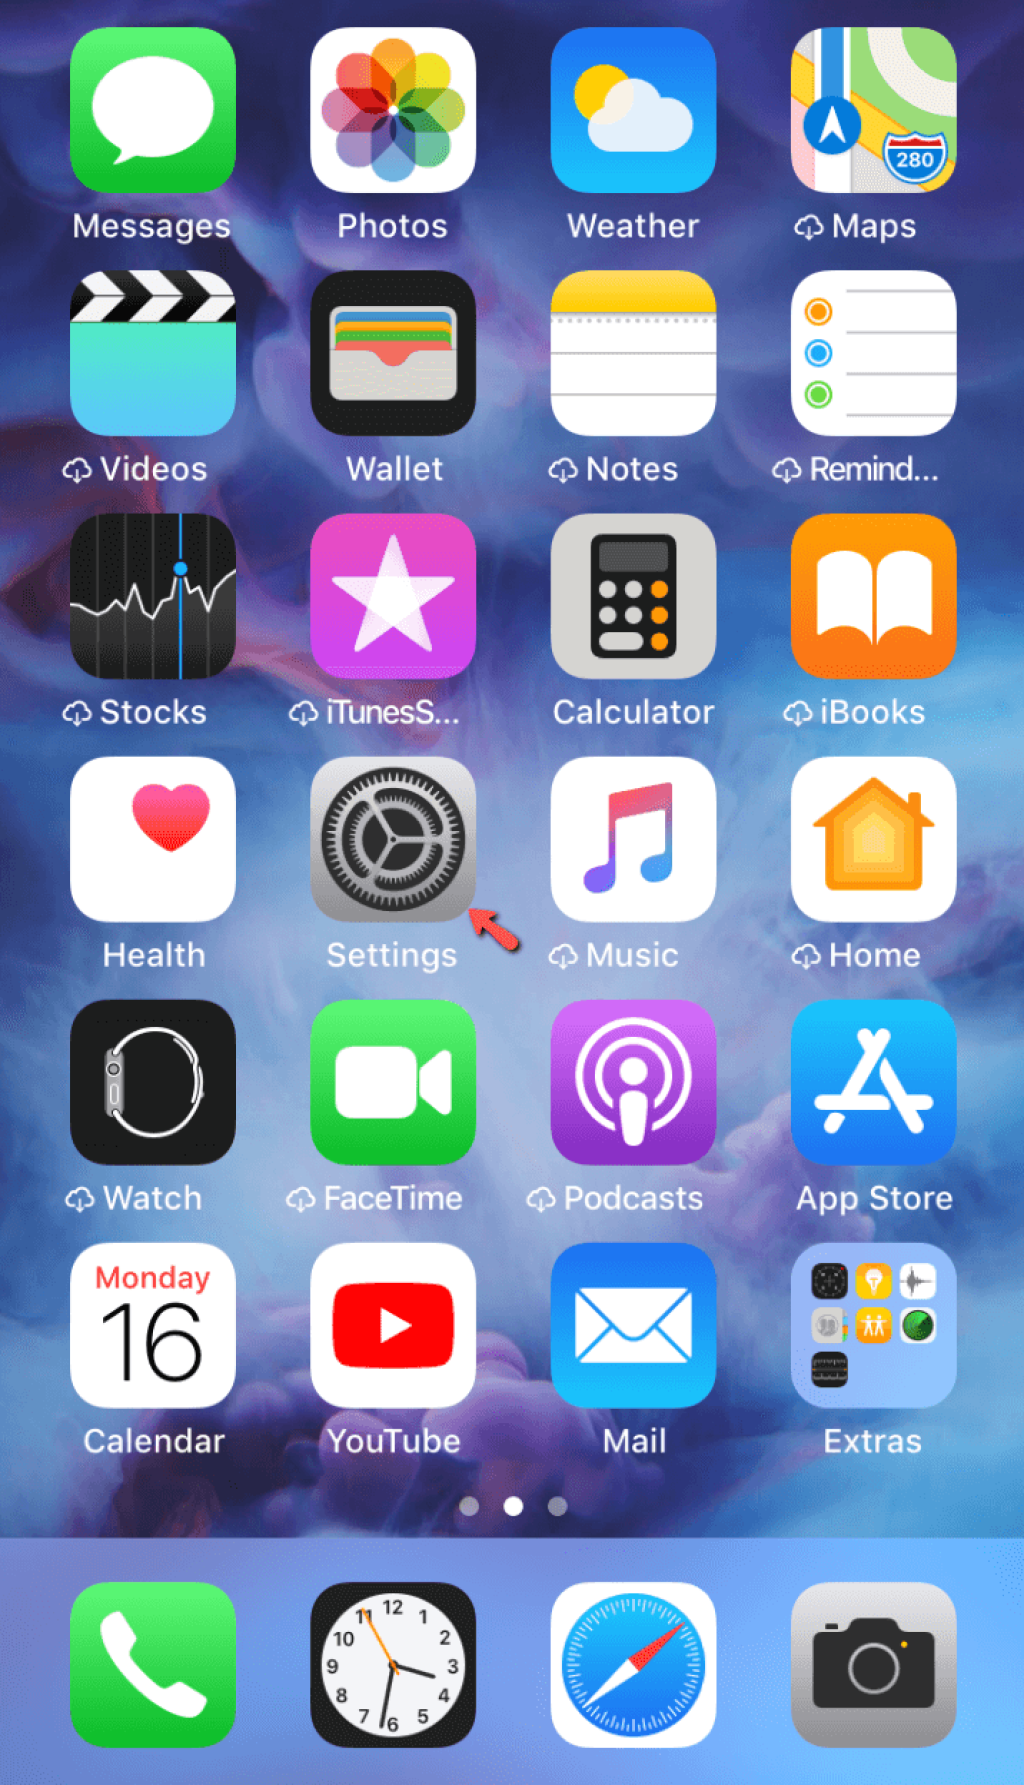
To begin setting up your signature, please unlock your iPhone and tap on the “Settings” icon.
When you go to the “Settings” screen, please scroll down and tap on the “Mail” option.
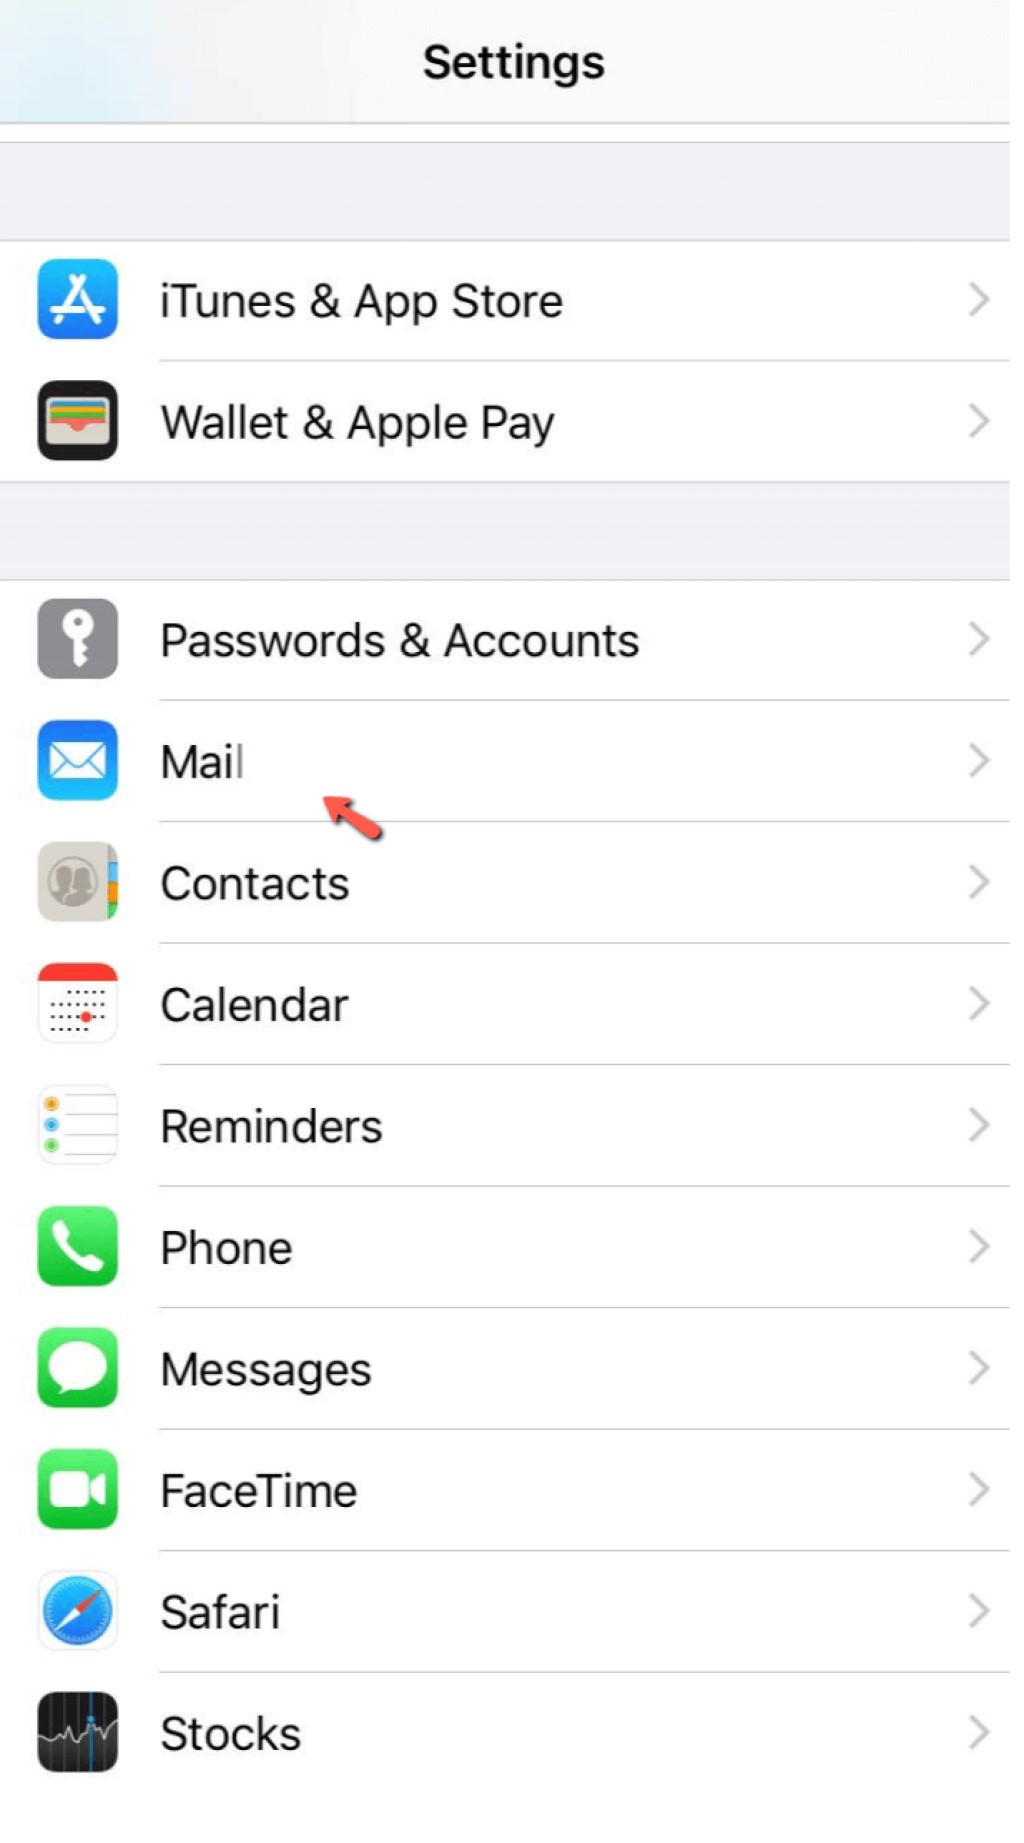
This action will cause the email application to redirect you to the “Mail” screen. Please scroll down to the very bottom, and you will notice the “Signature” option located there.

Please tap on the “Signature” option to open the iPhone email signature configuration screen.
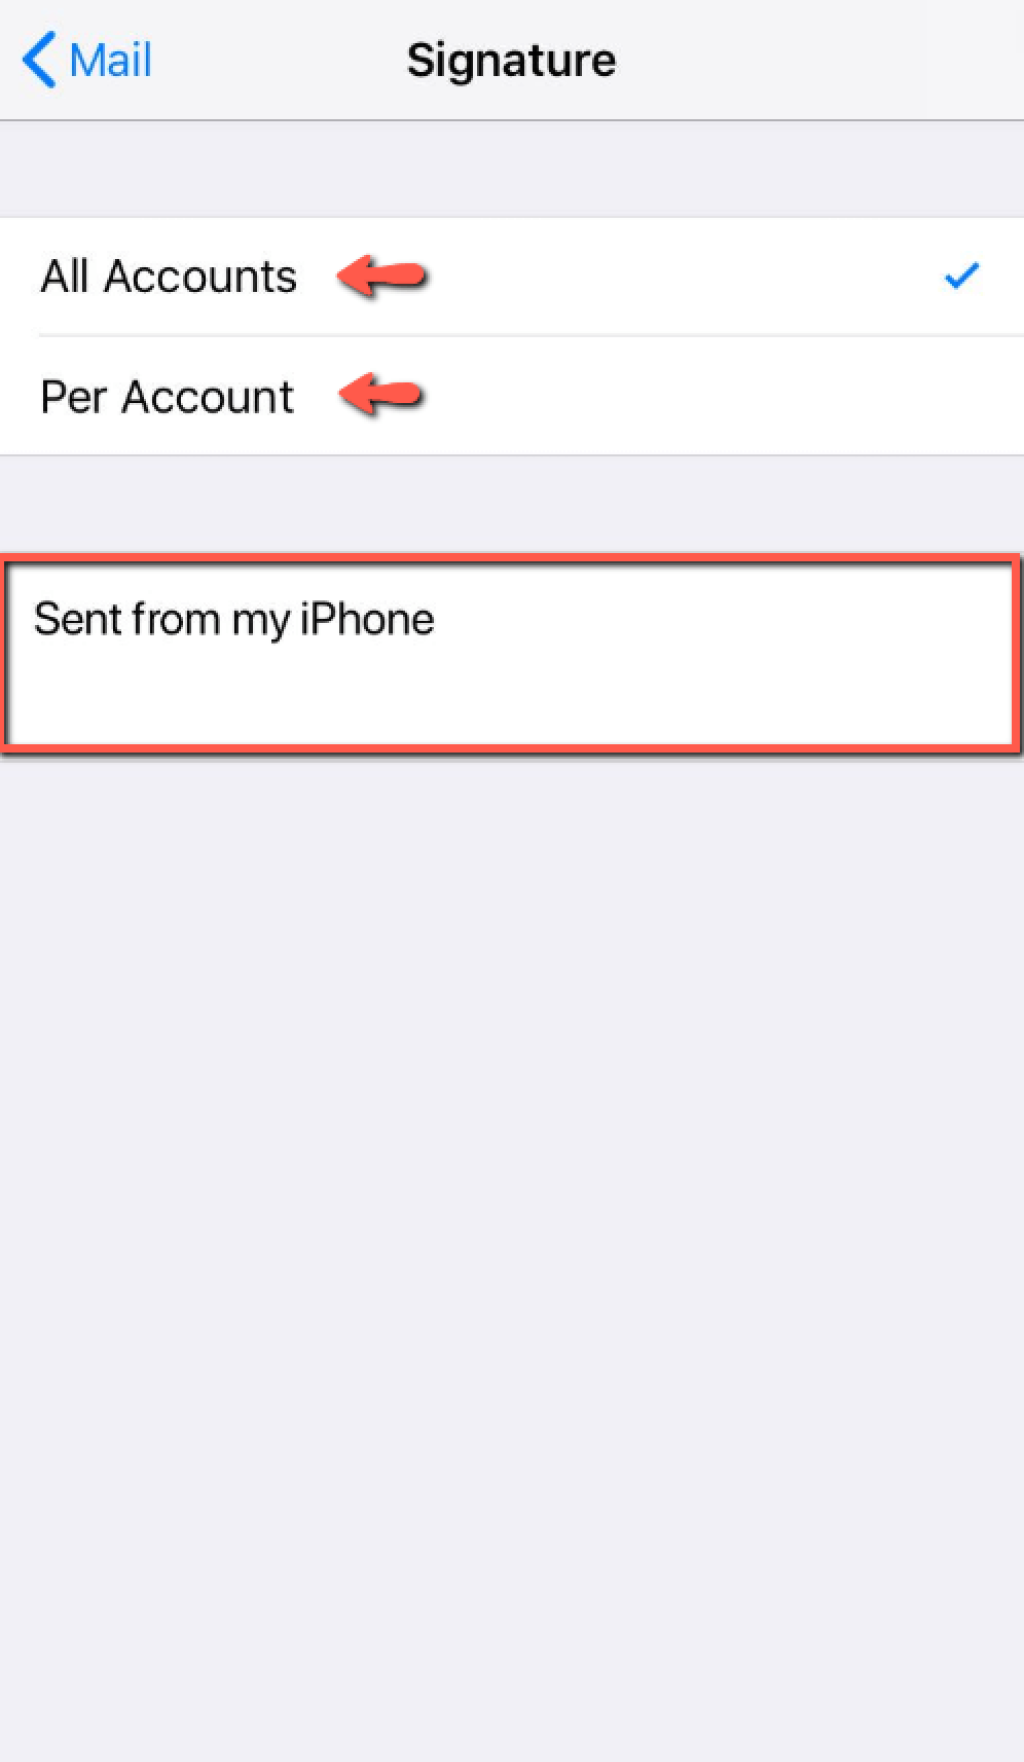
Once redirected to the new screen, you will see a content box at the bottom that contains the current signature. If you have never done this before, you will see the default one - “Sent from my iPhone”. Above it, you will have two options:
When you have entered your new signature, please press the “< Mail” option located on the top left side of the screen.
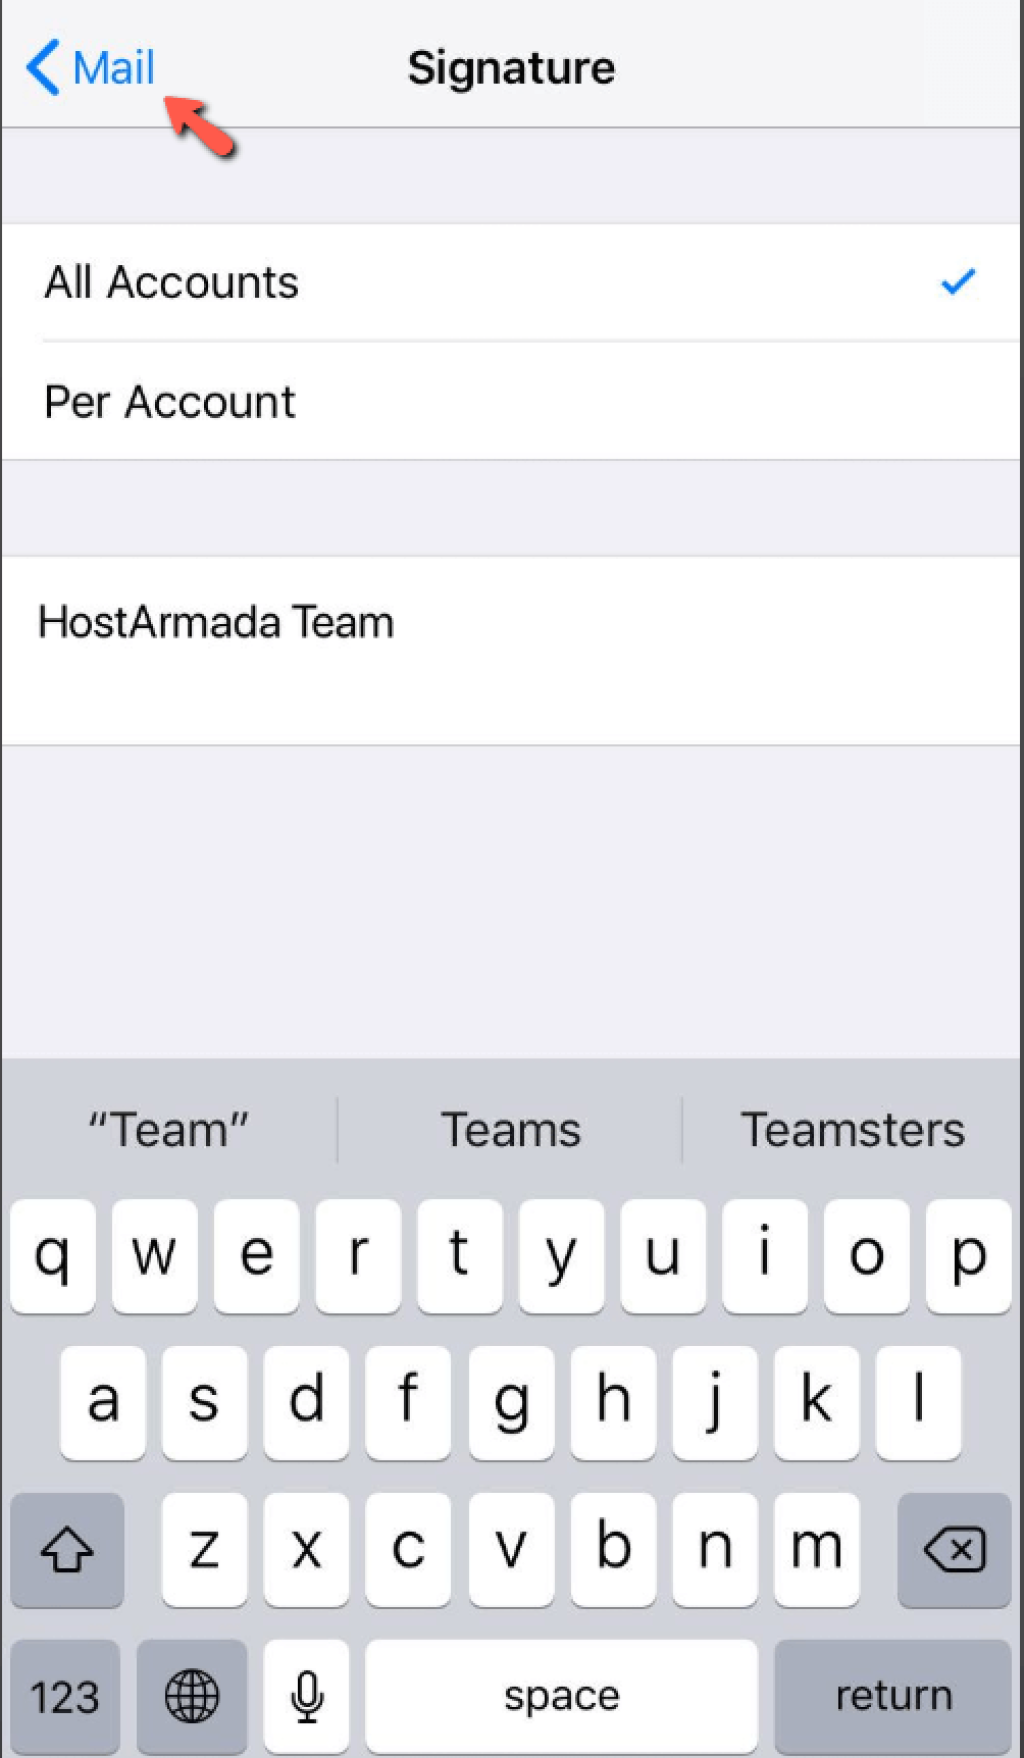
This action will save your changes, and each email you send from your iPhone's email application will have your newly created signature!
Here you go! We have gone through the entire process of setting up your new unique signature for your email accounts on an iPhone device. Hopefully, the steps we provided were sufficient, and you could handle this procedure on your own. Should you need any assistance, do not hesitate to contact our Technical Team over the ticketing system in your Client Area.

Sebahat is a young and bright woman who has become an invaluable part of our team. She started as a Customer Care Representative, mastering that role and, along the way, growing into a tech-savvy individual who is well acquainted with every support layer of the company. Driven by her aim to improve our customers’ experience constantly, she is committed to enhancing the extraordinary support we deliver.
Learn more about Email in the other tutorials that we have:
