
Web Host Manager or in short - WHM, is a powerful tool that allows administrative access to the back end of cPanel itself. It gives you the ability to perform changes that are otherwise impossible through cPanel and also lets you change and configure all the services to your liking. The flexibility it offers makes it ideal for webmasters, developers, and resellers who are running popular and resource-consuming sites or a large number of small sites.
Let’s start off by taking a look at the most common options of gaining access. The service is similar on all our plans, thus logging in will be identical as well. This tutorial will contain information on how to enter the WHM panel on our SSD Virtual Private Servers as well as our SSD Bare Metal Dedicated Servers.
The process itself is pretty straightforward and we will explain three ways you can do that.
The first way is to access the WHM panel using the shortcut button available in your HostArmada Client Area ("Client Dashboard"). For your convenience, here is a direct link to the Client Area Login page.

After having done that, please click on the “My Services” tab which is located on the left menu. This will immediately show all your available products with HostAramada. Upon seeing them you will notice a small “WHM” icon and when you click on it, you will be automatically redirected to the login page.

The credentials are provided when you sign up for our services in the “Welcome to HostAramada” e-mail. In addition to that our Technical Team will send you this information within the setup ticket that you receive when you purchase the product.

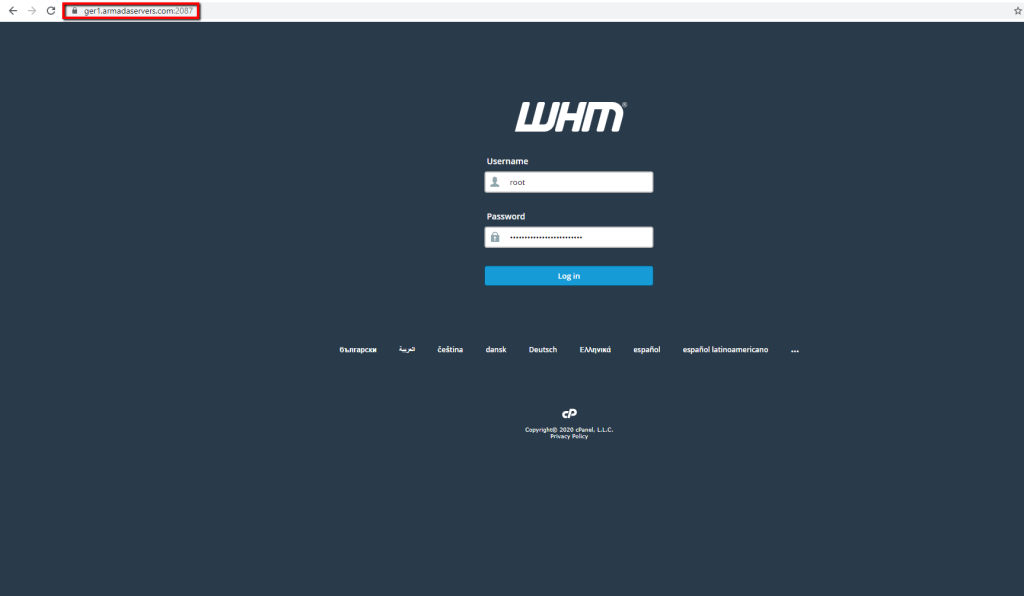
The second way to land on the login screen is to simply type either your hostname, IP, or a domain name which is pointed to our nameservers in the browser, and then write the port where the WHM service is running - either 2086 (without SSL) or 2087 (over SSL). For example, if your domain name is "mydomain.com", enter the following: "mydomain.com:2086" or the secured port "mydomain.com:2087". Here is a screenshot to better illustrate what we are referring to.
The third way you can visit the login form is quite similar to the above one - instead of typing the port at the end, simply type "/whm" - for example, if your IP is "123.123.123.123", please write "123.123.123.123/whm" in your browser.
That pretty much sums up the process of logging into your Web Host Manager for all the products it is available on. Of course, if you are faced with any issues while doing so or you did not find the tutorial useful enough, please do not hesitate to contact our Support Team, as they will be more than happy to assist you.

Sebahat is a young and bright woman who has become an invaluable part of our team. She started as a Customer Care Representative, mastering that role and, along the way, growing into a tech-savvy individual who is well acquainted with every support layer of the company. Driven by her aim to improve our customers’ experience constantly, she is committed to enhancing the extraordinary support we deliver.
Learn more about WHM in the other tutorials that we have:
