
Security is arguably the most important aspect of a server. The WHM is no stranger to security and one of its key features we are going to talk about in this tutorial is the “cPhulk Brute Force Protection” feature. It provides great protection against brute force attacks, and it has become a defining part of the WHM control panel’s security kit. A brute force attack is a coordinated, automated system, designed to guess the password of your web server or services. cPHulk’s task is to monitor the following services: cPanel service, WHM service, Mail services (IMAP and Exim), FTP service, and SSH services against such attacks. When cPHulk blocks an IP address, it will still be able to access the above-mentioned services, however, even if the correct credentials are provided, this will still result in a “The login is invalid” message, unless the IP in question is unblocked. Let’s explain how all this works!
First, you need to log into the WHM service for your VPS or Dedicated Server. If you are not sure how to do that, please check our How to access the WHM service tutorial. After you have logged in, please use the search bar on the left side of the page and type “cPhulk Brute Force Protection”.
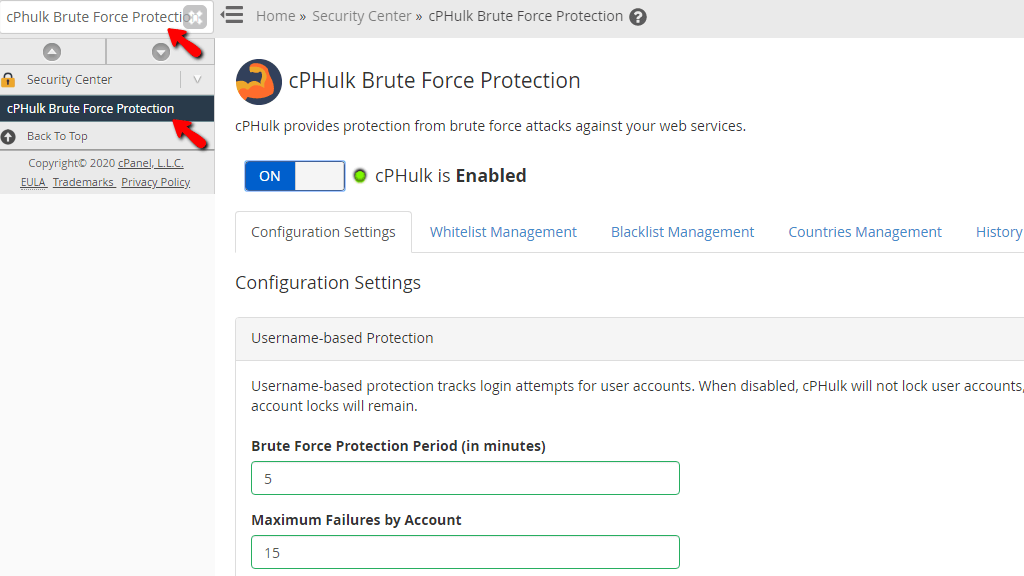
When the functionality shows up below the search bar, please click on it so you can be sent to the “cPhulk Brute Force Protection” page.
When you land on the “cPhulk Brute Force Protection” page, the first thing you will notice is a big toggle switch under the “cPHulk provides protection from brute force attacks against your web services.” description. This will turn cPhulk on and respectively off when you press it.

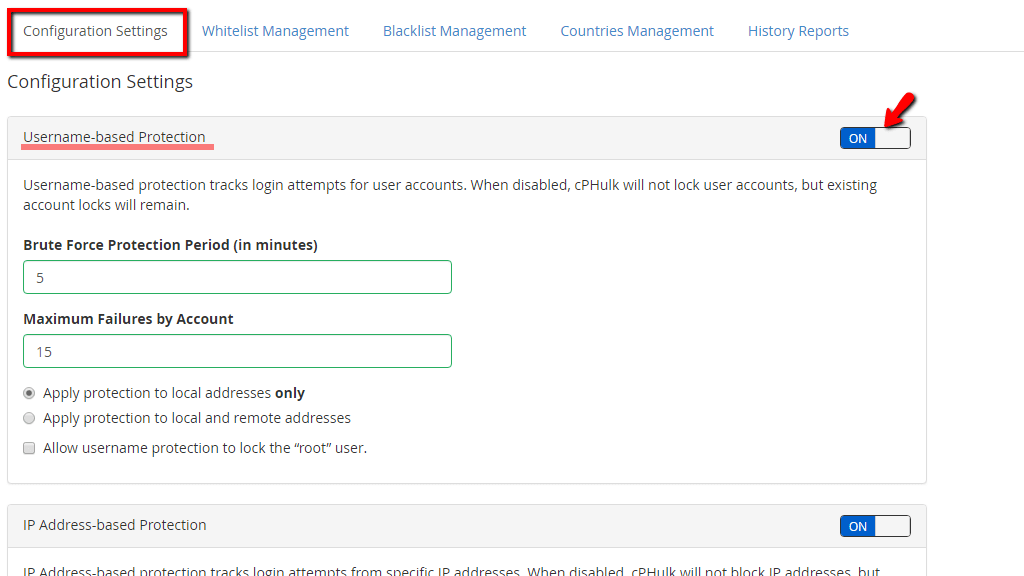
Afterward, you will see 5 tabs under the toggle button. The “Configuration Settings” tab, the “Whitelist Management” tab, the “Blacklist Management”, the “Countries Management” tab, and the “History Reports” tab. As the “Configuration Settings” tab is selected by default, we will discuss it first.
You will notice the first section “Username-based Protection” beneath the “Configurations Settings” heading. On the top right corner, you will see a toggle switch that you can use to disable/enable this option. When enabled, this will track login attempts for user accounts. When you disable this, cPhulk will stop blocking users, however, the existing blocks will remain until they are manually removed.
Let’s go over the available options in this section.
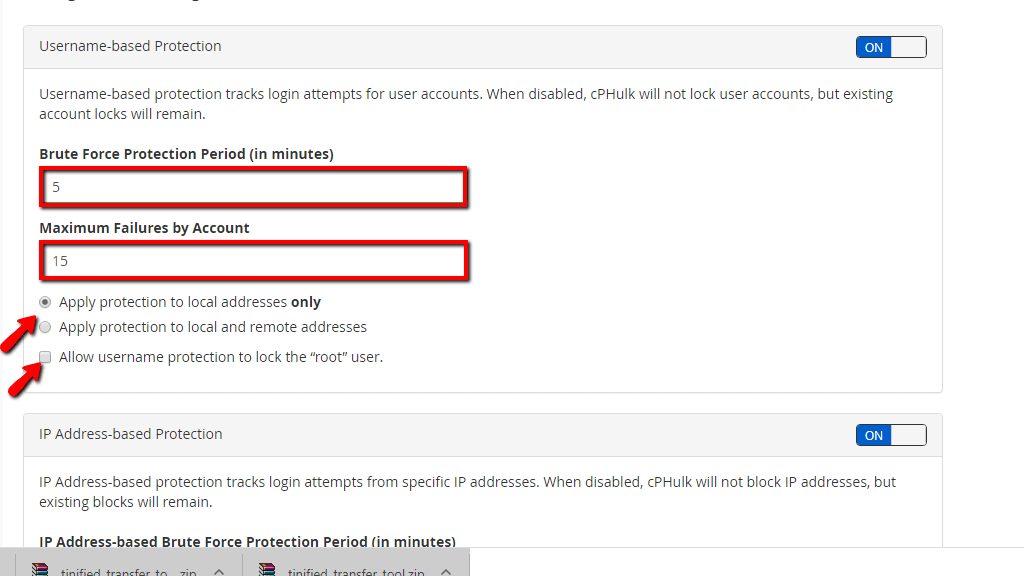
Scroll down the page a bit and you will find the “IP Address-based Protection” section. The options in there will let you track login attempts for specific IP addresses. When disabled, cPhulk will stop blocking IP addresses but the existing ones will remain blocked until they are manually removed. Please use the toggle switch on the top right corner if you wish to disable/enable this functionality.
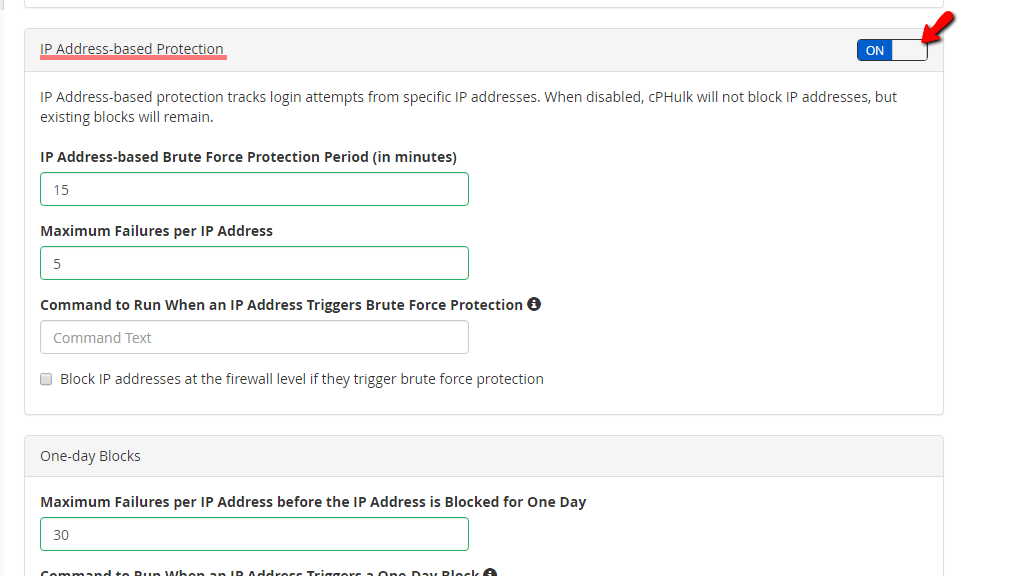
We will go over the options in this section below.

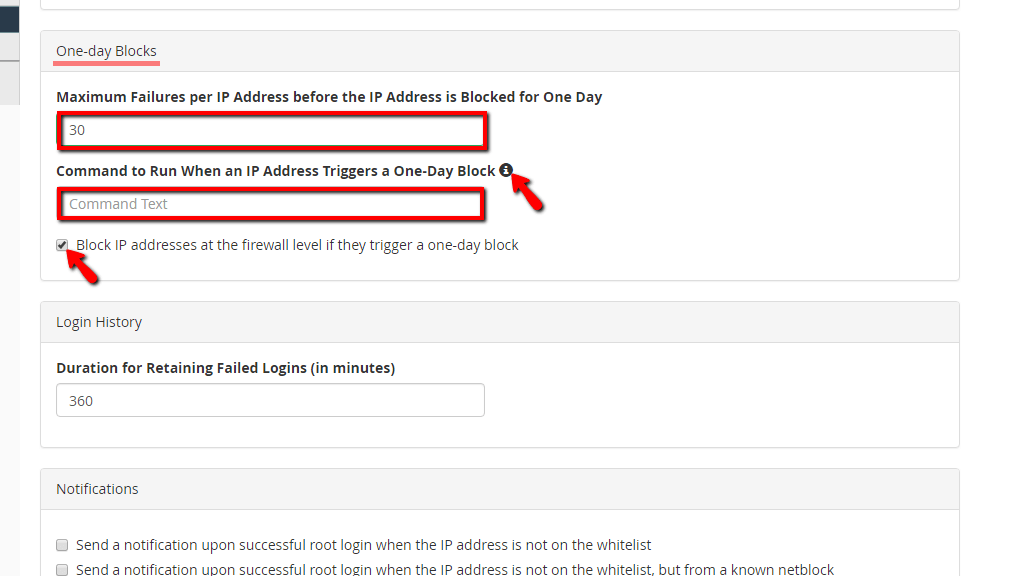
Next, we will discuss the “One-day Blocks” section, which is located below the “IP Address-based Protection” section.
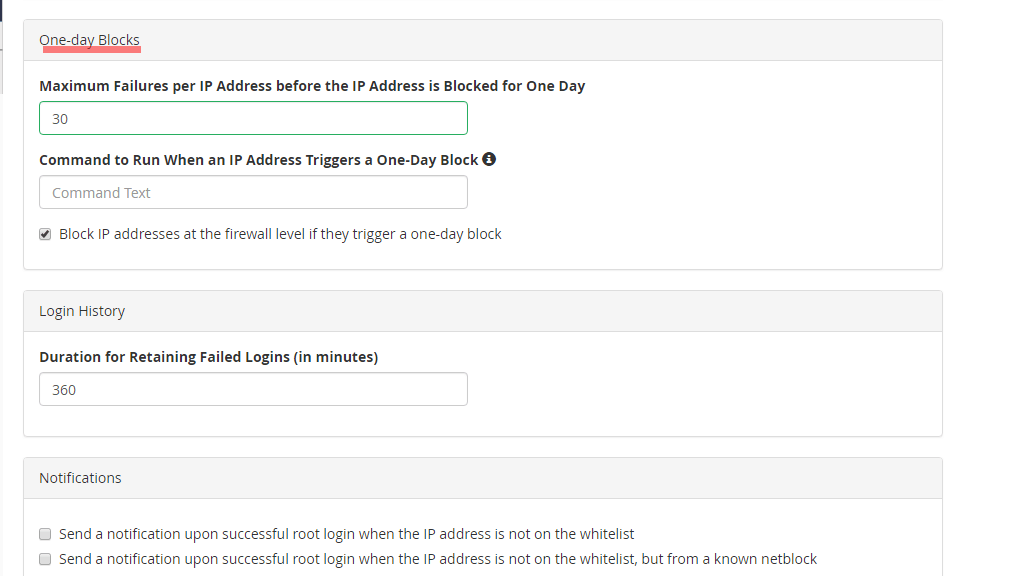
Let’s go over all the options available there.
The second to last section will be going over is the “Login History” section. The single option available there is the “Duration for Retaining Failed Login Attempts (in minutes)”.
This setting will determine how long should the system display the “The login is invalid” message when a block occurs. It will also determine the amount of time needed for an attack to reach the values defined inside the “Maximum Failures By Account” text field, the “Maximum Failures per IP Address” text field, and “Maximum Failures per IP Address before the IP Address is Blocked for One Day” text field.

The last section on this tab is the “Notifications” section. Let’s discuss the available settings there.
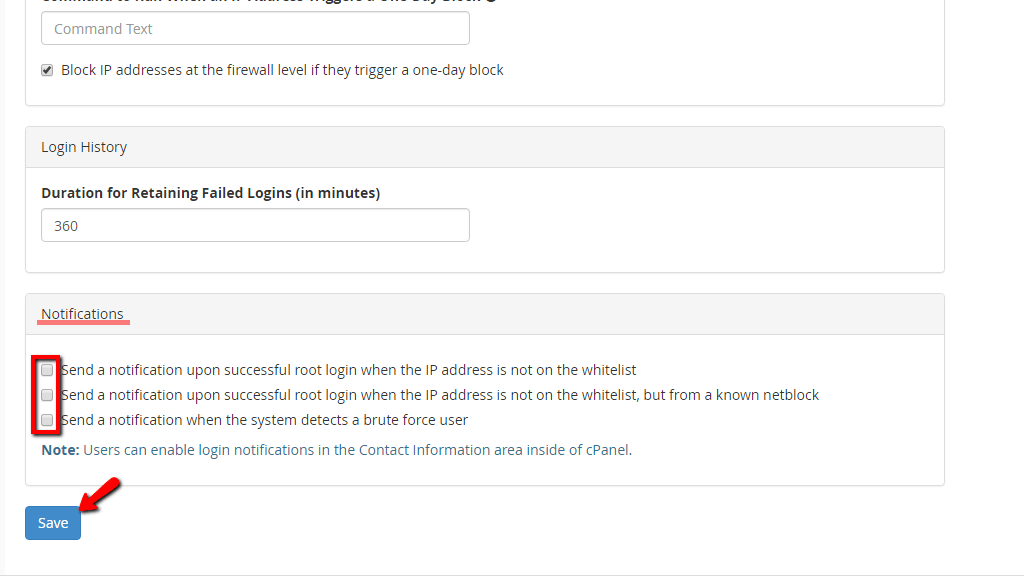
When you are done with all the configurations in this tab, please press the “Save” button located at the bottom of the page.
In order to access it, please click on the “Whitelist Management” sign, located on the right side of the “Configurations Settings” tab.

Once redirected on the “Whitelist Management” page, you will see a blue bar notifying you that an IP address that you whitelist will be able to freely log in anywhere on your server. This means you should be extra careful when whitelisting IP addresses here, as you may end up whitelisting an IP that aims to exploit your server.
Below that, you will find the “New Whitelist Records” section, where you can enter an IP address in order to whitelist it on the server. Underneath, you will find the “Comments” section, where you can leave a note about the IP you have just whitelisted. Here, we recommend entering something relevant, such as “This is the office IP address” if you are whitelisting your office’s IP address.

When you are done typing in the IP address meant to be whitelisted and you entered a relevant comment, please press the “Add” button on the bottom of the page. The IP address and the comment associated with it will be then displayed on the section located on the right side of the “New Whitelist Records” section. On the right side of the comment, you will find the “Delete” and “Edit” links.

Clicking on the “Delete” link will remove this IP address from the whitelist. If you press the “Edit” link, the system will only let you edit the comment associated with the IP.
In order to access it, please click on the “Blacklist Management” tab, located on the right side of the “Whitelist Management” tab.

Once you are redirected there, you will see a blue bar notifying you that an IP address that you blacklist will not be able to log in anywhere on your server. This means you should be extra careful when blacklisting IP addresses here, as you may end up blacklisting an IP that you use from your home or office and that leaves you completely blocked from accessing your services.
Below that, you will find the “New Blacklist Records” section, where you can enter an IP address in order to blacklist it on the server. Underneath, you will find the “Comments” section, where you can leave a note about the IP you have just blacklisted. Here, we recommend entering something relevant, such as “This is a hacker trying to log in” if you are blacklisting an IP address. You will be able to see an IP address that you may want to block in the “History Reports” section which we will go over later in this tutorial.
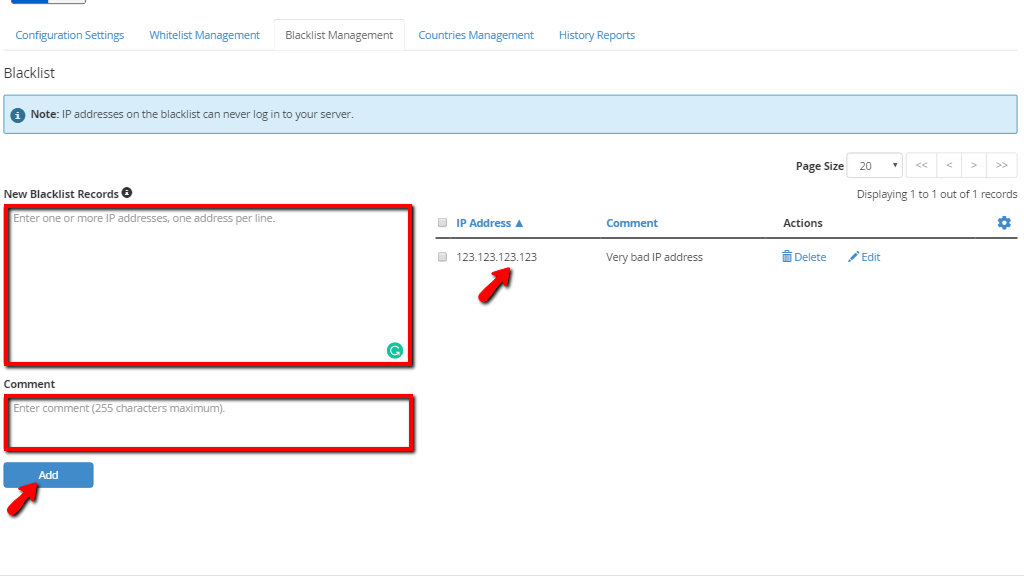
When you are done entering the IP address meant to be blacklisted and you entered a relevant comment, please press the “Add” button on the bottom of the page. The IP address and the comment associated with it will then be displayed on the section located on the right side of the “New Blacklist Records” section. On the right side of the comment, you will find the “Delete” and “Edit” links.
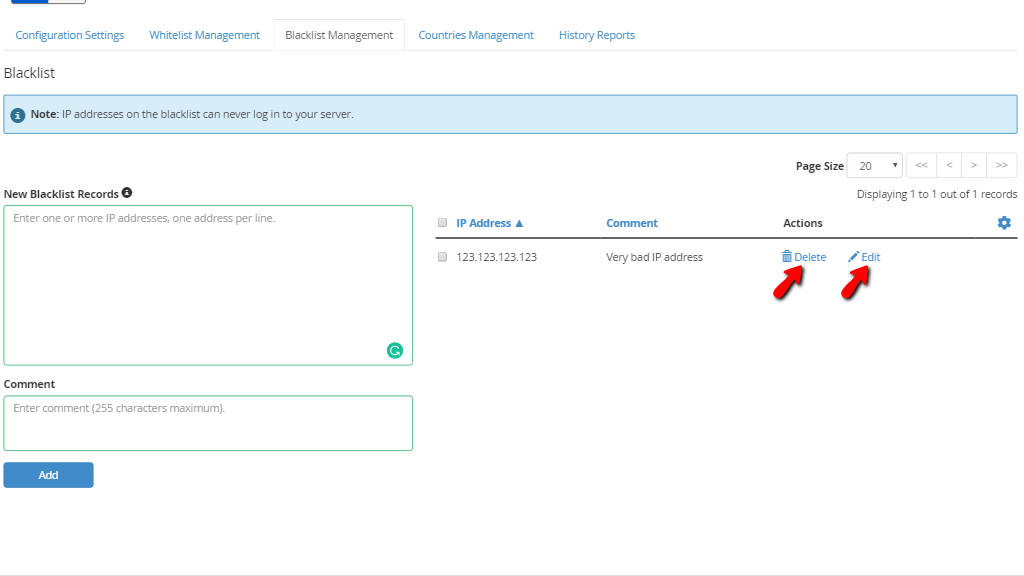
Clicking on the “Delete” link will remove this IP address from the blacklist. If you press the “Edit” link, the system will only let you edit the comment associated with the IP.
In order to access it, please click on the “Countries Management” sign, located on the right side of the “Blacklist Management” tab.
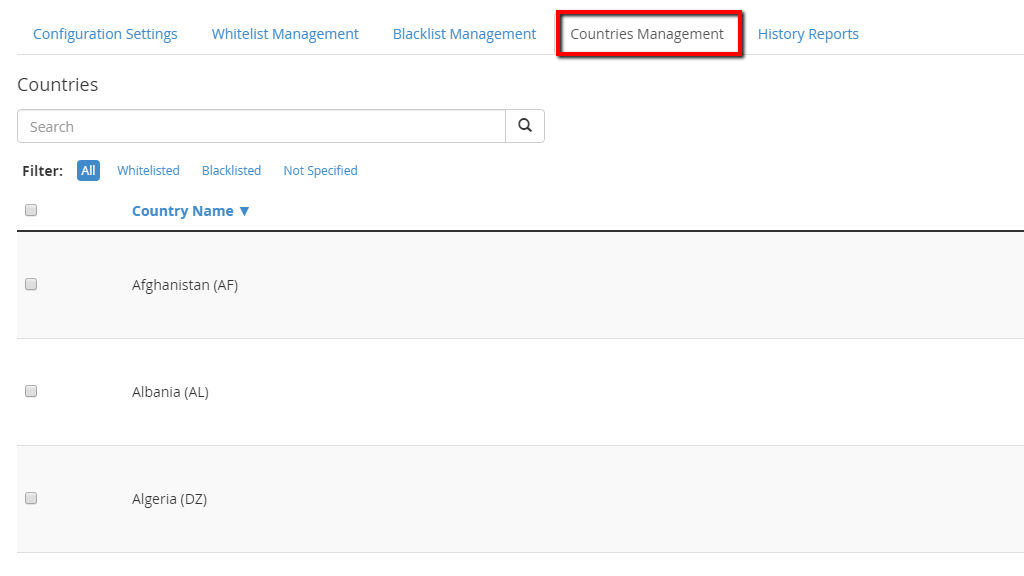
Using this tab, you will be able to either whitelist a country, blacklist it or remove it from both lists. The whitelist option will completely allow login attempts to your server from this specific country, the blacklist will completely prevent login attempts to your server. Let’s explore the page.
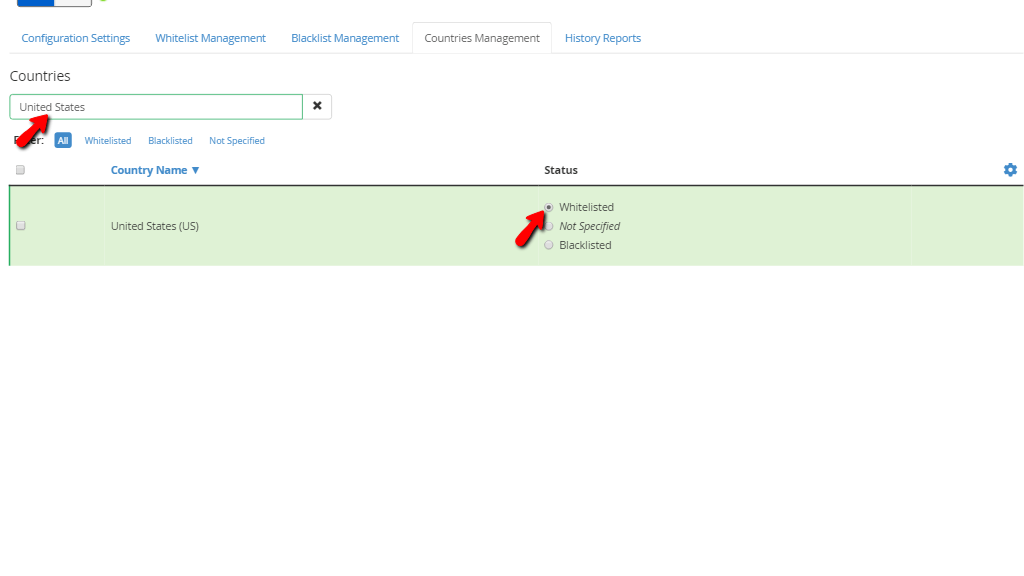
When you first go there, you will notice a search bar on the top side, underneath the “Countries” heading. Below it, you will find a filter, where you can set the country list section below to display countries based on their current status which would be either “Whitelisted”, “Blacklisted” or “Not Specified”. Additionally, you will be able to display “All” the countries, regardless of their status.
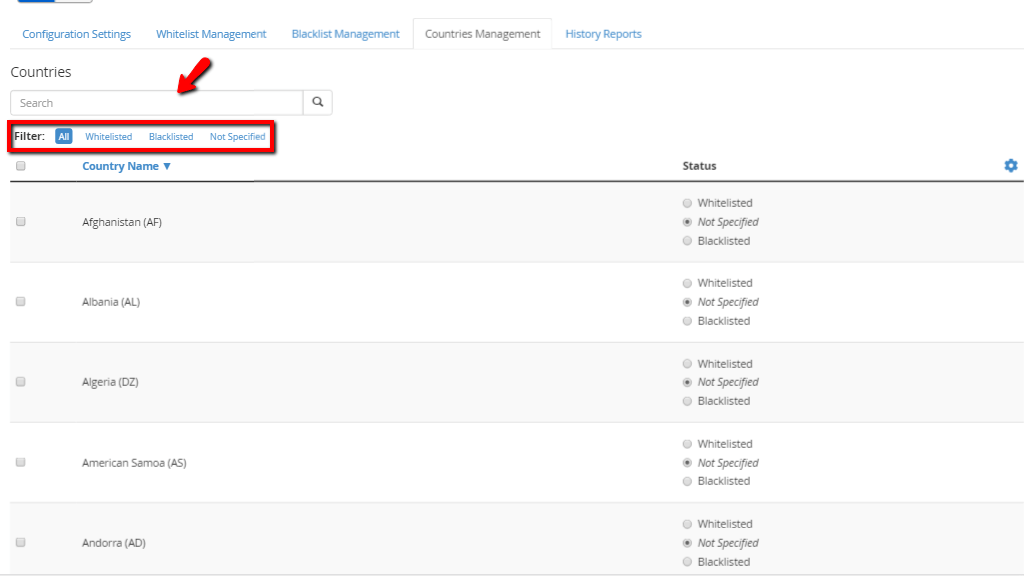
On the far left side of this list section, there will be a checkbox for every country. When checked it will allow you to use the cogwheel icon on the top right of the section to either “Whitelist”, “Blacklist” or set as “Not Specified”. Additionally, the cogwheel icon will let you select or deselect all of the countries.
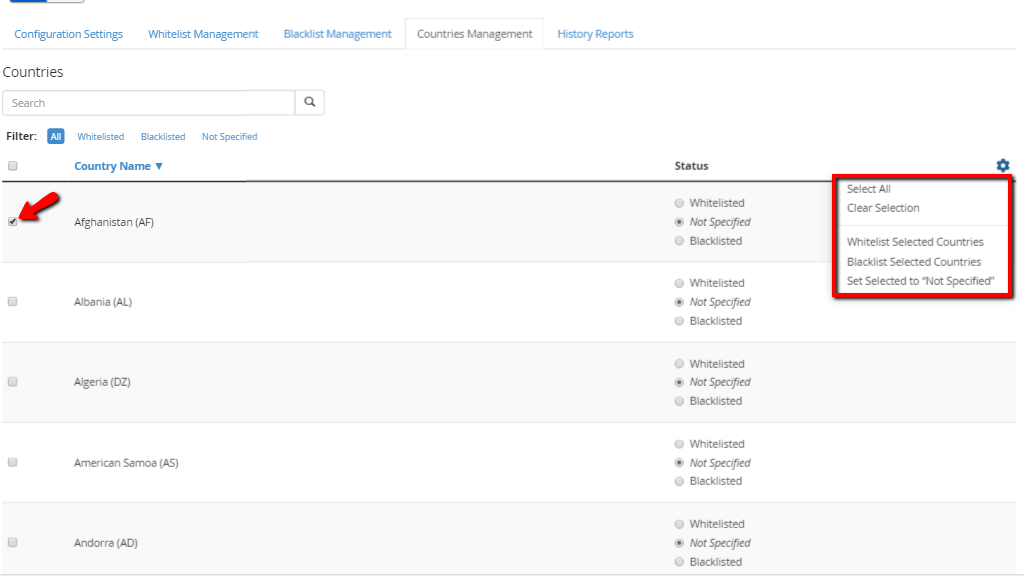
If you would like to change the status of a single country the easiest way to do it is by using the search bar and typing the desired country inside. When the country presents itself in the list section, use the radio button to select the status you want to apply for it. In this example, we searched for the “United States” and then applied the “Whitelisted” option for it. Another thing you will notice is that the row will turn green when the “Whitelisted” status is applied. If you block a country, the row will turn red.
The last tab we are going to talk about is the “History Reports” tab.
You may access it by pressing the “History Reports” sign on the right side of the “Countries Management” tab. What this tab will contain is information about the failed login attempts on your server.
This is a useful tab whenever you want to add an IP address to the blacklist, as the tab will contain information about brute-force attacks and their originating IP addresses.

On the top of the tab, you will see the “Select a Report” label and on the right side, you will notice a dropdown menu. It will let you select what kind of reports you want to be displayed inside the table section on the bottom of the page.

Undeath, you will find a search bar that will let you filter the results based on pretty much anything related to the reports. For instance, you may enter the service “sshd” and it will filter the reports based on the blocks cPhulk did for Brute-Force attacks on the “sshd” service and the results will populate the table section.
Let’s discuss all of the information about the reports provided in the table list.

With this, we end our tutorial on how to use the “cPHulk Brute Force Protection” feature in the WHM control panel. It is quite a mouthful and it has a lot of settings associated with it, that will allow you to control the access towards your server. If you have any questions or if you are experiencing any problems with it, please, feel free to contact our Technical Support Staff. They are reachable 24/7 through the ticking system in your Client Area.

Sebahat is a young and bright woman who has become an invaluable part of our team. She started as a Customer Care Representative, mastering that role and, along the way, growing into a tech-savvy individual who is well acquainted with every support layer of the company. Driven by her aim to improve our customers’ experience constantly, she is committed to enhancing the extraordinary support we deliver.
Learn more about WHM in the other tutorials that we have: