
Learn Ghost
The Ghost blogging platform incorporates a method of starting a business utilizing a membership option for your site. Activating it, allows you to add a subscription form on your blog, which people can use to sign up and receive exclusive content and newsletters. Distribute your premium publications and paid newsletters with ease by following our tutorial to integrating the membership option for your blog! Let’s get started!
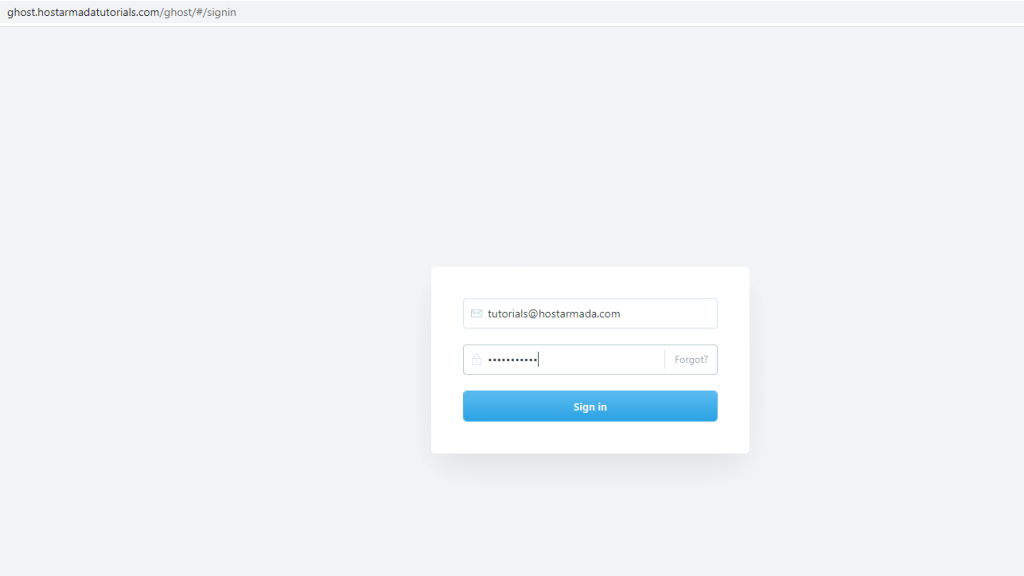
First, you have to log into your Ghost Admin Dashboard. To do so, please open your favorite browser and enter your domain name, followed by "/ghost". For example:
After logging in, please point your attention to the left side of the screen. Within the sidebar, please click on “Labs”.
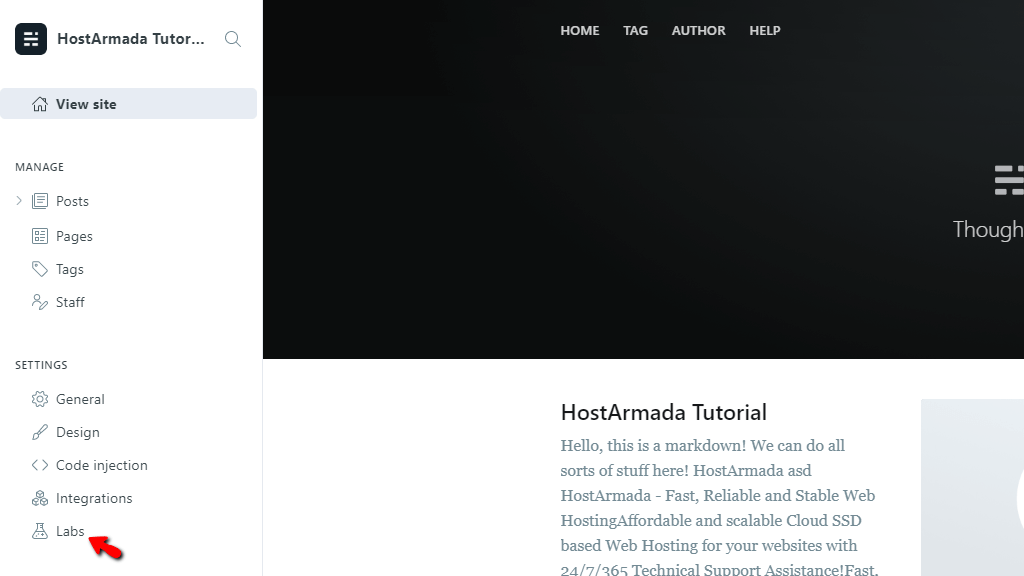
The "Labs" section is where you will be able to implement all sorts of utilities on your blog.
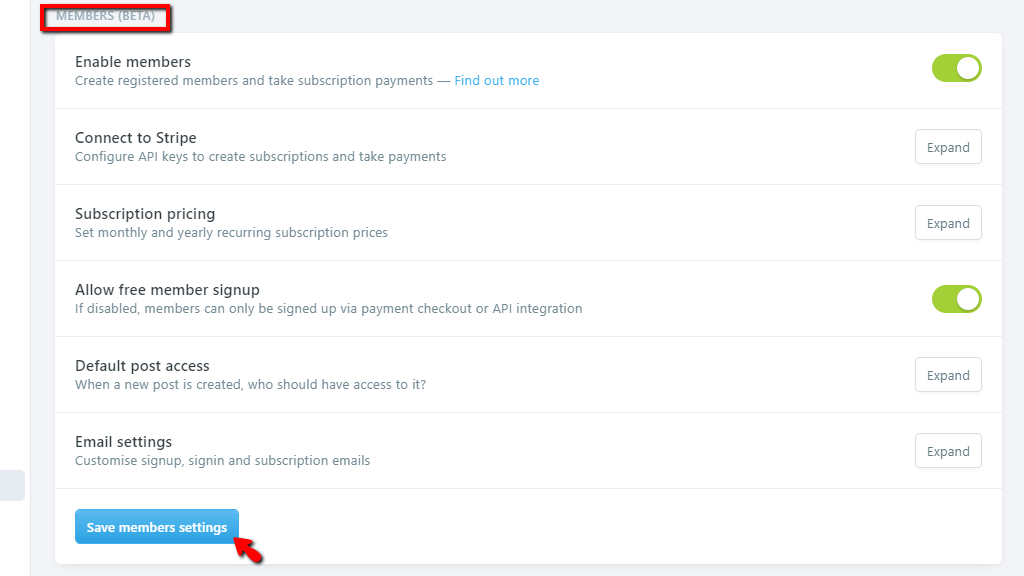
Once you are on the “Labs” page, on top of the screen, you will see the “Members” section and under it the “Enable members” row. On the far right side of this row, you will see a toggle switch. Please click it to activate the membership option.

Clicking the toggle switch will expand additional options underneath this row, that offer further tweaks.
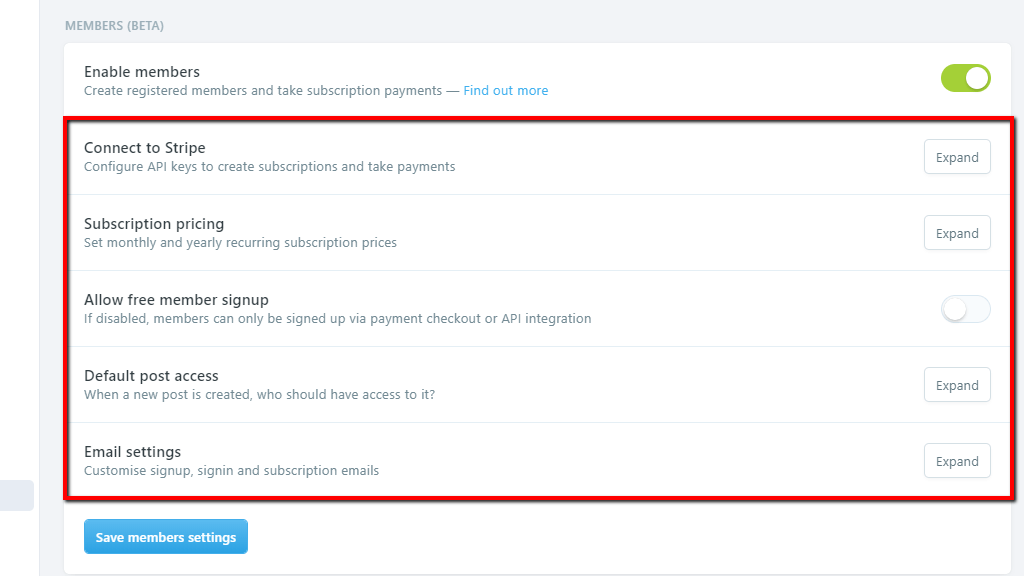
Let’s go over them all and share a bit of information about each.
Clicking the “Expand” button on the far right side of the “Connect to Stripe” row will allow you to configure API keys to create subscriptions and take payments using Stripe as your payment gateway.

To do so, you need to enter the Stripe Publishable key and the Stripe Secre key inside the text fields under the expanded row.
Clicking the “Expand” button on the far right side of the “Subscription pricing” row will allow you to set monthly and yearly recurring subscription prices for your members.
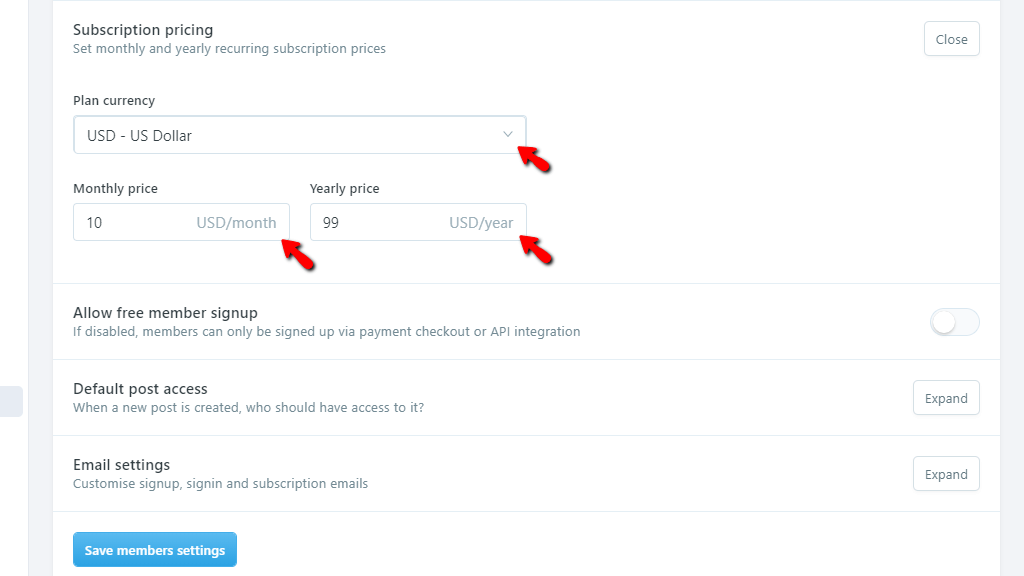
Use the dropdown menu to select the type of currency and the two text fields underneath to set monthly and yearly prices.
This option is represented by a toggle switch, which will be automatically enabled. When it is enabled, your members may sign up without having to set up a subscription on your blog.
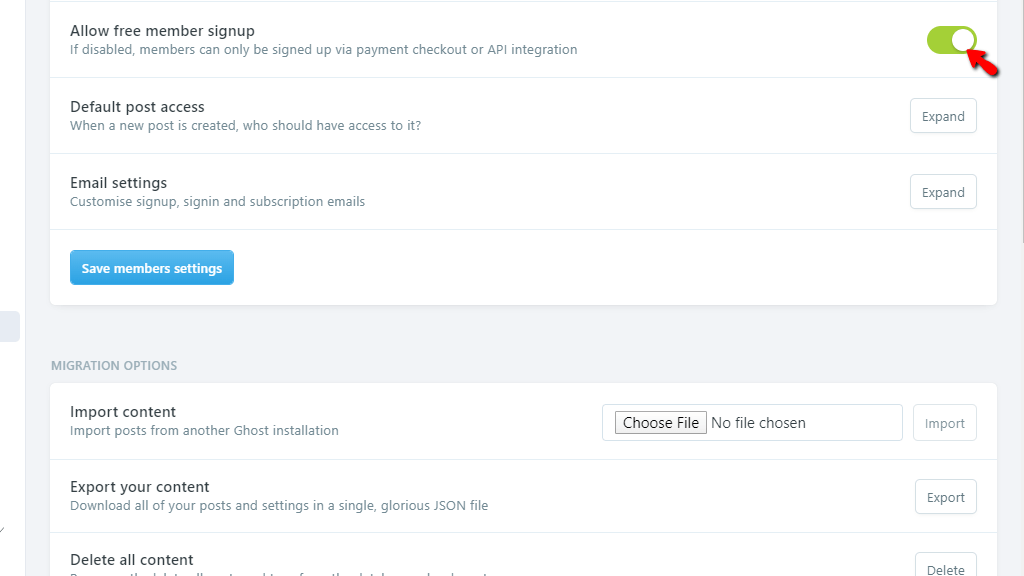
If you toggle this option off, then members may only sign up if they set up a paid subscription.
Clicking the “Expand” button on the far right side of the “Default post access” row will allow you to choose who will be able to read the newest post you create.
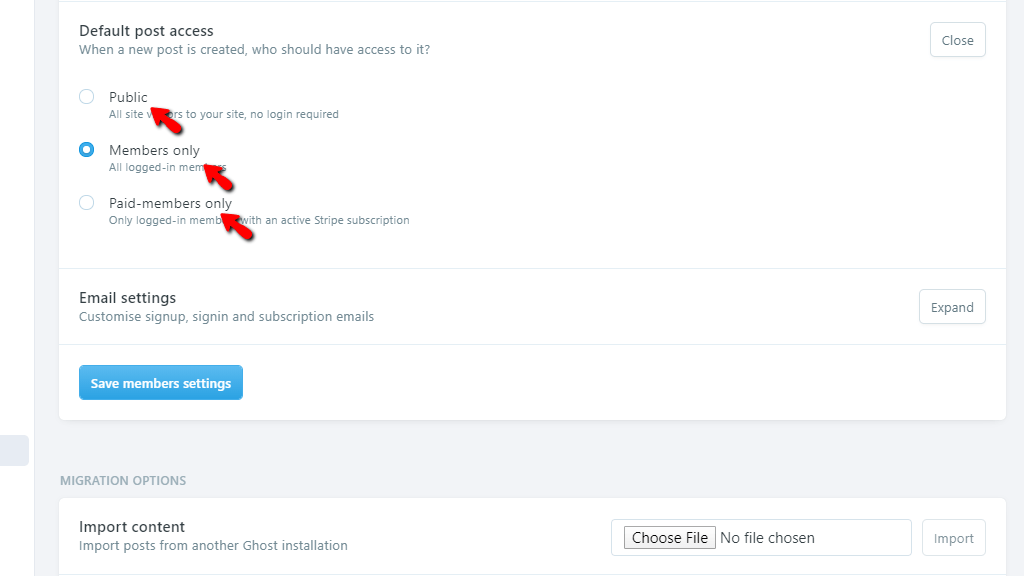
You will be able to choose one of the following:
Clicking the “Expand” button on the far right side of the “Email settings” row will allow you to customize sign-up, sign-in, and subscription emails for your members. However, in order to use this feature, you would need to sign up for Mailgun.
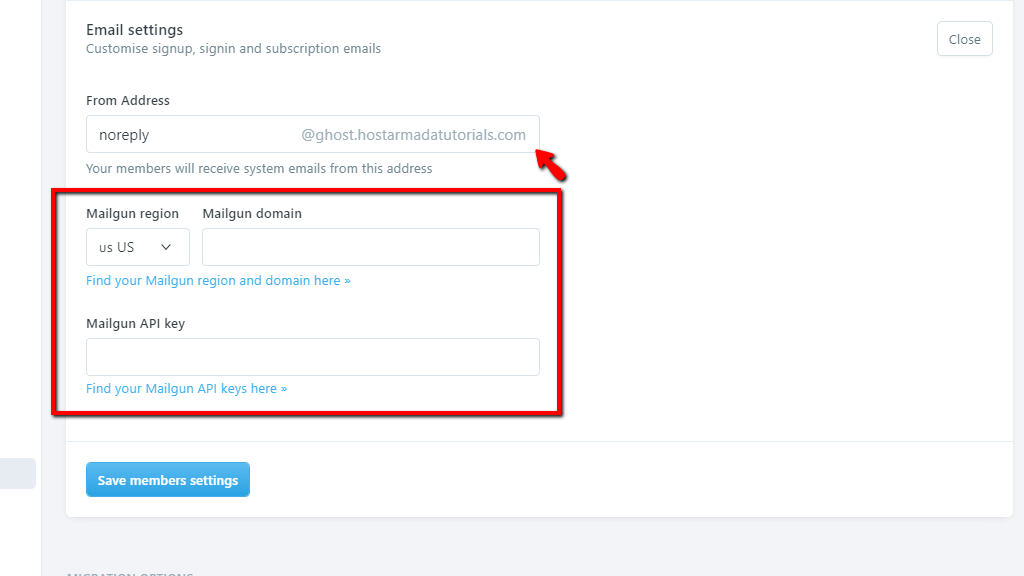
Inside the text field under the “From Address” label, you can set an email account related to your domain name from which your members will receive system emails. Beneath, you will need to set Mailgun related information, which you will be able to get access to after signing up for their service.
Finally, when all the settings under the “Members” section are tweaked, as per your needs, to save them, please click on the “Save members settings” button, which will be located at the very bottom of the “Members” section.
Now, when you go to the home page of your website, you will see the “Subscribe” button on the top right corner of the page.
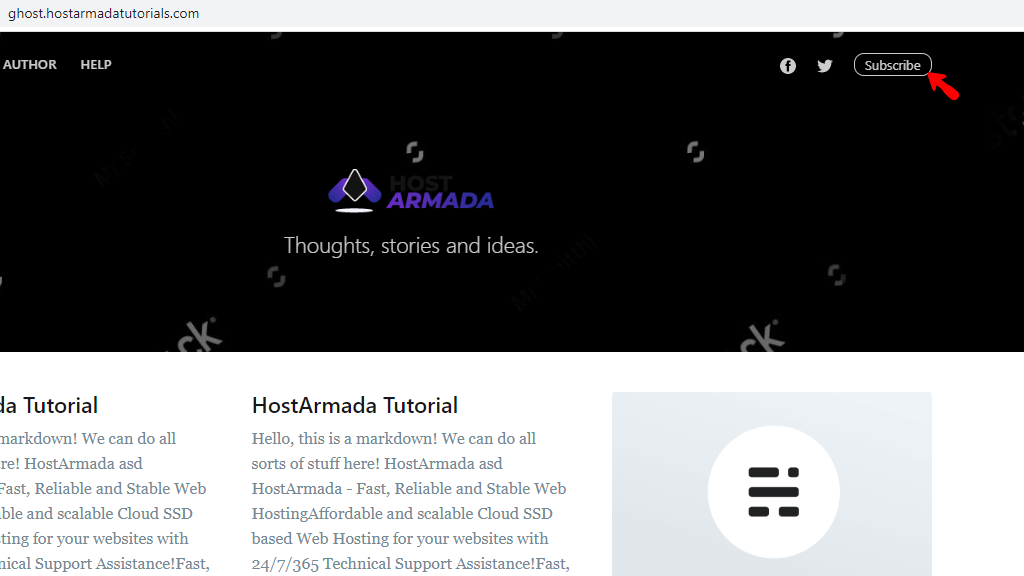
From now on, your visitors will be able to signup for Membership Subscriptions.
With the membership option enabled and configured, it’s time to go over the newly activate “Members” link, which became usable. To access this, please point your attention to the left side menu and click on the “Members” link.

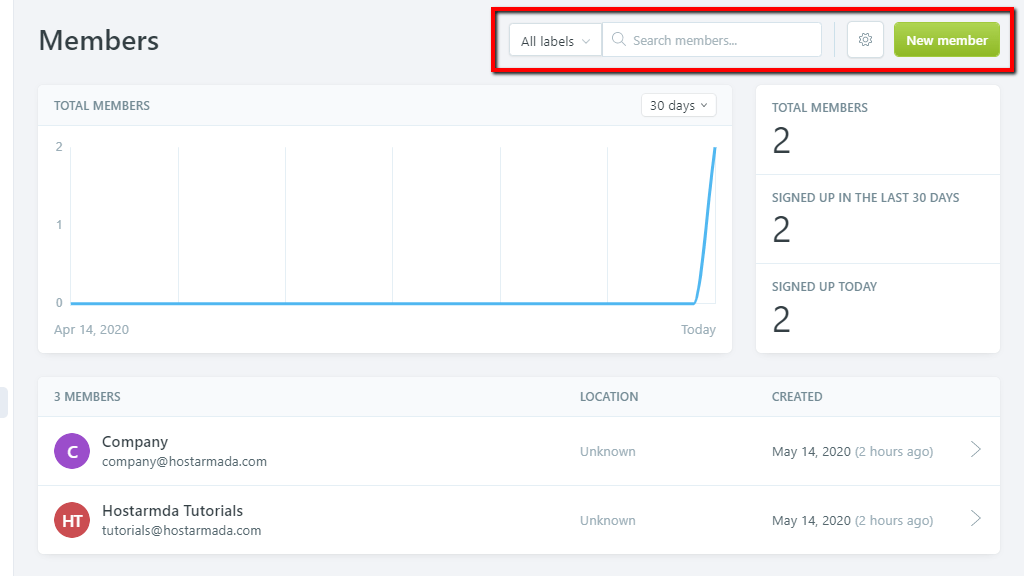
Clicking on the “Members” link will redirect you to a page that will give you information about your members and will allow you to manage them. Let’s discuss the top side of the page first.
On the top right side of the page, you will see a search bar, which you can use to find a specific member. Right next to it, you will see a cogwheel icon. Upon clicking this icon, it will expand an option to either import or export all the current members in a CSV file. Lastly, you will see the “New member” button, which will allow you to add new members without them having to subscribe.
In the middle of the screen, you will see a graph showing the total members signed up.
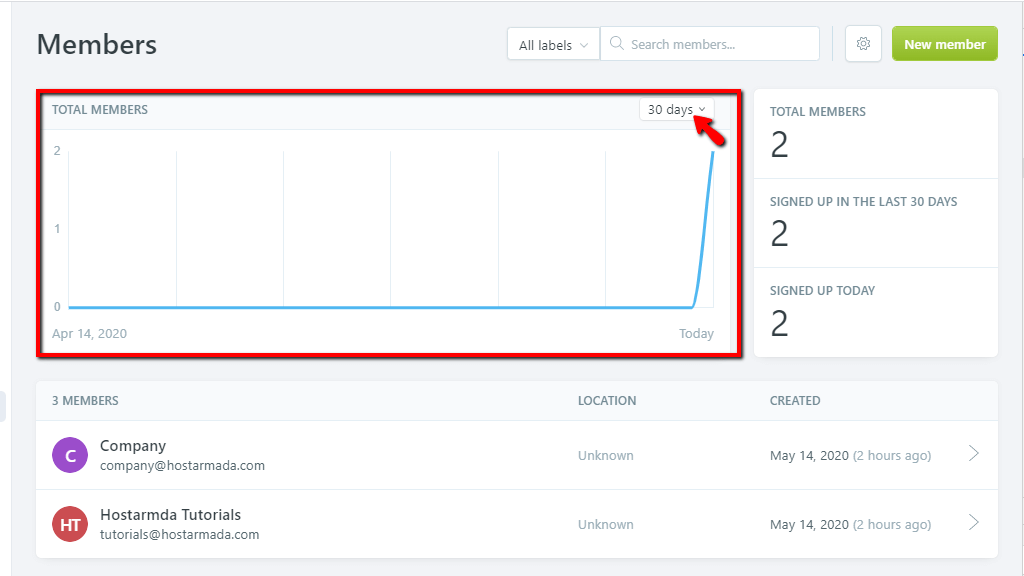
The dropdown in the top right corner of the graph will allow you to filter the signed-up members based on the period in which they signed up.
Underneath the middle graph, you will see a list of all your members, along with their emails.
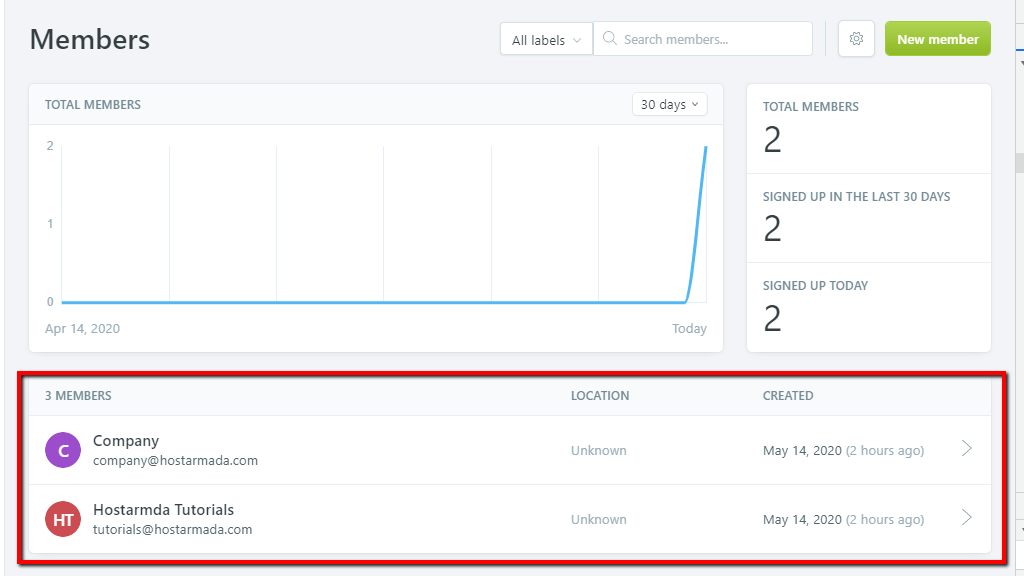
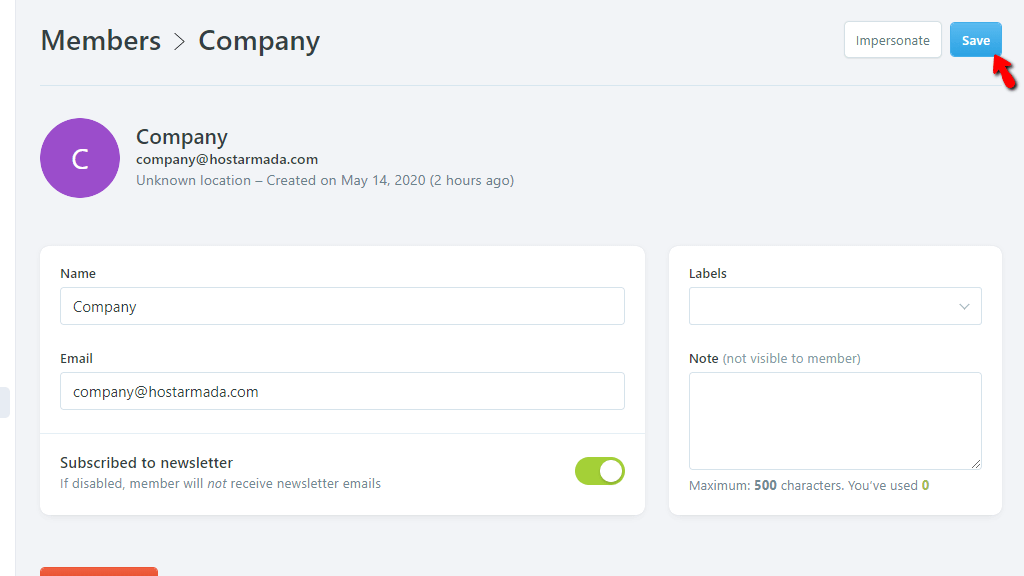
You can click on each individual member from that list. This action will allow you to alter their name and email address using the corresponding text fields. Additionally, you can subscribe or unsubscribe them via the toggle switch beneath the “Name” and “Email” text fields. You can also add a label and a note for this member if there is something specific you need to remember.
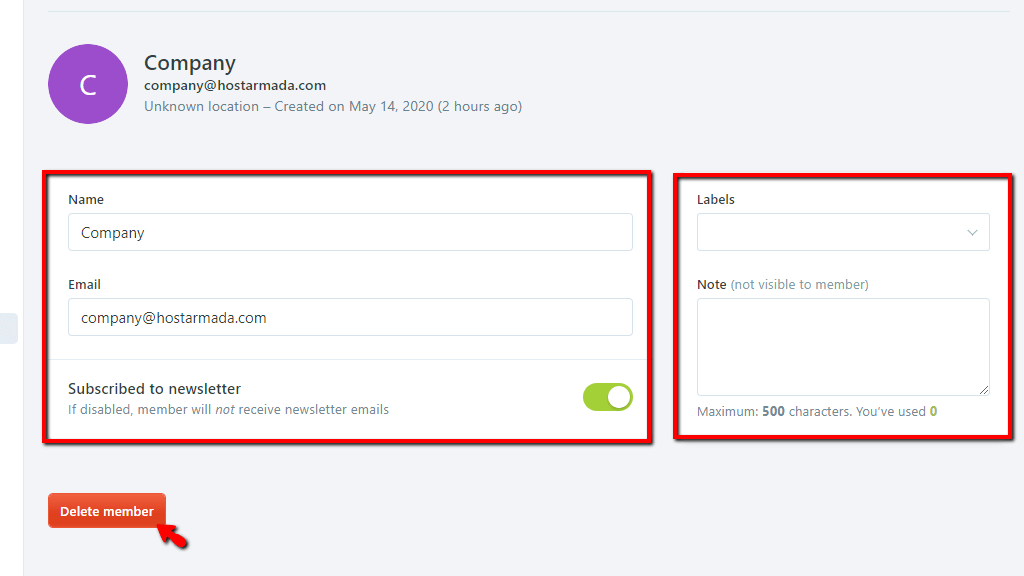
The last option on the page is the “Delete member” button, which will let you remove the member.
To save the changes you have made to a specific member, please press the “Save” button located on the top right corner of the screen.
There you have it! The way you can enable subscriptions on your Ghost blog and manage your new members. We highly recommend signing up for Mailgun prior to setting this up. Otherwise, you will not be able to send newsletters, and people will not be able to subscribe to your blog and set up paid subscriptions.

Sebahat is a young and bright woman who has become an invaluable part of our team. She started as a Customer Care Representative, mastering that role and, along the way, growing into a tech-savvy individual who is well acquainted with every support layer of the company. Driven by her aim to improve our customers’ experience constantly, she is committed to enhancing the extraordinary support we deliver.
Learn more about Ghost in the other tutorials that we have: