
Multilingual is a website with content in various languages that serves more than one country or geographic region. Supporting multiple languages on a single site is usually done when you are targeting the global market or different geographical areas. One of the primary purposes is customer convenience and satisfaction, which is a prerequisite for their future visits.
There is a common belief that developing a multilingual website is a complicated and hard task. We will dare contradict that statement. In Joomla, you are able to set up a multilingual website within a few simple steps and without the need to use third-party extensions.
There is one important note to make in regards to developing a multilingual Joomla website. By changing the default language of the site, the Joomla core content will be translated to the additional language(s). However, you will still need to create your own content ( articles and modules) in each available language. You can do that by creating an individual version for each required language.
If you have made up your mind, and you are ready - let’s jump right into the first step.
The first step of setting up a Multilingual Joomla website is to install the desired language. This is a topic which we already covered in our How to install New Languages in Joomla guide, where you will find step-by-step instructions on how to complete this relatively simple task.
As soon as you have the new language successfully installed, you are ready to move to the second step.
After your new language is installed, Joomla will automatically create a new Content Language entry for it. However, there is a simple manual action you will need to perform if you want the new language to be displayed as an available selection in the “Language Switcher” module on your website frontend. In other words, to provide your website visitors with the possibility to choose this new language when they are browsing the site.
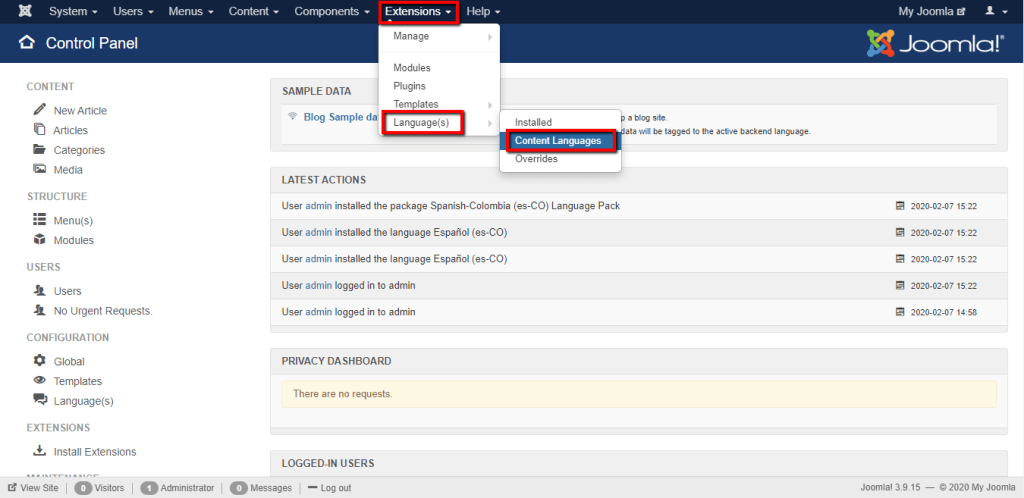
To do that, please log in to your Joomla Admin Dashboard and navigate through the top menu bar to Extensions > Language(s) > Content Languages.
Once you access the Content Languages page, all you will need to do is to click on the “x” icon (under the “Status” column) next to the desired language.
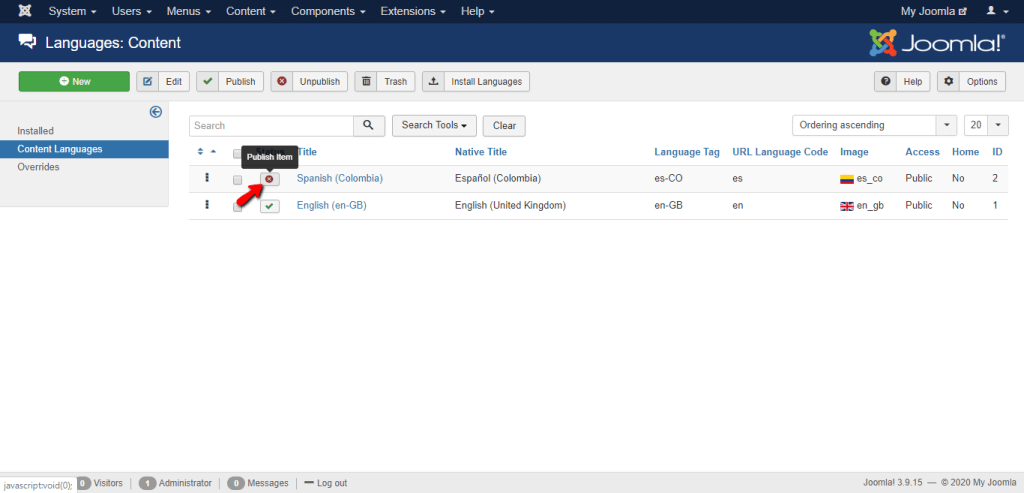
Alternatively, you can tick the corresponding checkbox and hit the “Publish” button at the top of the page. Both actions will successfully publish your new language.
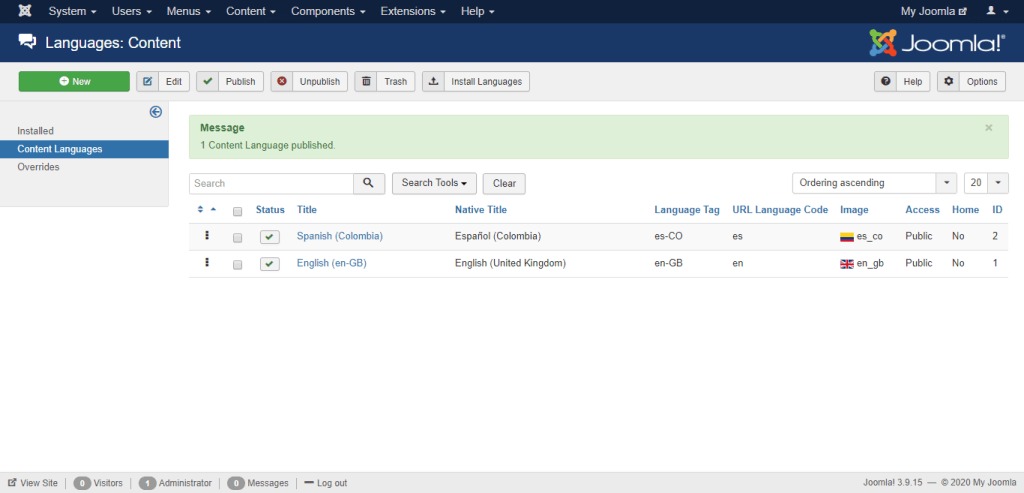
When this is done, you will be prompted with a message indicating the Content Language was successfully published.
The third step is to enable the “Language Filter” plugin, which will allow the Joomla CMS to recognize the installed languages on your website and therefore, to display the content relevant to the selected language.
To do that, please navigate again through the top menu bar - this time to Extensions > Plugins.
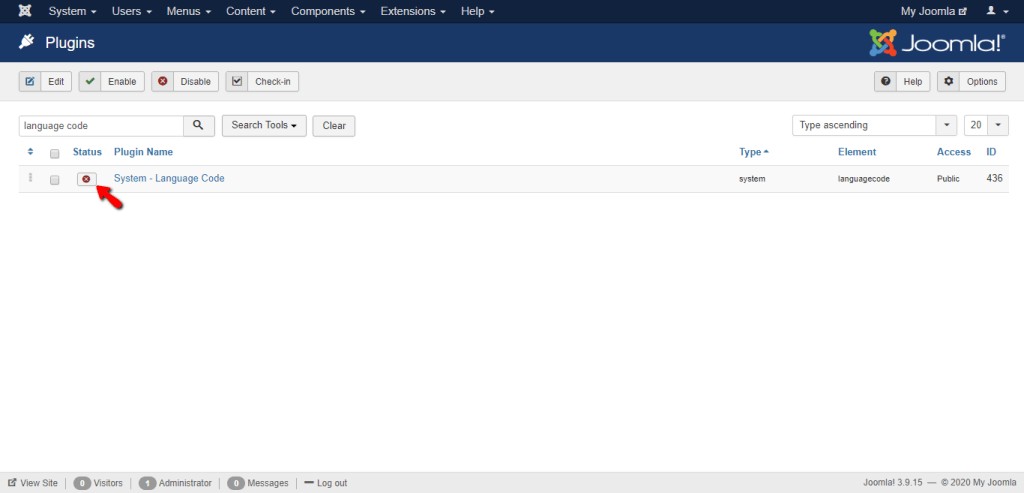
On the Plugins page, you will see a list of all plugins supported by Joomla. As there are quite a lot of plugins, we will recommend you to use the search tool. Type “Language Filter” into the field to locate the plugin in question.
Once you see “System - Language Filter” in the search results, you will need to click on the “x” icon under the “Status” column to enable it.
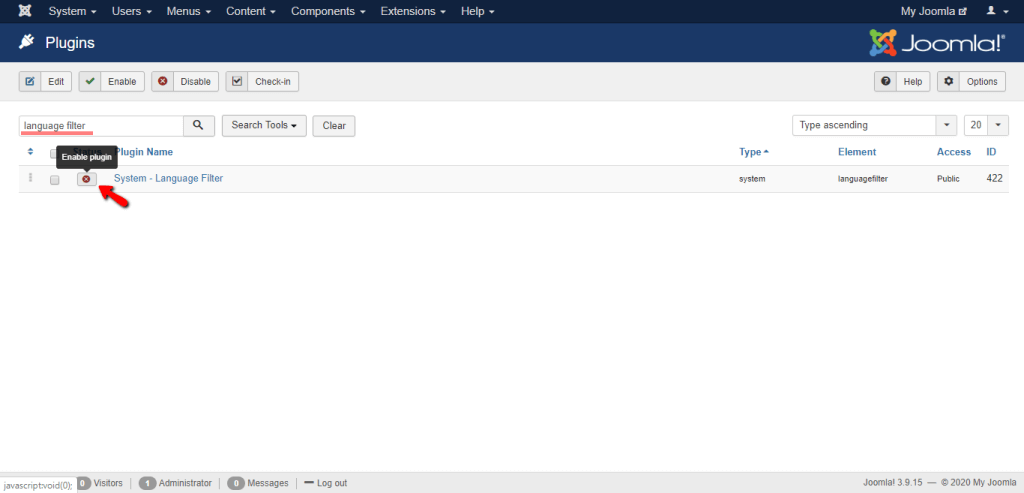
Alternatively, you can tick the checkbox in front of it and hit the “Enable” button at the top of the page. Both actions will successfully enable the plugin.
Similar to the previous example with the content languages, you will be prompted with a message informing you the “Language Filter” plugin was enabled. You will also notice that the “x” icon is not replaced by a green tick icon, which indicates all enabled plugins on your website.
The “Language Code” is also a built-in Joomla plugin. Enabling it will provide the capability of modifying the language code in the generated HTML document. This is mainly done for SEO purposes.
You can enable this plugin in the exact same manner as explained in the previous section. Access the Plugins page, use the search bar to locate the plugin, and enable it by clicking on the “x” icon.
Once enabled, you will again see the message informing you the plugin was installed and the green checkmark icon in front of it.
The final step, you will need to complete is to add the “Language Switcher” module. Although the default content displayed will be determined according to your visitors’ browser settings, it is always recommended to provide an option for selecting a preferred language. This is exactly what you will achieve by adding this module.
Please navigate through the top menu bar to Extensions > Modules. (One last time - We promise!)
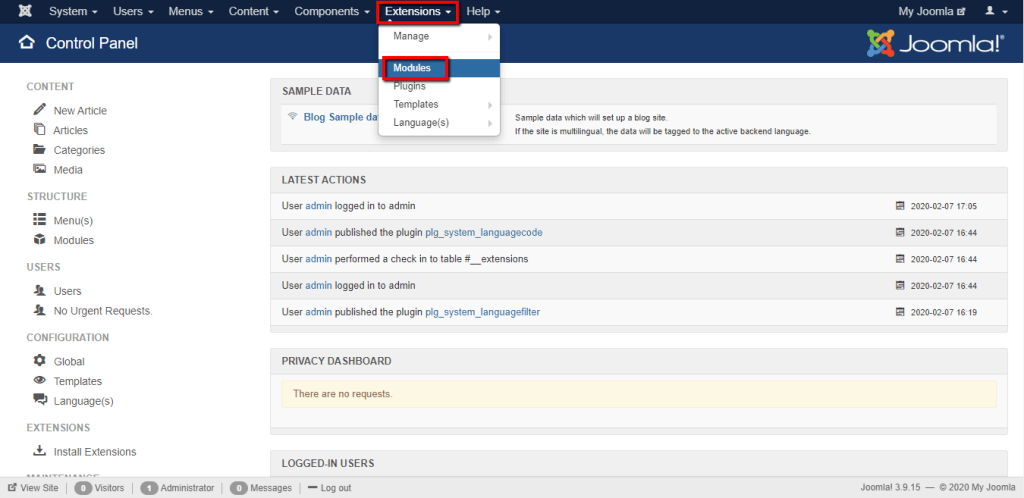
Once you access the “Modules” page, please click on the green “Add” button.

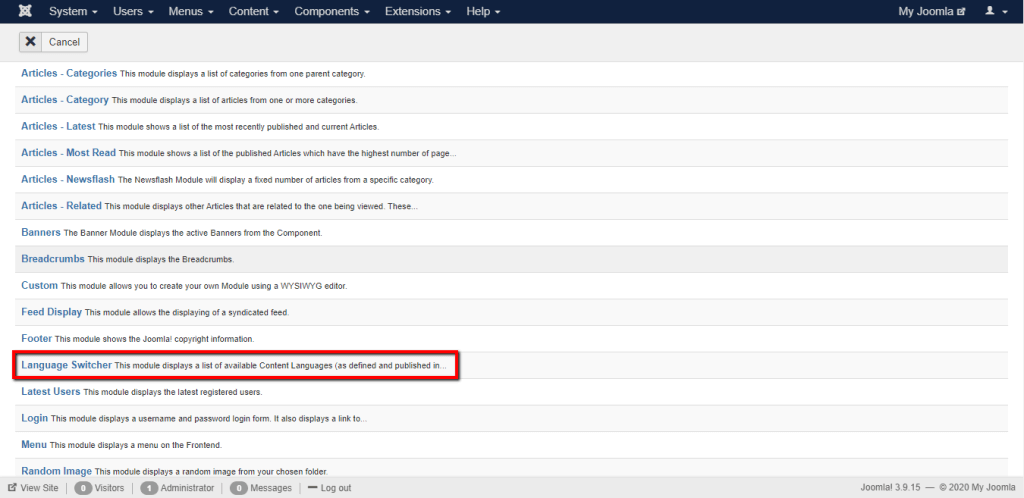
Afterward, you will be displayed with a list of modules, and you will need to locate and select the “Language Switcher”.
On the new page, you will need to configure the module settings. The “Language Switcher” module consists of various components. For the purpose of enabling the intended functionality, we will review only the main components you need to be concern about at this point.
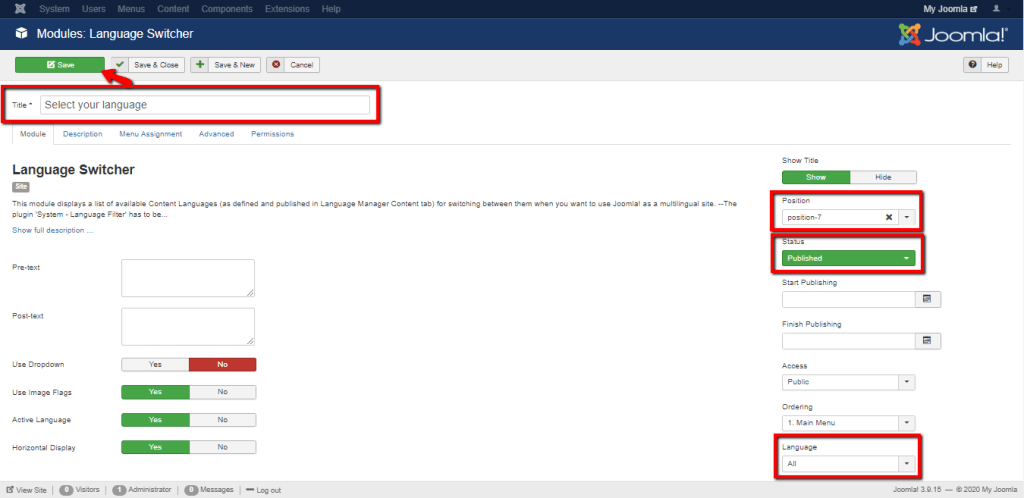
When you are ready, please make sure to click on the “Save” button to successfully add the module.
Please bear in mind that in order for all languages to be displayed under the language switcher on your website frontend, you will need to create content items for each of the languages.
All done! At this point, you have successfully configured your Joomla website as multilingual. We hope you have managed to catch up with our instructions easily and found the information useful. In case you have any additional questions on the topic, please do not hesitate to contact our Support Team.

Sebahat is a young and bright woman who has become an invaluable part of our team. She started as a Customer Care Representative, mastering that role and, along the way, growing into a tech-savvy individual who is well acquainted with every support layer of the company. Driven by her aim to improve our customers’ experience constantly, she is committed to enhancing the extraordinary support we deliver.
Learn more about Joomla in the other tutorials that we have: