Learn TYPO3
Content distribution on Typo3 is mainly done via pages, created using the Page Tree within the Admin Dashboard. When a fresh installation is done, you will not see anything on your homepage. In fact, you will most likely encounter an error “No pages are found on the rootlevel!” which will be caused by the fact that the fresh installation has no theme.
In this situation, you have two options - to either deploy your own theme, which is compatible with Typo3 or a package, available from the “Extensions” functionality within the Dashboard. This entire process is explained in our How to troubleshoot the "No pages are found on the rootlevel!" error after initial TYPO3 installation tutorial, and we highly recommend checking it out before continuing with this tutorial.
In the following paragraphs, we will talk about the Page Tree in Typo3 CRM and how you can use it to add pages and structure them as per your needs.
Before you you proceed to add pages on your CMS, you need to log into your Typo3 Admin Dashboard. To do that, please add “/typo3” to your domain name - for example, “mycms.com/typo3” where “mycms.com” is your actual domain.
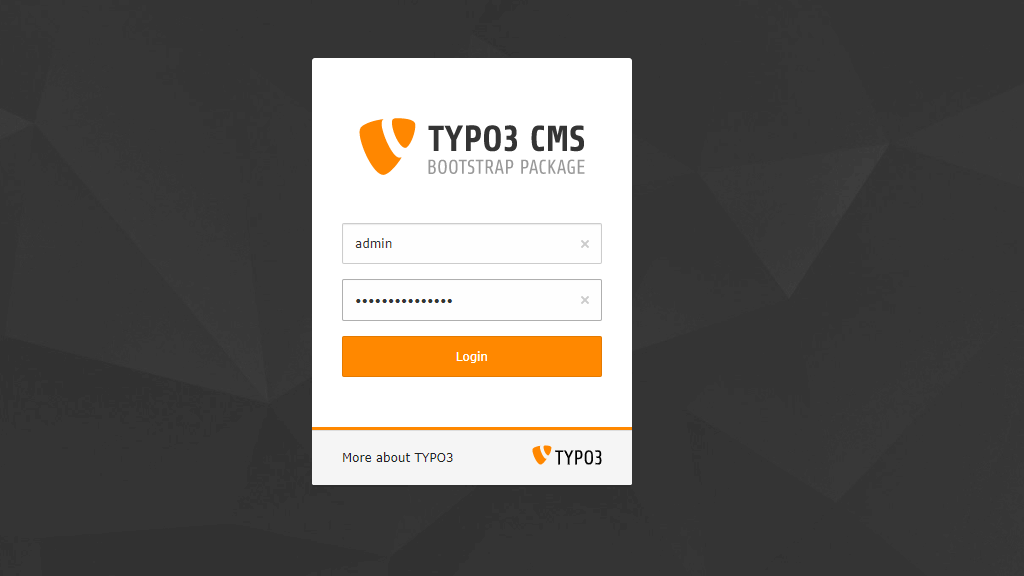
Accessing the mentioned URL will show a login page, where you have to enter your login credentials to access the backend. We also highly recommend checking our Typo3 Backend Overview tutorial, which will teach you the basics.
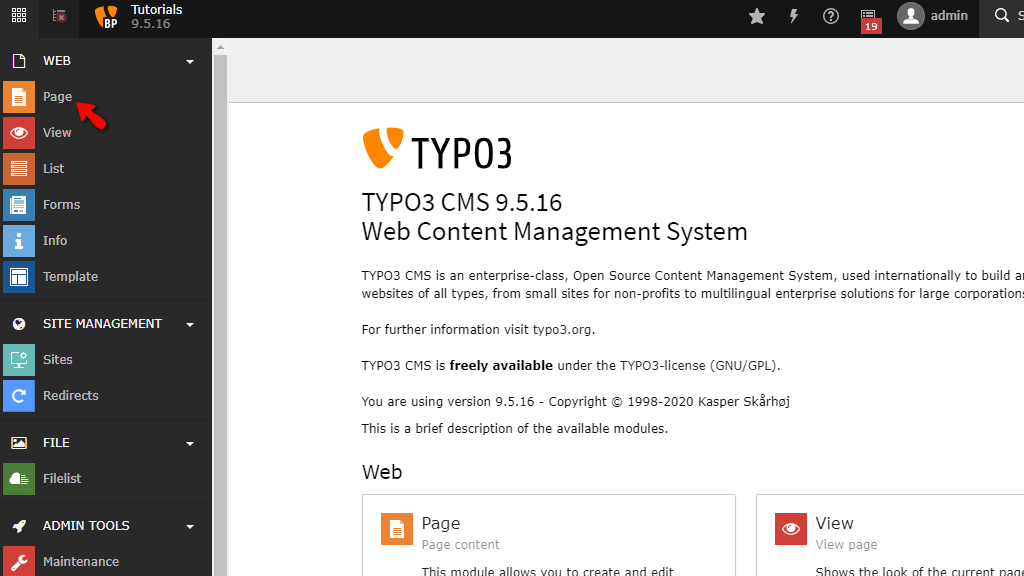
Once you have logged inside your Dashboard, please point your attention to the left, where you will see the Module Menu. Right under the “Web” section, you will see the “Page” option, and when you click on it, you will be redirected to the page creation screen.
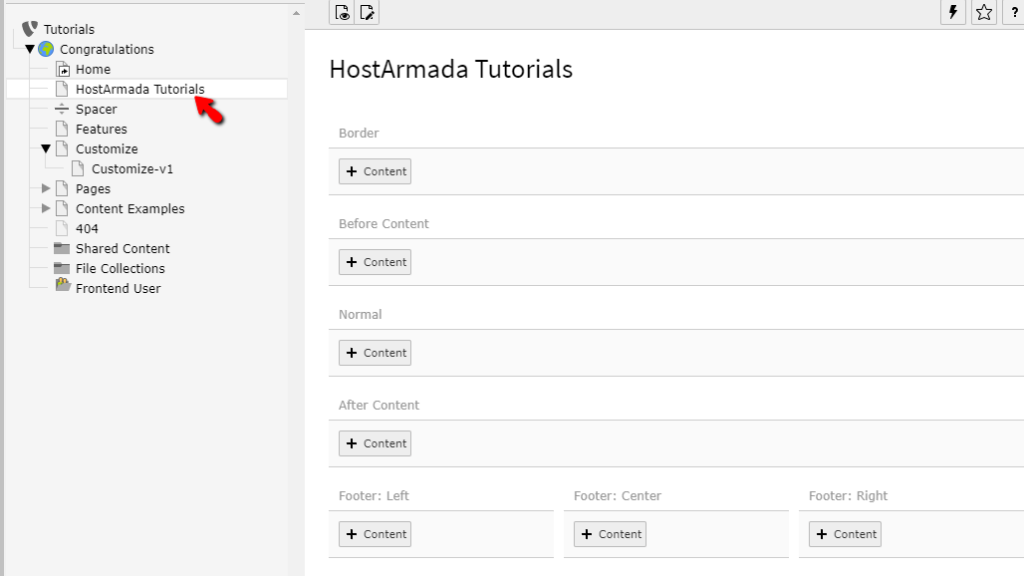
When you select the “Page” option, the Page Tree will appear on the right side of the module menu. If you have already reviewed our Backend Overview tutorial mention earlier, you should be already familiar with the “Congratulations” dropdown menu, populated inside the Page Tree.
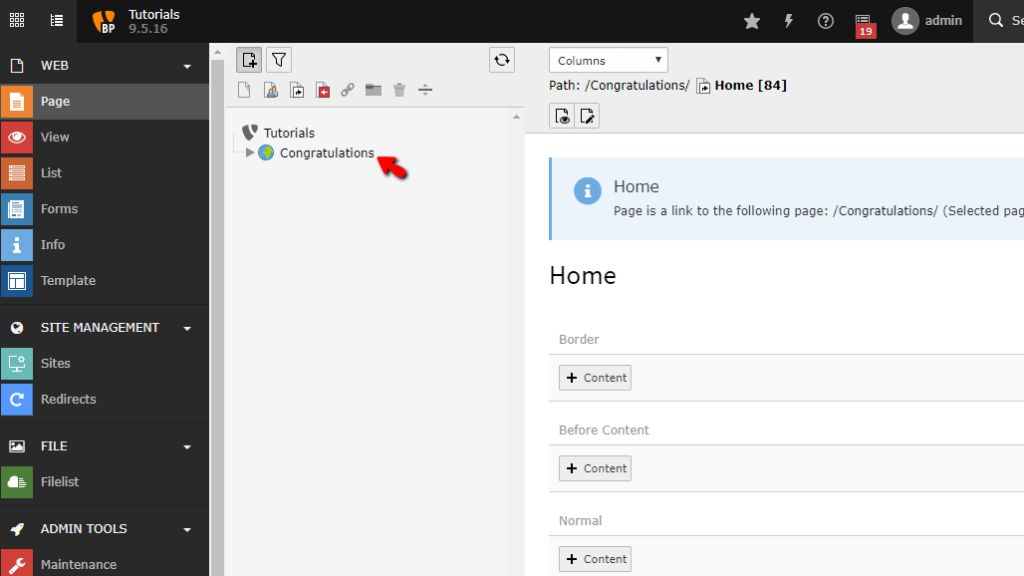
Note that you may have completely different options inside the Page Tree, depending on the current theme you are using. Clicking on the “Congratulations” dropdown will list all existing pages and the way they are structured on your Typo3 website.
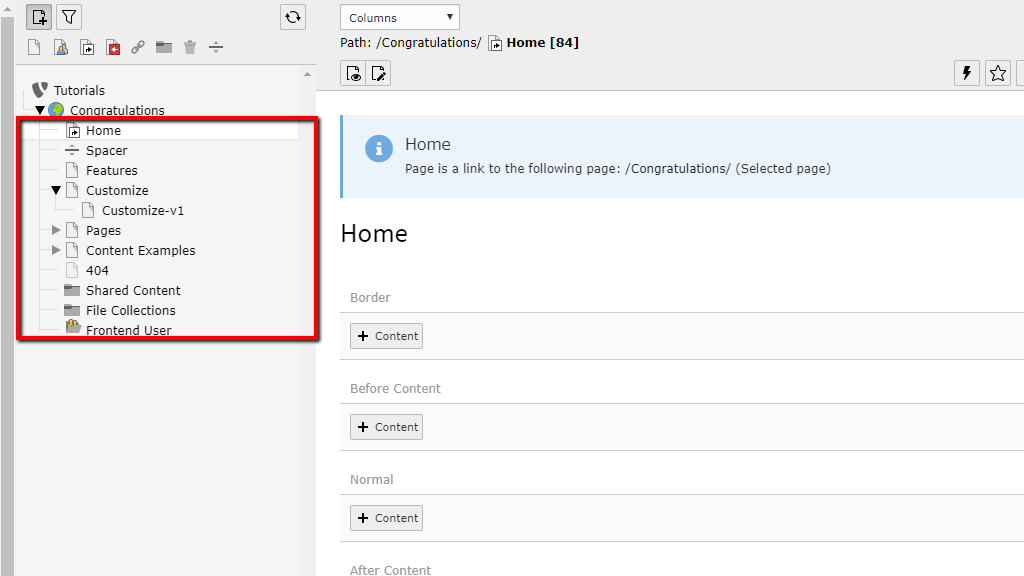
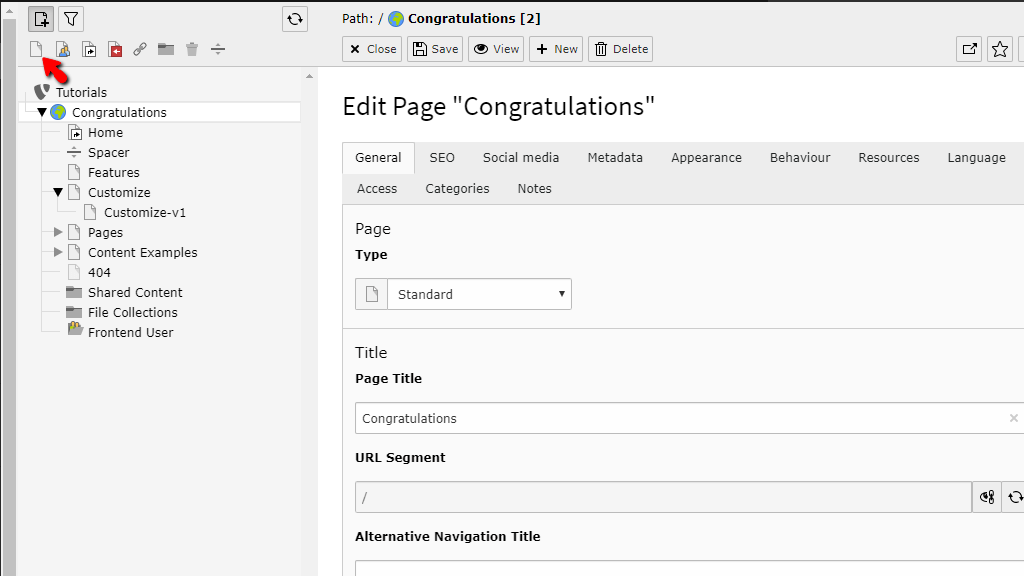
On top of the Page Tree, you will notice several icons. Using these icons, you will be able to determine the type of page you would like to add. Here are some of the types you are going to use on a regular basis.
To add a standard page, please hover your mouse over the very first icon on the menu located on top of the Page Tree.
When you have done that, click on it and hold it. After that, drag and drop the newly generated page inside the tree to add the page.
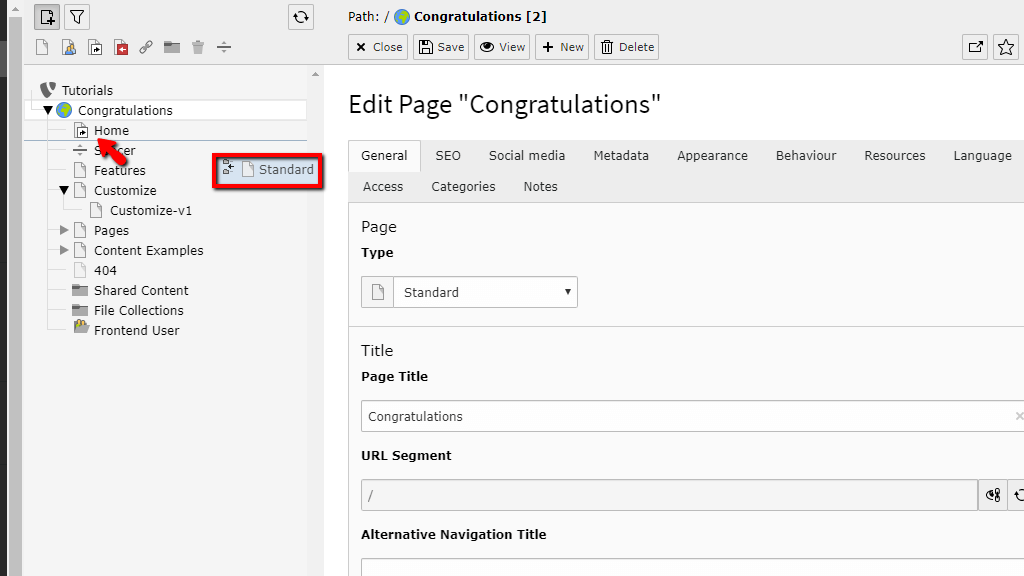
The Page Tree will display the place where this page will be inserted once you drop it. In our case, we have dropped it under the “Home” page.
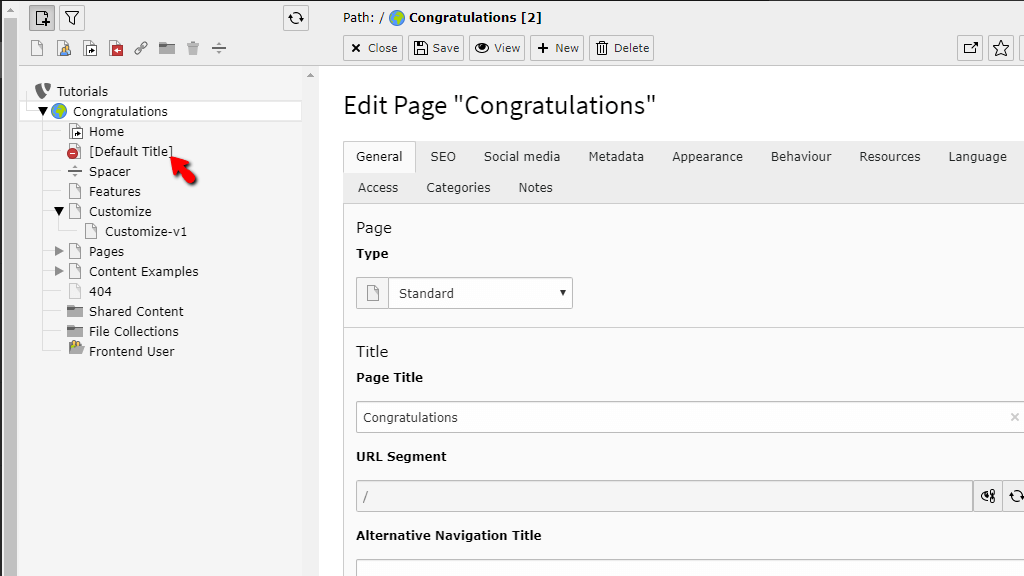
When you drop it on the desired location, the new page will be highlighted in blue, and you will be able to set a name for it. Additionally, this page will be disabled by default, which means it will not appear on the website in such a state. In order to activate it, please right-click on the page, and from the expanded dropdown menu, click on the “Enable” option.
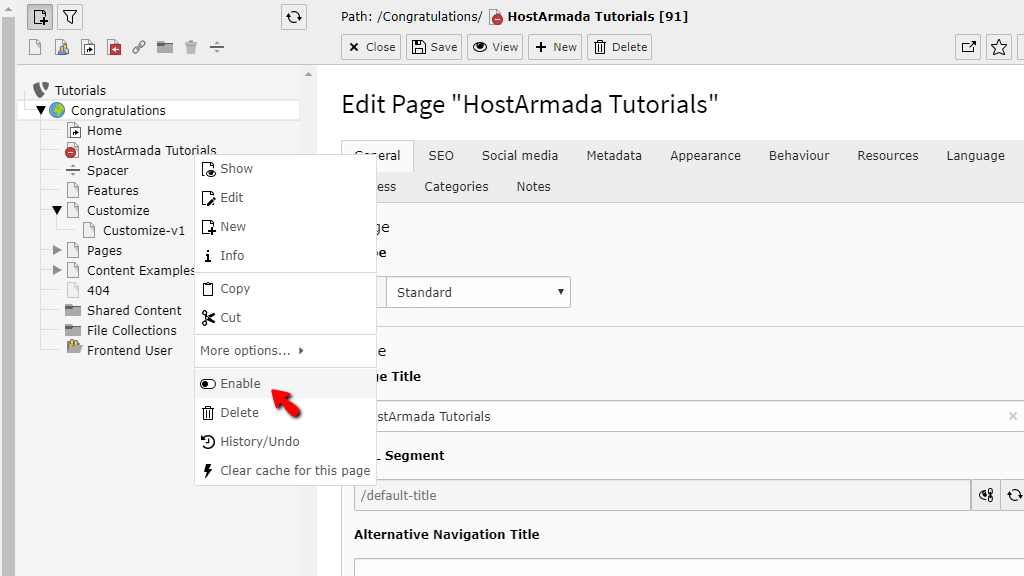
This will activate the page, and you may start adding new content to it by left-clicking on the page. The way to add content and to edit pages will be discussed in our How to add content to newly created pages or edit existing pages in TYPO3 tutorial.
And there you have it! The method of adding a page in TYPO3, using the Page Tree. Adding pages is a bit more different than with other CMS applications out there, and hopefully, this tutorial has taught you how to do it.

Sebahat is a young and bright woman who has become an invaluable part of our team. She started as a Customer Care Representative, mastering that role and, along the way, growing into a tech-savvy individual who is well acquainted with every support layer of the company. Driven by her aim to improve our customers’ experience constantly, she is committed to enhancing the extraordinary support we deliver.
Learn more about TYPO3 in the other tutorials that we have: