
Having instant access to your email accounts is exceptionally convenient, especially during times when you do not have a computer or a laptop in hand. Therefore, we decided to review the process of configuring your emails on Android Devices. Within a few simple steps, you will be able to check, send, and receive emails through your phone or tablet.
Please note that this tutorial expects you to have an active email account before proceeding with this tutorial. If you have not done that yet, please go ahead and do it before you continue further. You can find detailed instructions in our guide based on How to manage Email accounts in cPanel.
You will also need to acquire the configuration details required to set up your email account:
Suppose you are a HostArmada customer and are using our email services. In that case, you will find the required details in the Welcome Email containing all the essential information of your hosting account with us. You can directly review the email from your Client Area by clicking on the email icon located at the top menu bar.
![]()
You can also find the configuration details in your cPanel account by navigating to the EMAIL section > Email Accounts > Connect Devices.

In case you have any difficulties finding the details, please make sure to submit a ticket request to our team, and they will gladly give you the settings you need.
The first thing you need to do is to locate the email application on your Android device. Please bear in mind that it may differ depending on the type of device, the brand, and the OS version, however, the actual setup will be similar on all Android email applications.
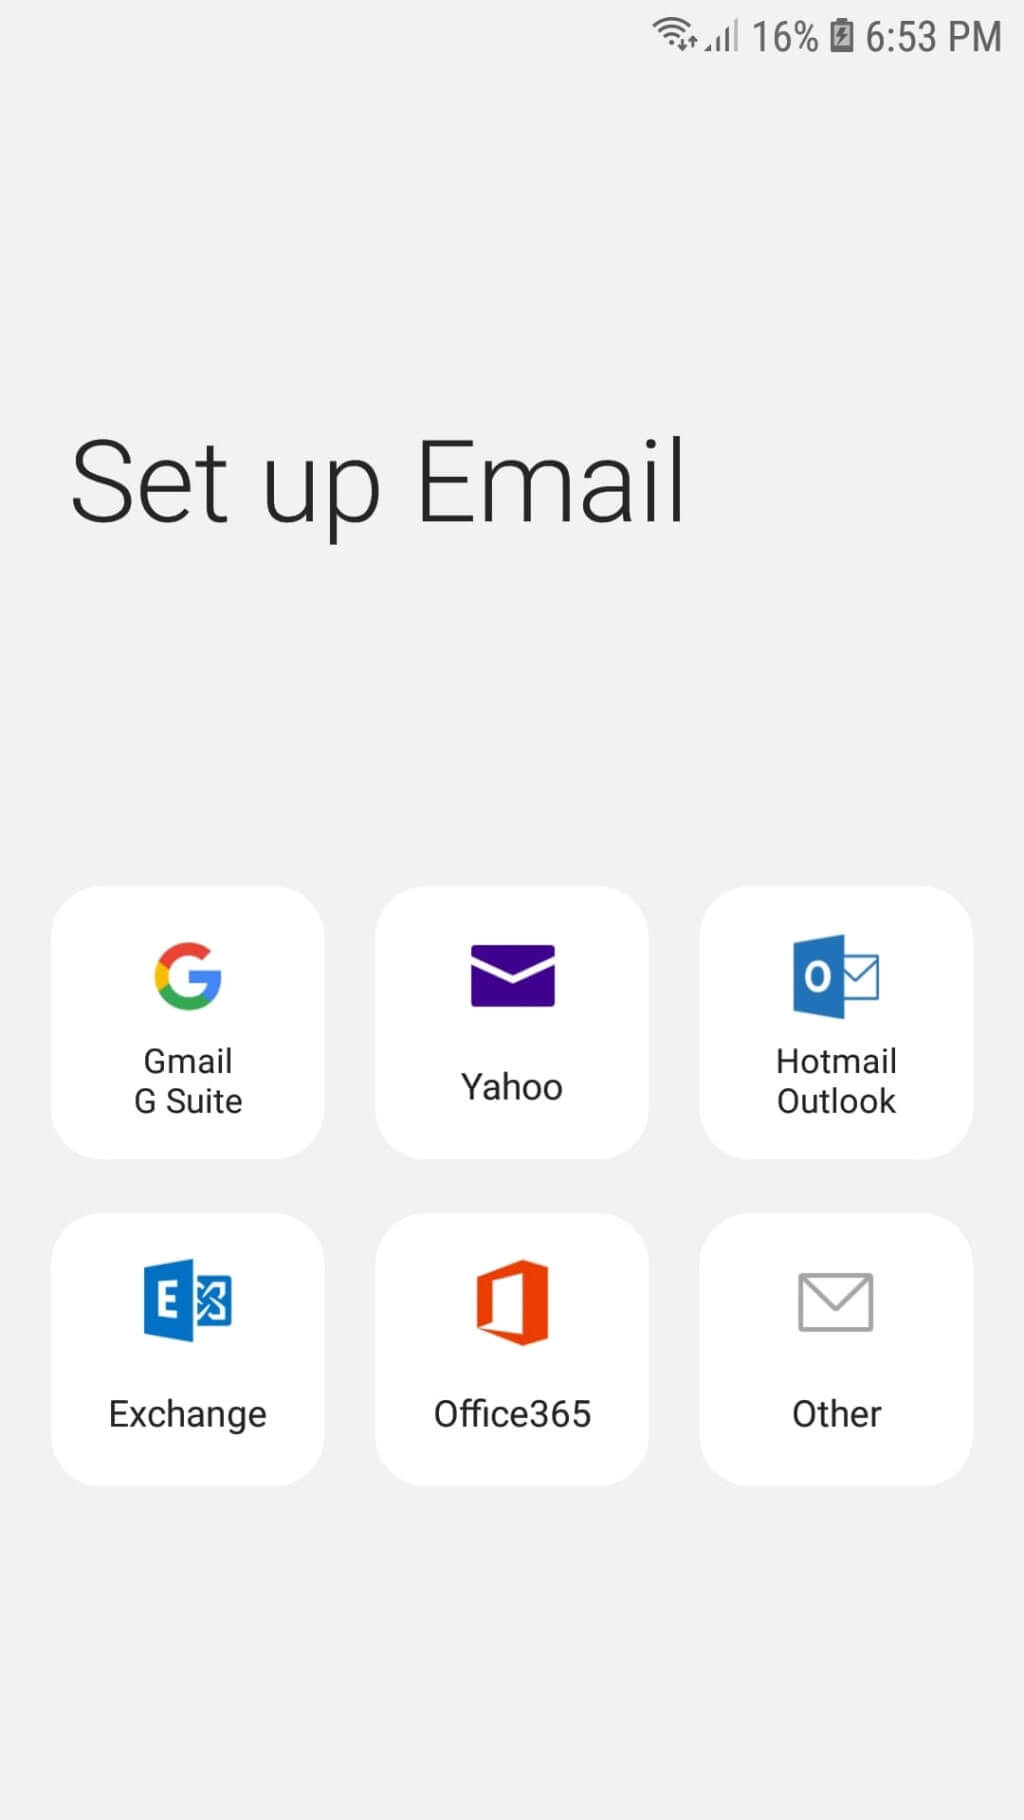
After you locate and open the email application, it will allow you to pick an account type. From these options, please select the "Other" type.
Once you do this, you will see the "Add new account" screen, where you will notice two text fields for the username and password. Please enter them in the respective fields. After you add the details, please click on the "Manual setup" button located at the screen's bottom-left corner.

A new "Select account type" pop-up will appear, and you will need to choose the preferred configuration type - IMAP or POP3. If you wish to learn more about these email account types, please read our knowledge base article on The difference between POP3 and IMAP protocols.

In the following sections, we will review each type, step-by-step, to avoid any confusion.
After you have selected the "IMAP account" option, the Android email application will redirect you to the next "Server settings" step. There you will notice the page splitting into three sections: "Account", "Incoming server", and "Outgoing server".
Account:

Incoming server:

Outgoing server:

Once you enter the required details inside your Android email application, please ensure you have filled all the fields correctly. Finally, please click on the "Sign in" button.
As soon as the phone accepts the provided information, it will take you directly to the email's inbox, where you will see all your messages.

That is it! You have managed to set up your Email Account on the Android email application successfully.
If you intend to set up a POP3 Email Account, you should follow the same steps. After you enter your email address and password, this time, please select the "POP3 account" type instead. Once again, the email application will show you the "Server settings" screen where you need to configure the "Account" and "Outgoing server" settings in the same manner as for an IMAP account. The only difference will be under the "Incoming server" section, where instead of IMAP, you will need to configure the POP3 information.

Whenever you are ready, click on the "Sign in" button, and the Android email application will create your POP3 account!
Simple as that, and you have your email account successfully configured on your Android Device. We hope you did not experience any difficulties, and you have managed to set it up on the email application on your Android following our directions. If you have any further questions, please do not hesitate to contact our Support Team.

Sebahat is a young and bright woman who has become an invaluable part of our team. She started as a Customer Care Representative, mastering that role and, along the way, growing into a tech-savvy individual who is well acquainted with every support layer of the company. Driven by her aim to improve our customers’ experience constantly, she is committed to enhancing the extraordinary support we deliver.
Learn more about Email in the other tutorials that we have:
