
Metadata represents a description of the content you have on your website. The metadata will be used by search engines to provide more well-rounded information for people looking for this type of content. With Twitter and Facebook being the most widely used social networks, Ghost will offer you an option of editing the metadata of your Twitter and Facebook pages for your blog too! Note that this metadata is set for the website in general, rather than for your posts and individual pages. We have great tutorials on How to create and publish posts and How to create and publish pages in Ghost, where we also explain how you can set individual metadata for each page and post!
In this tutorial, we are going to take you through the process of setting up the metadata for your blog and its Twitter and Facebook pages. Let’s get started.
First, you have to log into your Ghost Admin Dashboard. To do so, please open your favorite browser and enter your domain name, followed by "/ghost". For example:

After logging in, please point your attention to the left side of the screen. You will see a sidebar, and from the listed choices, you have to select “General”.

This will take you to the “General Settings” page, allowing you to perform all sorts of changes on your blog. The functionality we will be discussing in this tutorial is located under the “Site Meta Settings” section.
To change the metadata of your blog, you need to display the options of the “Meta data” row, which will be the first result under the “Site Meta Settings” section.

To reveal these options, please press the “Expand” button, located on the far right side of the row.

Here is what you are able to alter under the expanded settings.

Finally, when you are happy with the meta title and description you set for your site, all you need to do is press the “Save settings” button, located on the top right side of the page.
To customize the structured data of your blog for Twitter, please look under the “Site Meta Settings” section. Underneath, you will find the “Twitter card” row and on the far right side, the “Expand” button.

Please press the “Expand” button to reveal the options for setting up your structured data for Twitter. Here is what you are able to alter under the expanded options:

If you want to delete the image you inserted because you are not satisfied with how it looks in the preview, please press the garbage can icon, located in the grey background of the “Add Twitter image” area.
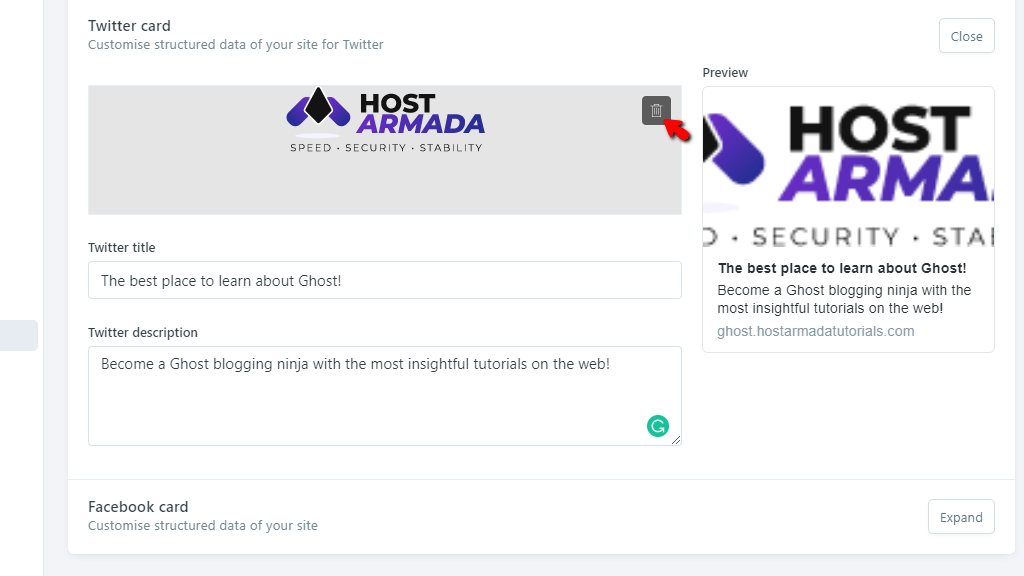
This will once again unveil the “Add Twitter image” button, allowing you to upload a new image!

Finally, when you are happy with the structured data you have set for your site’s Twitter page, all you need to do is press the “Save settings” button, located on the top right corner of the page.
To customize the structured data of your blog for Facebook, please look under the “Site Meta Settings” section. Underneath, you will find the “Facebook card” row and on the far right side, the “Expand” button.

Please press the “Expand” button to reveal the options for setting up your structured data for Facebook. Here is what you are able to alter under the expanded fields:

If you want to delete the image you inserted because you are not satisfied with how it looks in the preview, please press the trash can icon located in the grey background of the “Add Facebook image” area.

This will once again unveil the “Add Facebook image” button, and allow you to upload a new image!
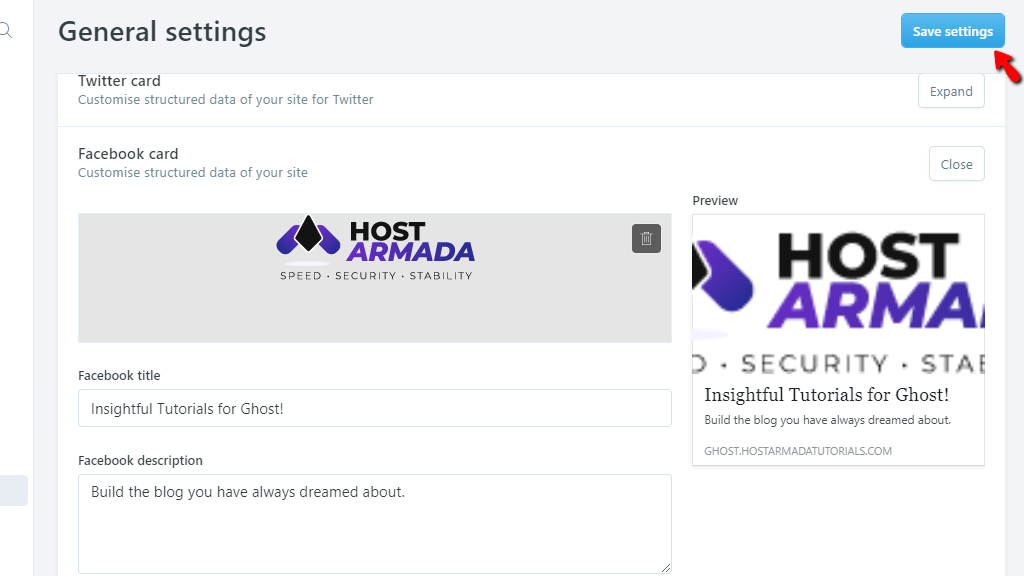
Finally, when you are happy with the structured data you have set for your site’s Facebook page, all you need to do is press the “Save settings” button, located on the top right side of the page.
There you have it! The way to set your metadata for your website and your website’s Twitter and Facebook pages. If you had fun reading this tutorial and you would like to learn more about the Ghost publishing platform, you should definitely check the rest of our tutorials on the matter in our Ghost Tutorials section.

Sebahat is a young and bright woman who has become an invaluable part of our team. She started as a Customer Care Representative, mastering that role and, along the way, growing into a tech-savvy individual who is well acquainted with every support layer of the company. Driven by her aim to improve our customers’ experience constantly, she is committed to enhancing the extraordinary support we deliver.
Learn more about Ghost in the other tutorials that we have:
