
As a blog owner, writing posts will be one of your primary activities. Considering that, it is important to configure the Writing settings of your WordPress website. They will allow you to control the writing experience while creating or editing your posts and pages. In addition, you will be able to set up the remote publishing settings related to your posts.
It is always recommended to adjust all WordPress settings before you start creating your content in order to ensure they fit the individual needs of your project.
For a start, please log into your WordPress Admin Dashboard. You can do that by accessing your domain followed by "/wp-admin", i.e., "yourdomain.com/wp-admin", where "yourdomain.com" stands for your actual domain name.
Once logged, please navigate through the left-hand side menu bar to Settings > Writing.
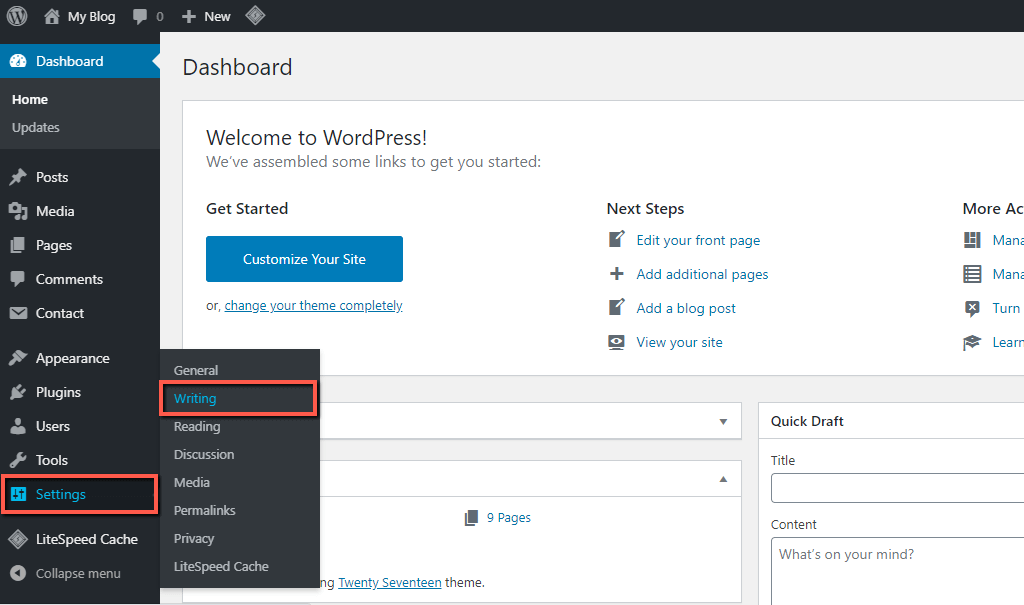
Upon doing that, you will be redirected to the "Writing Settings" section, where you can start the configuration.
Now that you are on the intended page let's review all the settings and alter them with the intention to your individual preferences.
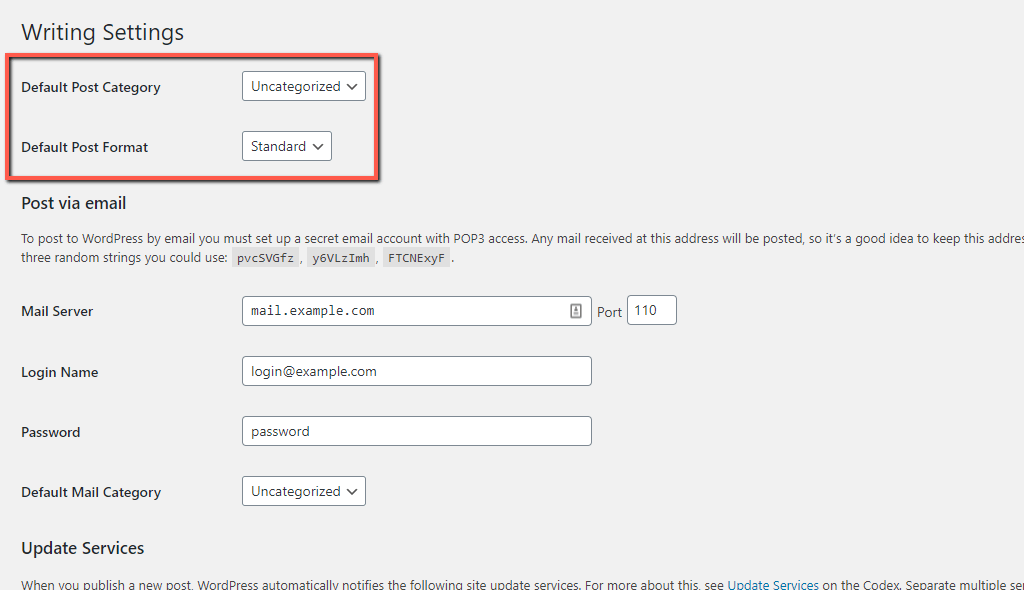
In WordPress, all posts are by default assigned to the "Uncategorized" category. The first "Default Post Category" allows you to choose the initial category for all new posts you create to be automatically assigned to. It is useful in case you do not intent to manually assign posts to a particular category or in case you forget to do so.
The second "Default Post Format" determines the styling format, which will be automatically applied to all new posts. Within the dropdown menu, you will find all post formats supported by the theme you are using.
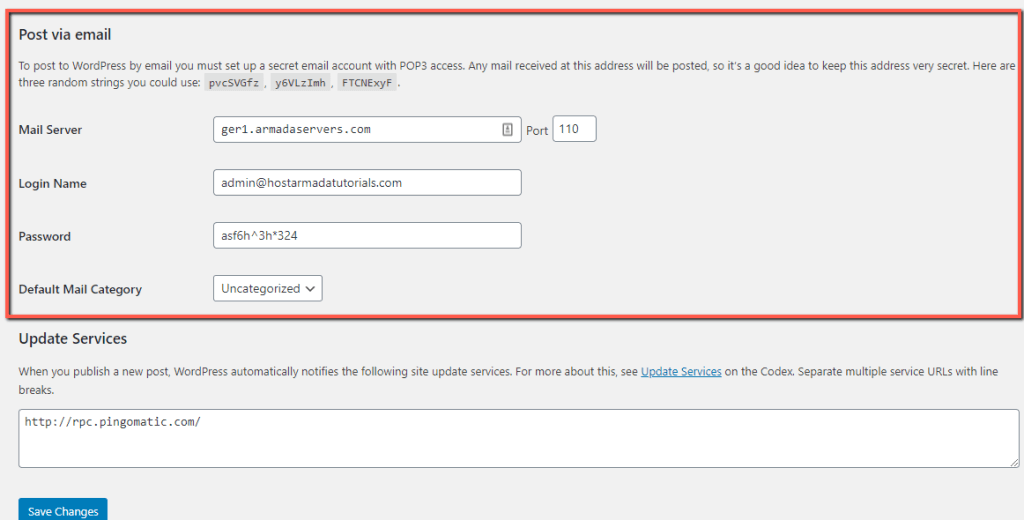
WordPress allows you to automatically create and publish blog posts generated based on the email messages you have sent. In other words, you can regularly send emails to a specific email address (selected by you), and these emails will automatically be converted into posts and directly published on your website. To achieve that, you have to set up the desired email account with a POP3 configuration.
Please bear in mind that all email messages received for the address you will configure will be published, therefore to avoid any unintended posts, it is a good idea to keep this email address secret. A good practice will be using the random strings suggested by WordPress (pvcSVGfz, y6VLzImh, FTCNExyF).
Under the "Post via Email" section, you will find few fields intended for the email configuration.
WordPress automatically informs popular Update Services whenever you create or update a post on your website. This is done by sending an XML-RPC ping to the update services listed within the "Update Services" content box.
The most common usage of such updates is with consideration to generating more traffic by letting many services know that your website had been updated.
If you want to include more services, please make sure to include each of the corresponding URI in a separate line.
In case you would like to disable this functionality, simply delete all URIs from the content box.
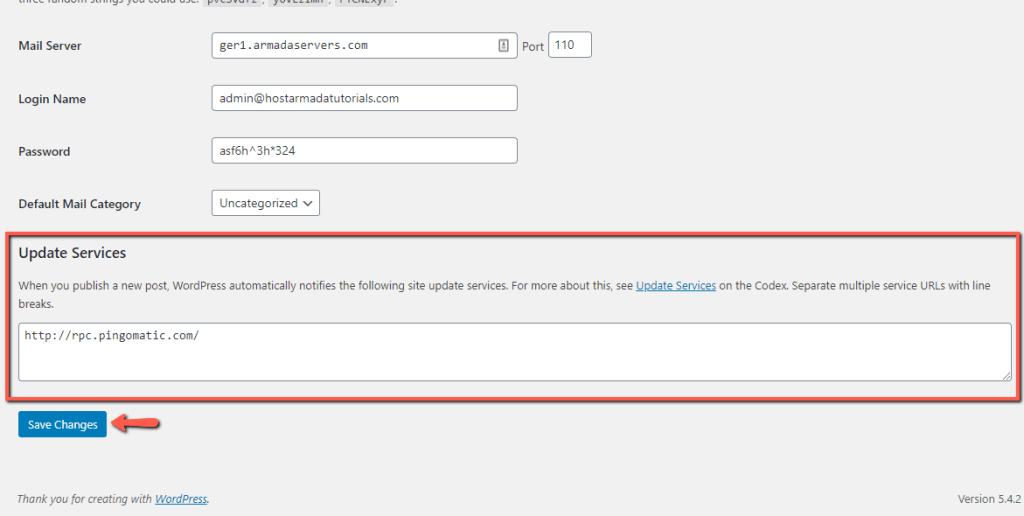
When you perform all desired changes, please make sure to click on the "Save Changes" button to apply them successfully.
With this said, you know how to alter the settings related to the writing experience in your WordPress-based website. To sum up, you have learned how to set up your default post categories and formats, how to configure the send via email, and update service functionalities. We hope the information provided in this tutorial brought a little bit more light on how WordPress is configured to work.

Sebahat is a young and bright woman who has become an invaluable part of our team. She started as a Customer Care Representative, mastering that role and, along the way, growing into a tech-savvy individual who is well acquainted with every support layer of the company. Driven by her aim to improve our customers’ experience constantly, she is committed to enhancing the extraordinary support we deliver.
Learn more about Wordpress in the other tutorials that we have:
