
Organizing your products accurately is extremely important as your visitors will be able to easily navigate through your Online Store and find exactly what they are looking for. Before we step into adding actual products, we will review the process of creating categories, as this will allow you to efficiently organize your products while you are adding them. In this tutorial, we will guide on how to create Product Categories and Sub-Categories in OpenCart 3. The main categories are displayed in the top menu bar on the storefront, while the subcategories are displayed beneath each of the parent categories when you hover over them.
In order to begin, please log in to your OpenCart Admin Dashboard and navigate through the left menu bar to Catalog > Categories.

Under the “Categories” page you will see listed all default OpenCart categories, in case they are not needed, please mark them all by ticking the “Category Name” checkbox at the top and click on the “Delete” button.

Once this is done you are ready to step into adding your new categories.
In order to add your first category, please click on the blue “Add New” button positioned at the upper-right corner of the page.

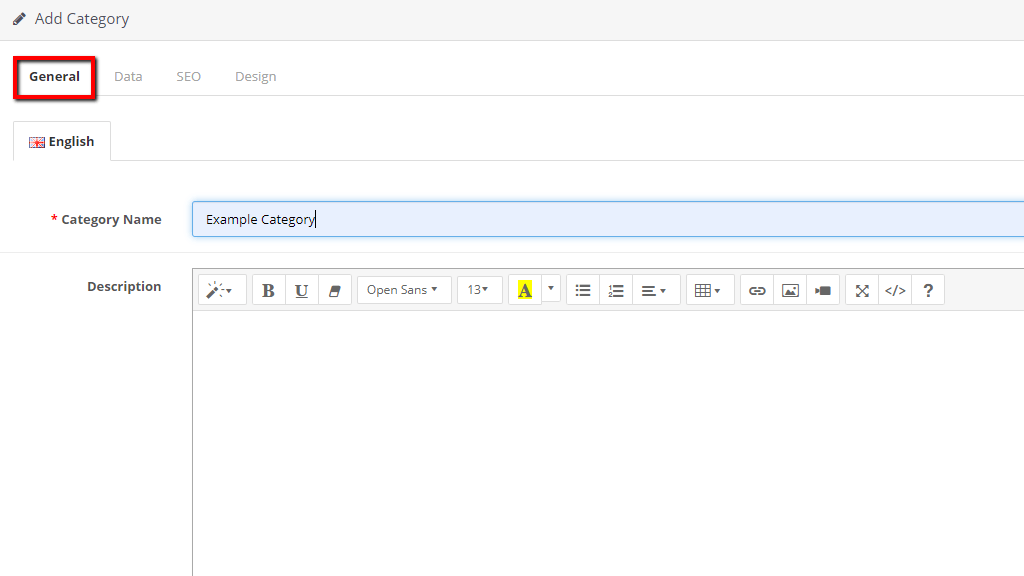
When you access the “Add Category” page you will notice that it is split into four main tabs that contain different settings.
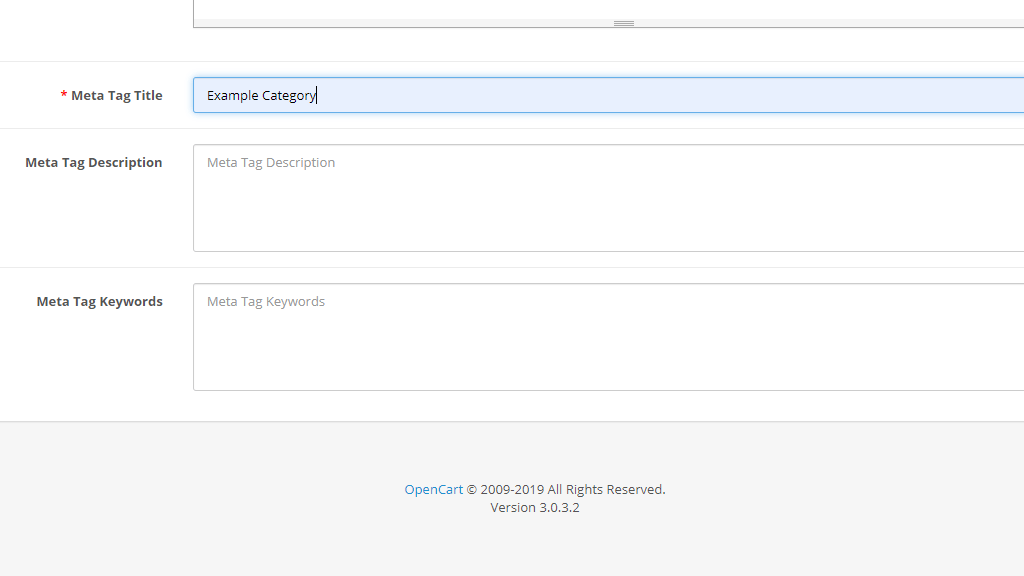
From the first “General” tab you will be able to configure the main category information and the metadata related to it.
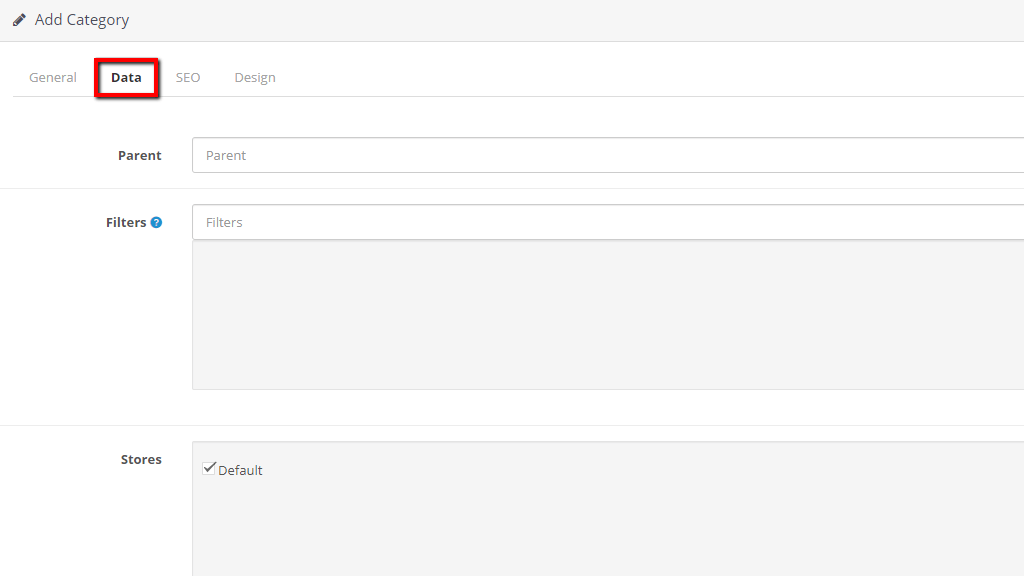
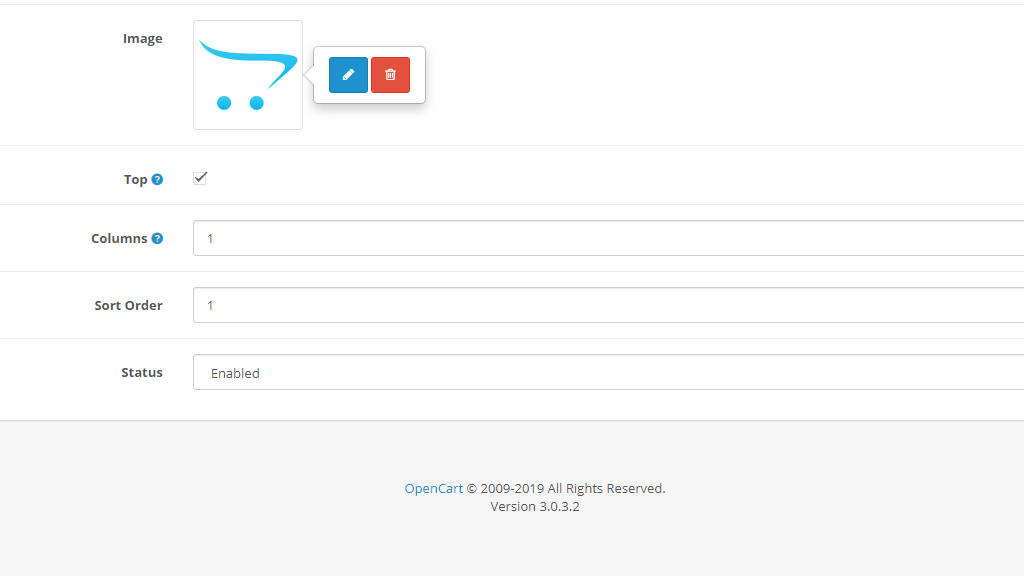
When you are ready, please switch to the next “Data” tab. From here, you will be able to maintain the appearance of the category.
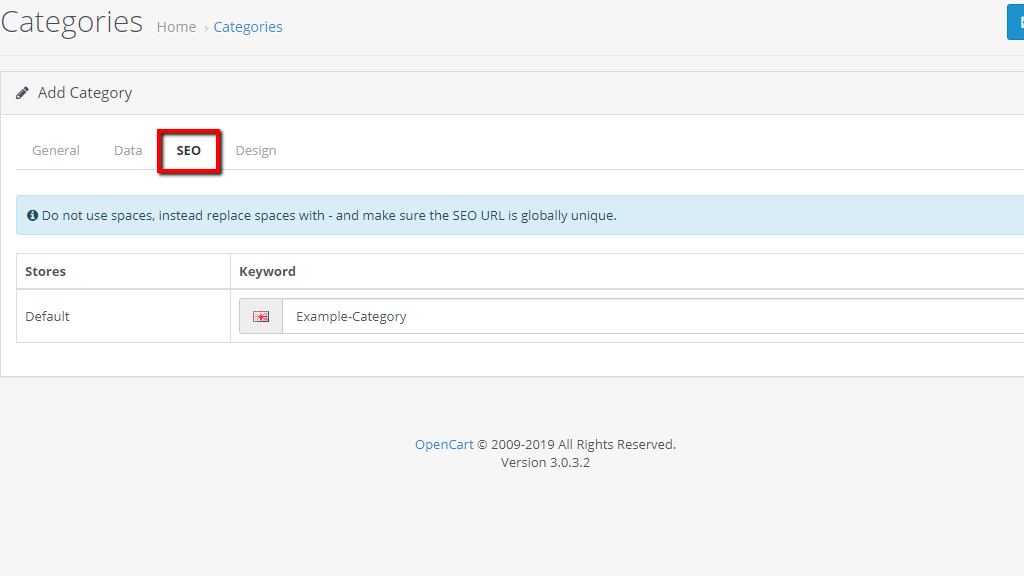
When you are ready, please switch to the following “SEO” tab. You will see only one field here which will allow you to assign the SEO URL of the category page. More information about how to set up SEO friendly URLs in OpenCart you can find in our guide available here.
Once you are done, please switch to the last “Design” tab. From the “Layout Override” dropdown menu you will be able to select a different layout for the category and assign modules to it if needed.
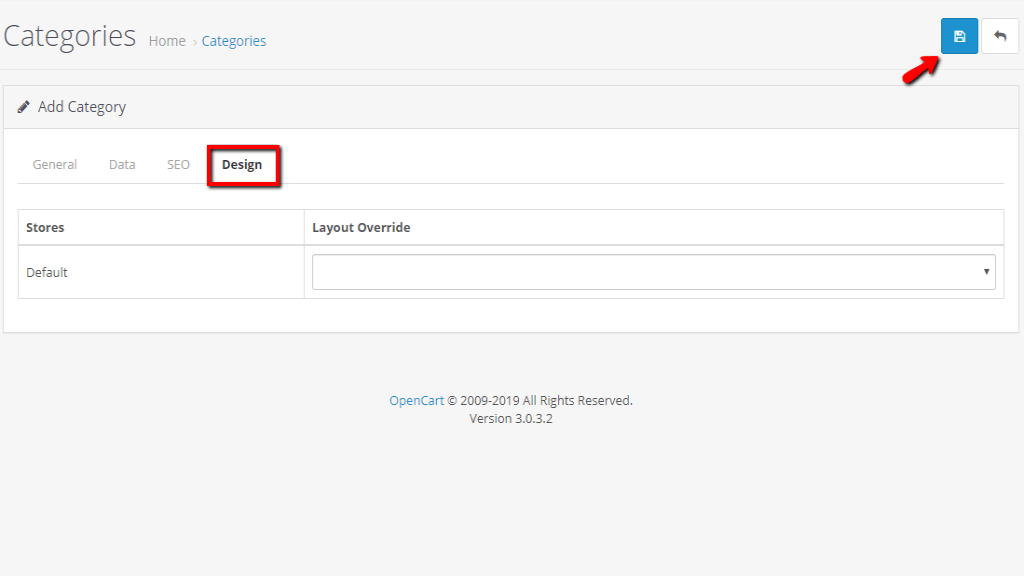
When you are ready, please click on the blue “Save” button at the upper-right corner to add your new category.
Now that the category is successfully added, please go ahead and double-check if it is displayed on your store frontend.
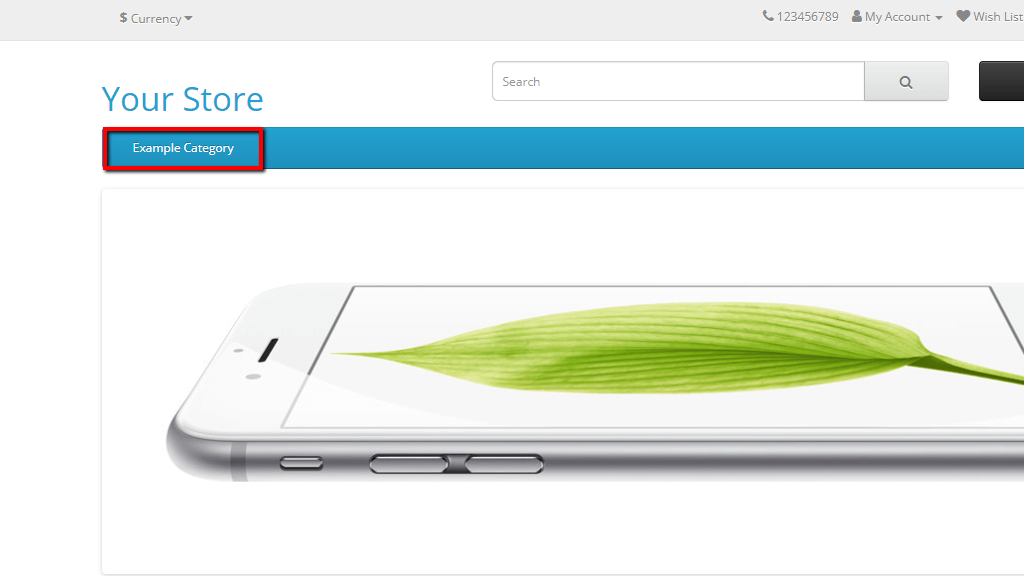
If the category appears as expected - you are all set!
We would like to congratulate you on learning how to create your own categories and subcategories and efficiently manage your products. We hope you have found the information in this tutorial useful and guidance easy to follow. In case you have any additional questions you are welcome to contact our Support Team.

Sebahat is a young and bright woman who has become an invaluable part of our team. She started as a Customer Care Representative, mastering that role and, along the way, growing into a tech-savvy individual who is well acquainted with every support layer of the company. Driven by her aim to improve our customers’ experience constantly, she is committed to enhancing the extraordinary support we deliver.
Learn more about Opencart 3 in the other tutorials that we have: