
In this tutorial, we will guide you on how to create new products in OpenCart 3. Now that we had covered the Categories, Filters, Attributes, Options, and Recurring Profiles, you are finally ready to step into adding products to your Online Store. We will walk you through the entire process step-by-step and precisely explain all the details you need to pay attention to.
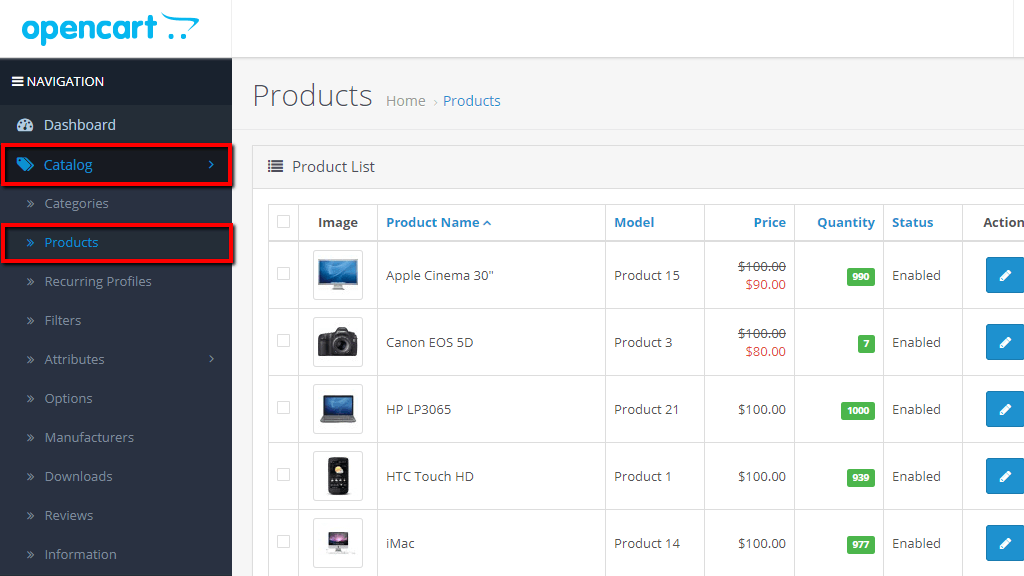
As usual, the first step you will need to take is to log in to your OpenCart Admin Dashboard. When you are in, please navigate through the left menu bar to Catalog > Products.
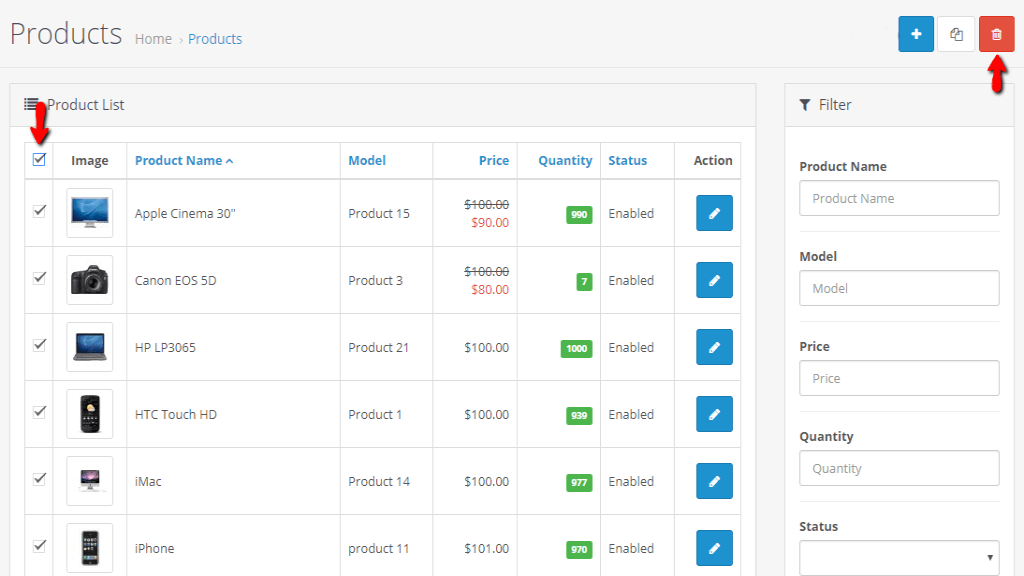
On the “Products” page you will see listed all the sample products created by default along with the OpenCart installation. In case they are no longer needed you can mark them all by ticking the top checkbox (next to the “Image” field) and click on the red “Delete” button to remove them.
Whenever you are ready, you can step into adding your very first product.
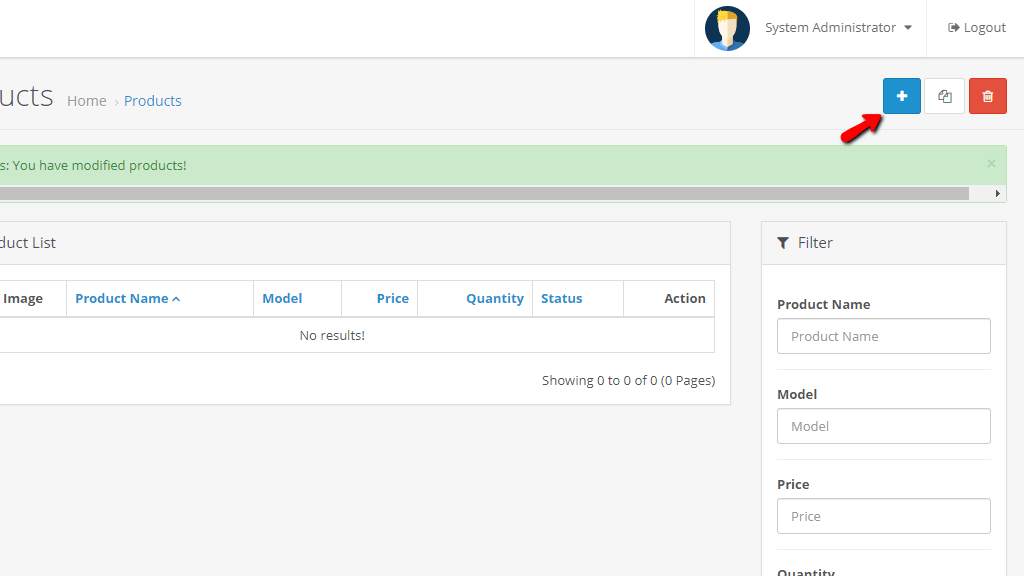
First thing first, please click on the blue “Add New” button and let’s review how to create a new product from scratch.
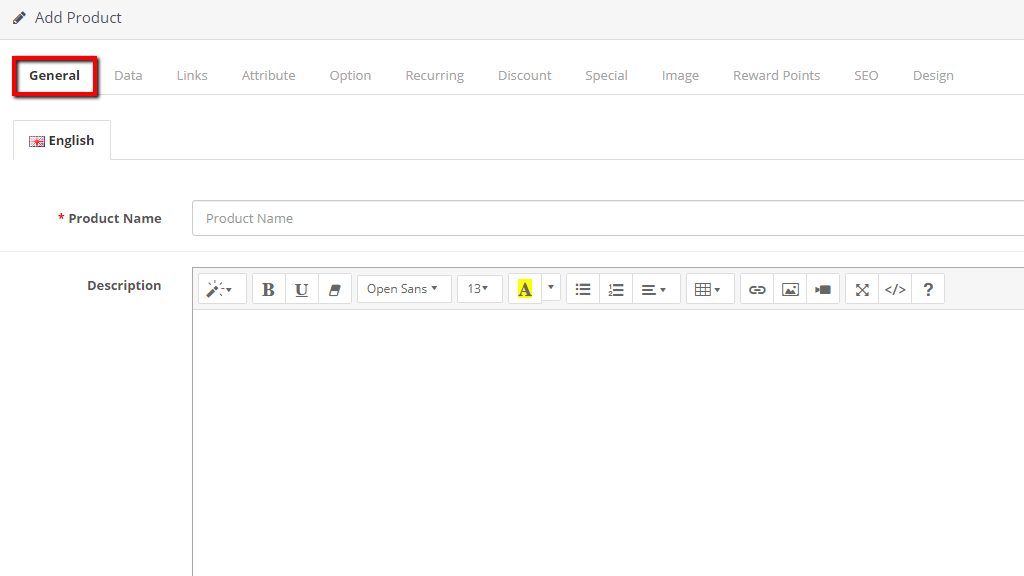
Once you are presented with the “Add Product” screen you will notice that it is split into a few tabs containing different settings. In order to keep in consistent and ensure you are entirely aware of what information you need to specify we will separately review each of them and explain everything in detail.
The first tab, displayed by default, is the “General”. As the name suggests under this tab you will need to configure the general product information.
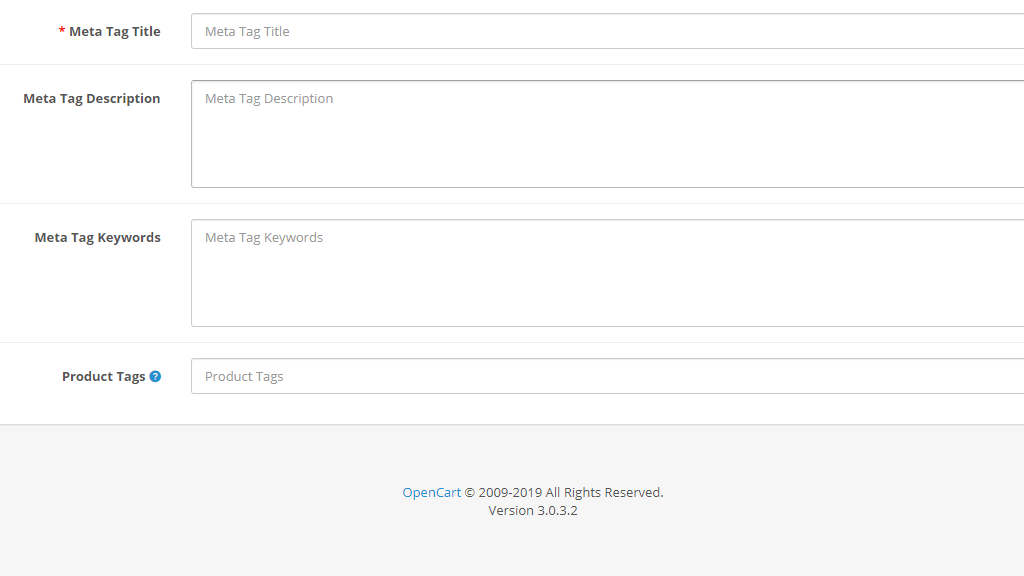
Right below you will need to specify the metadata and the product tags.
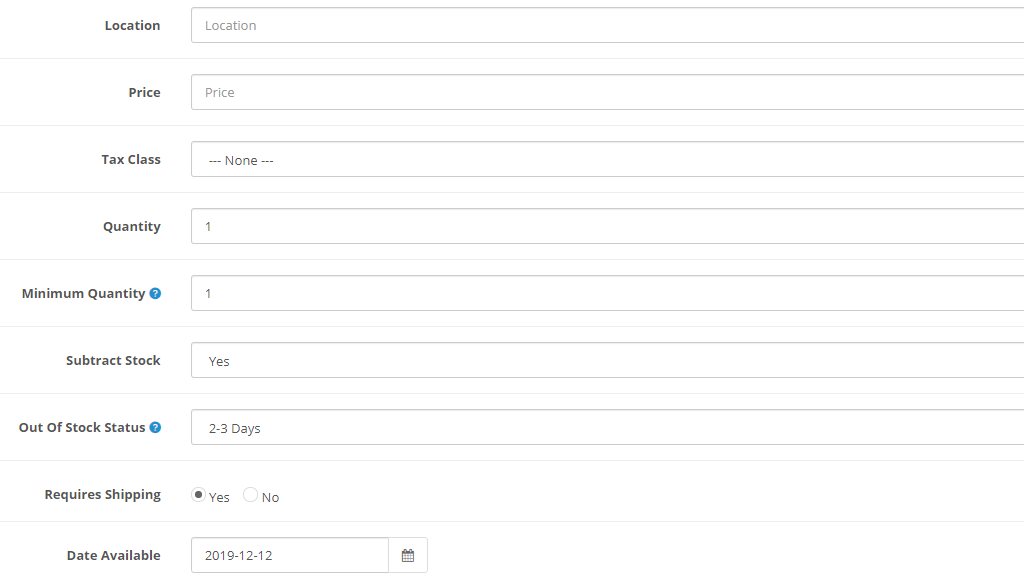
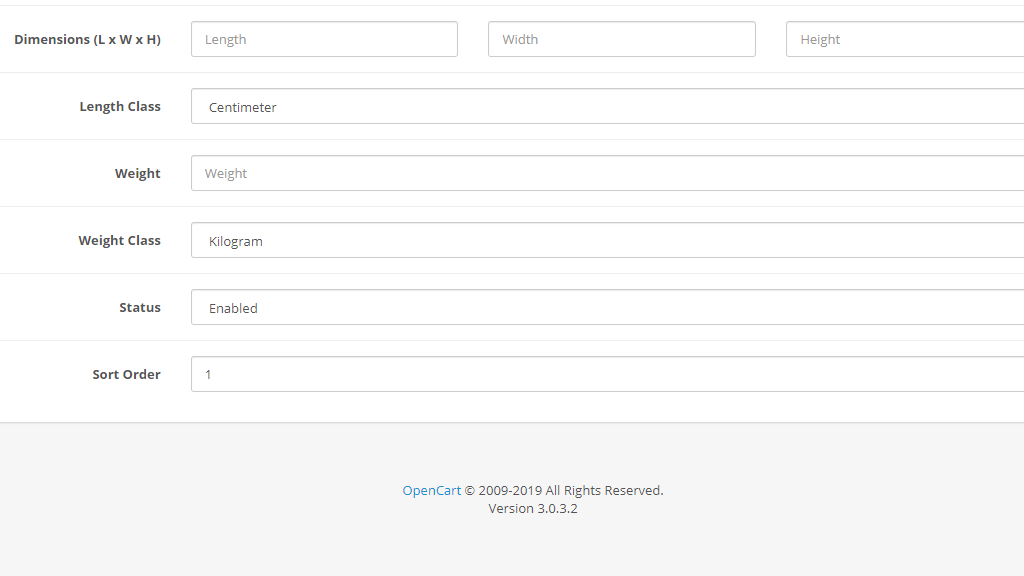
Under the second “Data” tab you will need to configure all the essential product specifics.
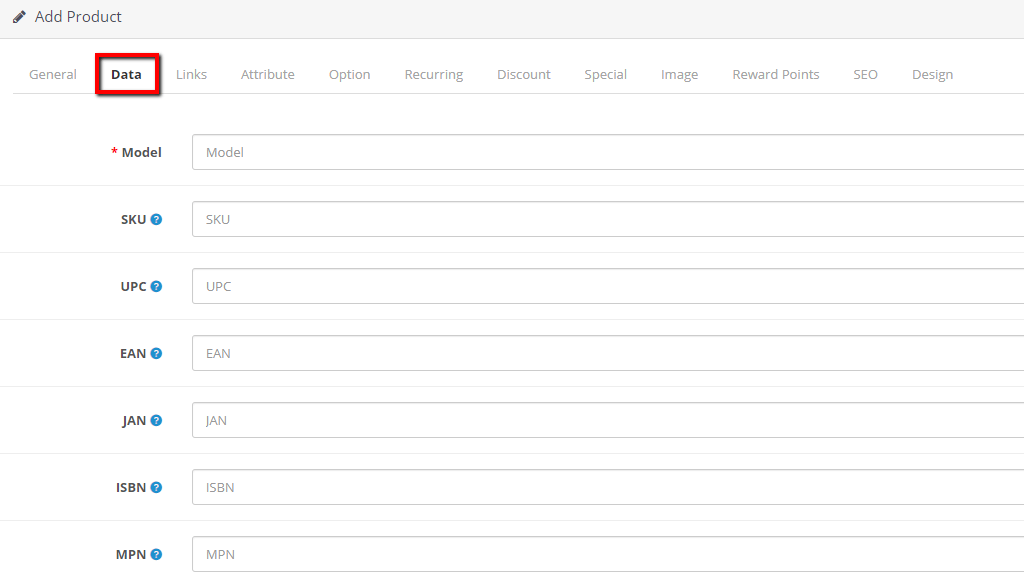
Please note that by default, the “SKU”, “UPC”, “EAN”, “JAN”, “ISBN” and “MPN” values are not displayed on the storefront.
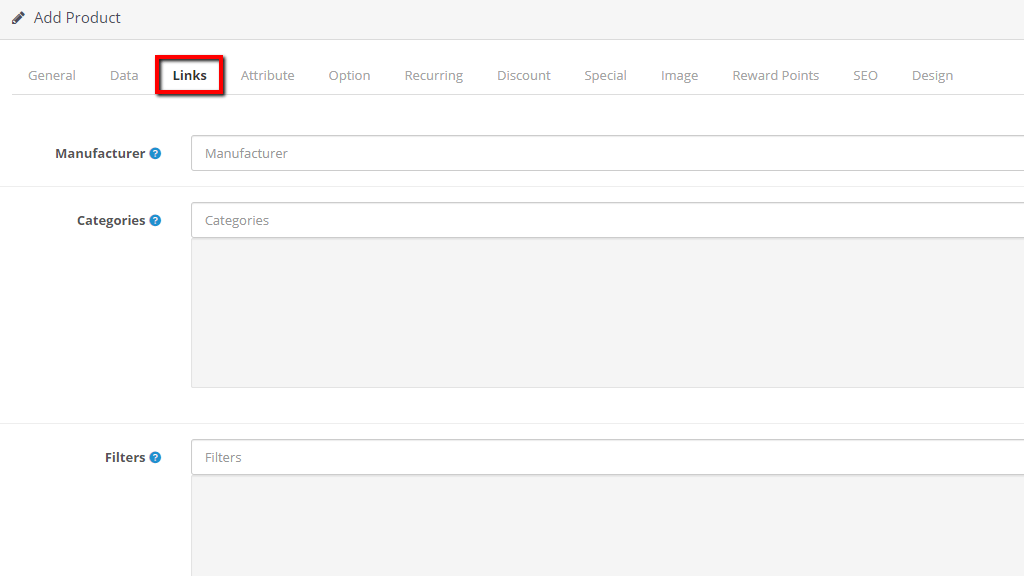
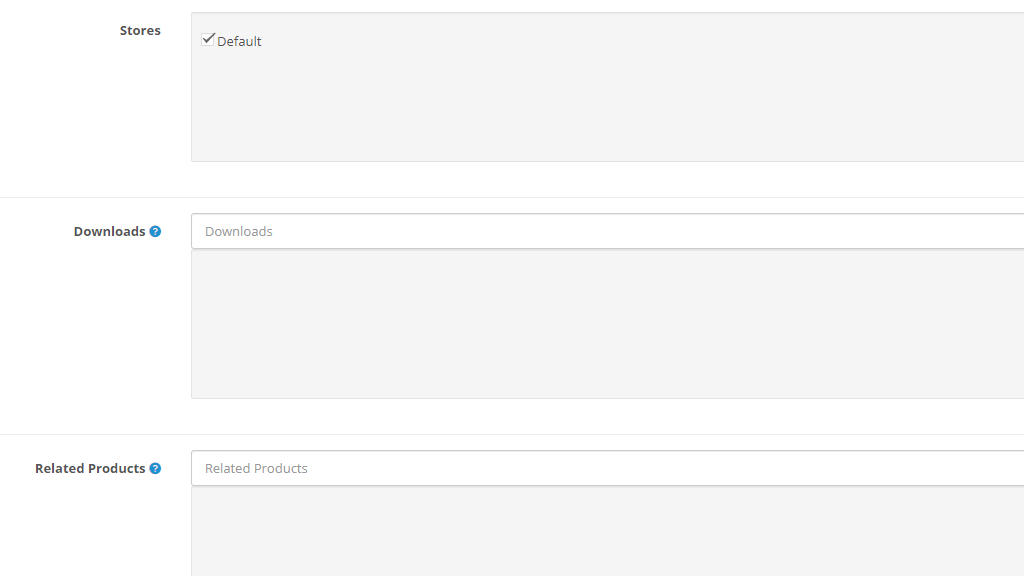
In the following “Links” tab you will be able to assign the product to specific groups.
From the “Attribute” tab you will need to select the attribute(s) applicable to this product. To add an attribute, please click on the blue “Add Attribute” button. When this is done you will need to enter the name of the attribute in the “Attribute” field and write supplemental information in the “Text” field.
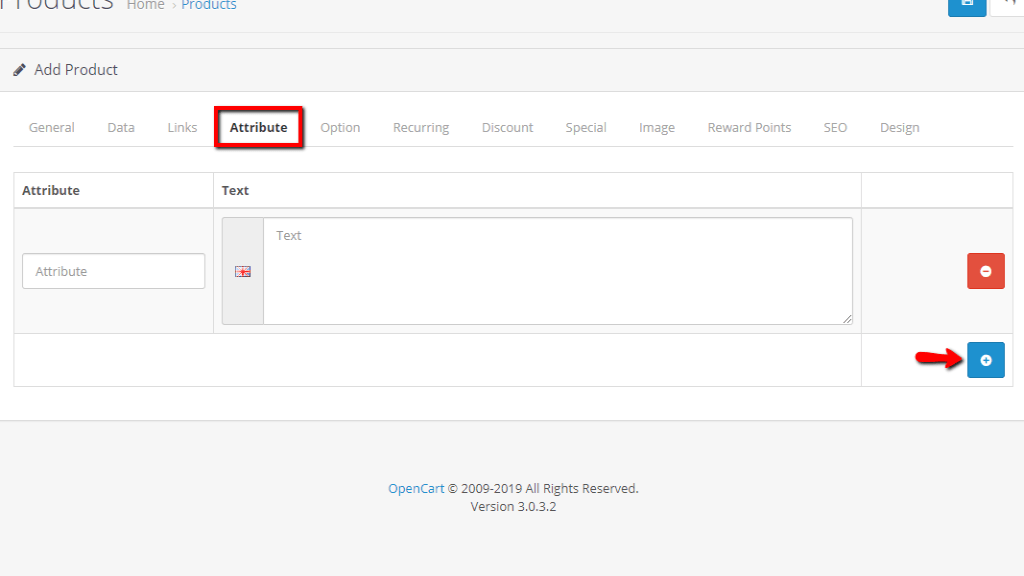
The attribute name and the text information will be listed on the product page under the “Specifications” tab.
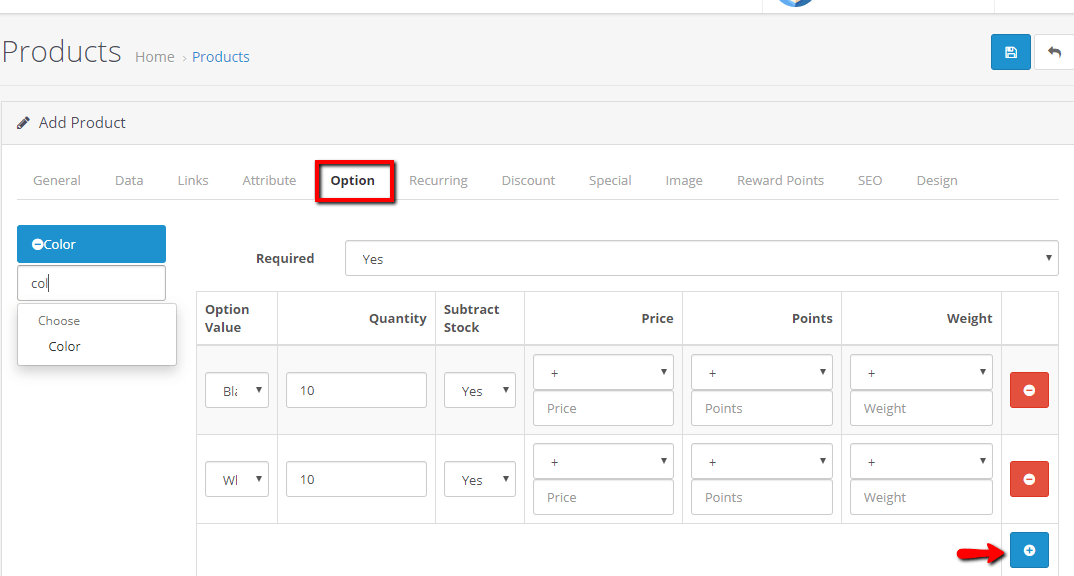
From the “Option” tab you will be able to select the required variations of the product. The “Options” function of OpenCart allows you to create different product versions. You will be able to set up the stock quantity, price, weight, etc. individually for each option. For example, if you are selling clothing and you offer different colors and sizes, you will be able to add and customize each of the variations of the product. Product Options can be configured by going to Catalog > Options. More information on the topic you can find in our guide available here.
Once you select the desired option(s) you will be presented with an additional “Required” dropdown menu with two choices - “Yes” and “No”. Your selection here determines whether your customers will be obligated to select one of the available option values in order to be able to place their order. We will recommend you to select the “Yes” option for any product with multiple variations to avoid receiving orders missing essential information.
Note that you will need to manually enter each option value by clicking on the blue “Add Option Value” button and then you will be able to configure individual item quantity, price, reward points, and weight for each option value. As well as to control whether the stock will be automatically subscribed per option value.
The selected option(s) will be displayed under the “Available Options” section on the product page.
From the “Recurring” tab you can assign a recurring profile(s) applicable to a specific customer group. In other words, a subscription that will charge your customers regularly (per frequency or cycles). Recurring profiles can be set up by going to Catalog > Recurring Profiles. In case you have not configured them yet, you can take a look at our guide available here.
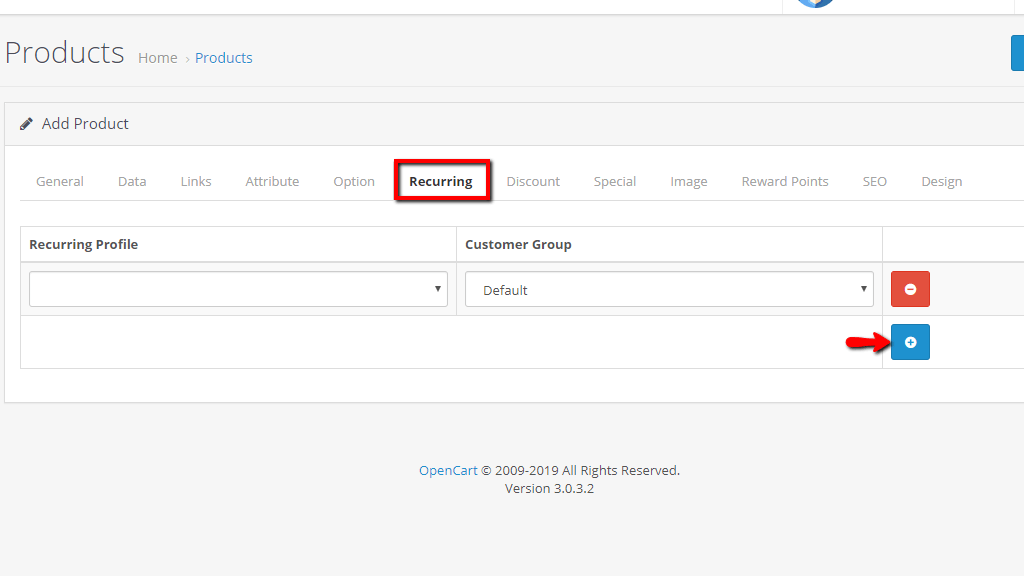
Once you are ready, please switch to the next tab.
The “Discount” tab is where you can configure specific discount terms for the product by clicking on the blue “Add Discount” button. You will be able to select a given customer group applicable for the discount, the product quantity required to benefit from the discount, the priority of the discount, the discounted price (excluding tax) and the time frame it will be available.
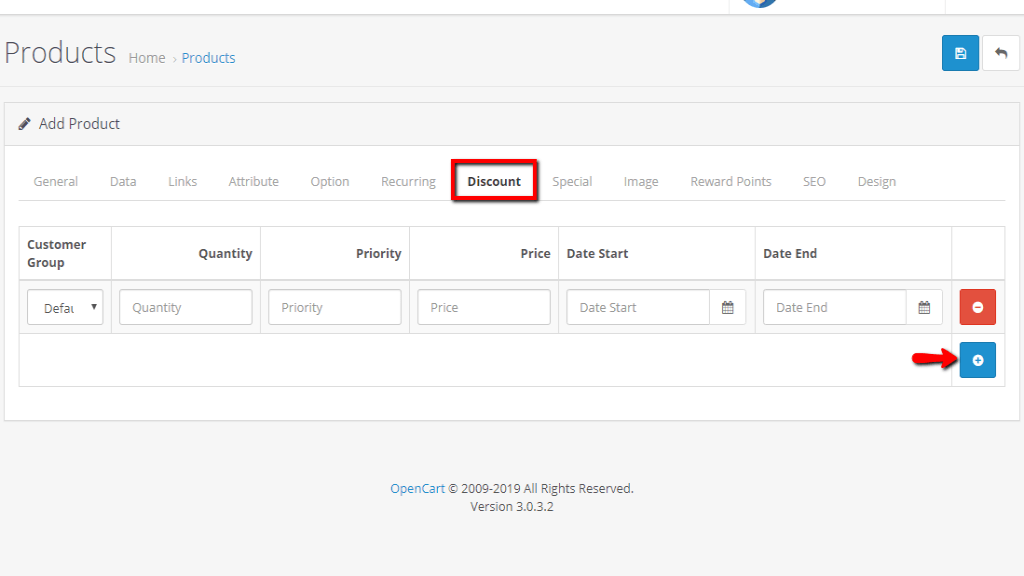
Note that you will be able to configure different terms for specific customer groups if needed.
Similarly to the previous tab, from the “Special” tab you can set up a discounted price. The main difference is that the special price is displayed on the product page and does not require specific product quantity in order to be applied. If you would like to configure a promotional price, please click on the “Add Special” button and in the new section select the customer group applicable for the special price, the priority of the special, the actual special price (excluding tax) and the time frame it will be available.
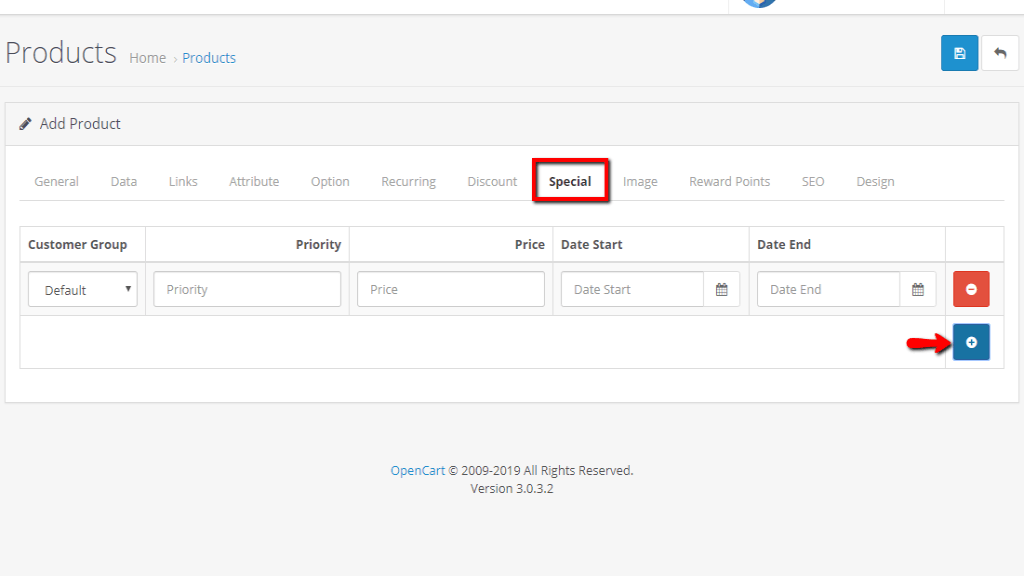
Again, if you need to configure different terms for specific customer groups, you will be able to it by configuring each one separately.
From the “Image” tab you will have to select the main and additional images for the product. In order to select the main product image, please click on the default OpenCart logo and hit the “Edit” button. Then you will be presented with the Image Manager dialog and you will be able to select one of the available images in the store gallery or upload a new image from your local computer. Once you have the desired image just click over it and it will be automatically selected. You can configure the additional product images by clicking on the blue “Add Image” button and following the same steps, just note that you will also need to enter the priority value which will determine the position of the image compared to the rest of the additional images.
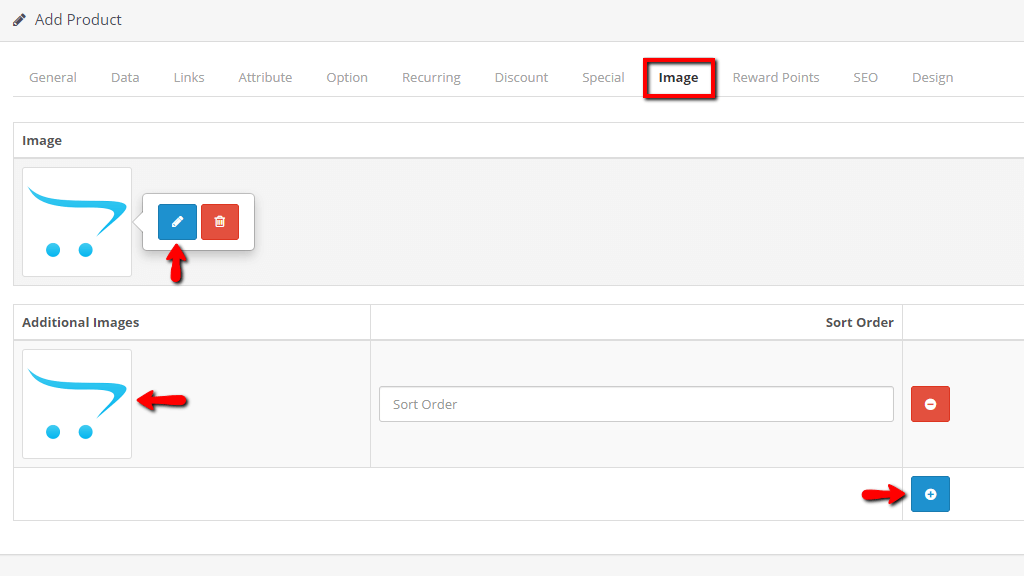
The main product image will be displayed in all product lists on the storefront, as well as on the product page itself. The additional product images will be available in the product image gallery displayed on the product page.
The OpenCart Reward Points system allows you to sell products for initially defined amounts of reward points. In this tab, you will be able to specify the number of reward points required for the purchase of this product, as well as the number of reward points which will be earned by the customer after purchasing the product.
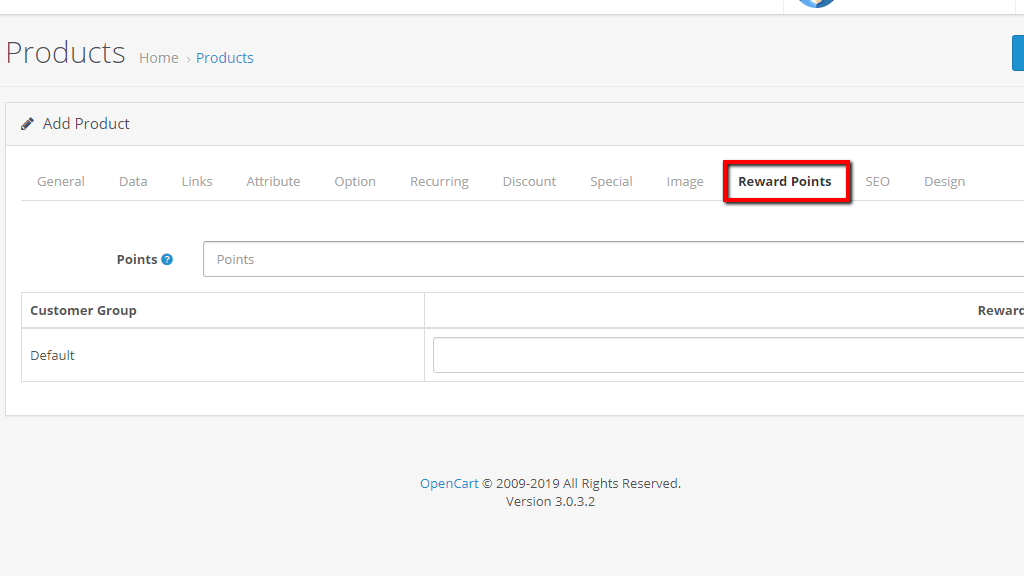
In the first “Points” field you will need to specify how many reward points will be required from your customers in order to purchase this product. In the section below, you will need to select the customer group suitable for earning reward points and the number of points that will be earned after purchasing the product.
Under the “SEO” tab, all you will need to specify is the SEO URL of the page. The SEO friendly URL is shorter versions of the standard URL that contain the keywords describing the product.
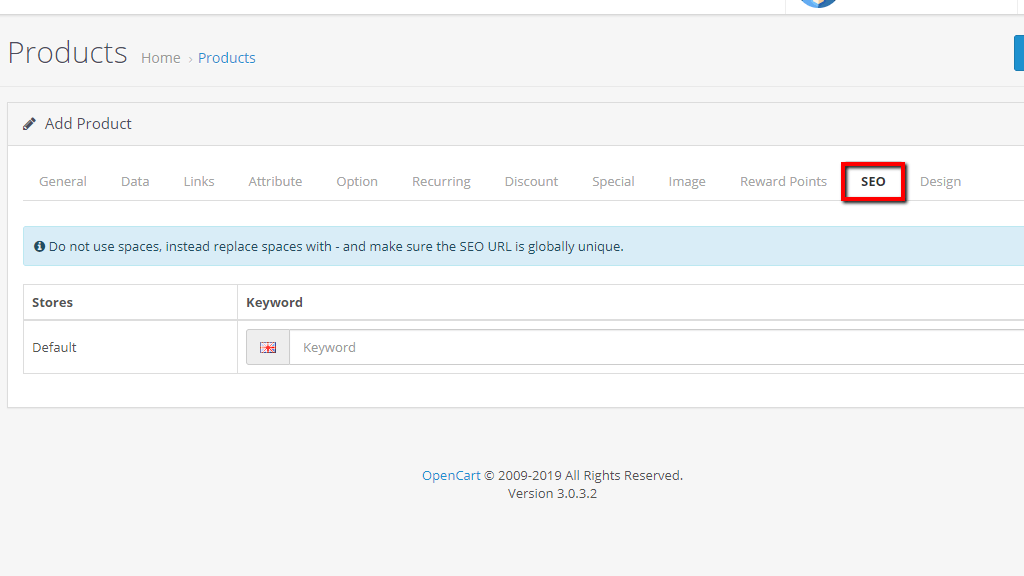
When entering the keywords, please make sure to replace spaced with dashed (-) wherever needed.
From the last “Design” tab, you will be able to select a different layout for the product page if needed.

Once you are ready, please click on the blue “Save” button in order to create your new product. When this is done we would recommend you double-check the product on the storefront just to confirm everything appears as intended. Fingers crossed you will be pleased with the result.
As you have probably noticed, the process of adding products in OpenCart is quite intuitive and straight to the point. Therefore, we hope that you have managed to easily follow our instructions and successfully create your new product. In case you have any additional questions, please do not hesitate to contact our Support Team.

Sebahat is a young and bright woman who has become an invaluable part of our team. She started as a Customer Care Representative, mastering that role and, along the way, growing into a tech-savvy individual who is well acquainted with every support layer of the company. Driven by her aim to improve our customers’ experience constantly, she is committed to enhancing the extraordinary support we deliver.
Learn more about Opencart 3 in the other tutorials that we have: