Introduction
In this tutorial, we will guide you on how to set up the “Catalog” Settings of your Magento Online Store. We will focus on the general parts of the “Catalog” settings considered as essential for your store customization. If you are ready, let’s jump right into it!
Getting Started
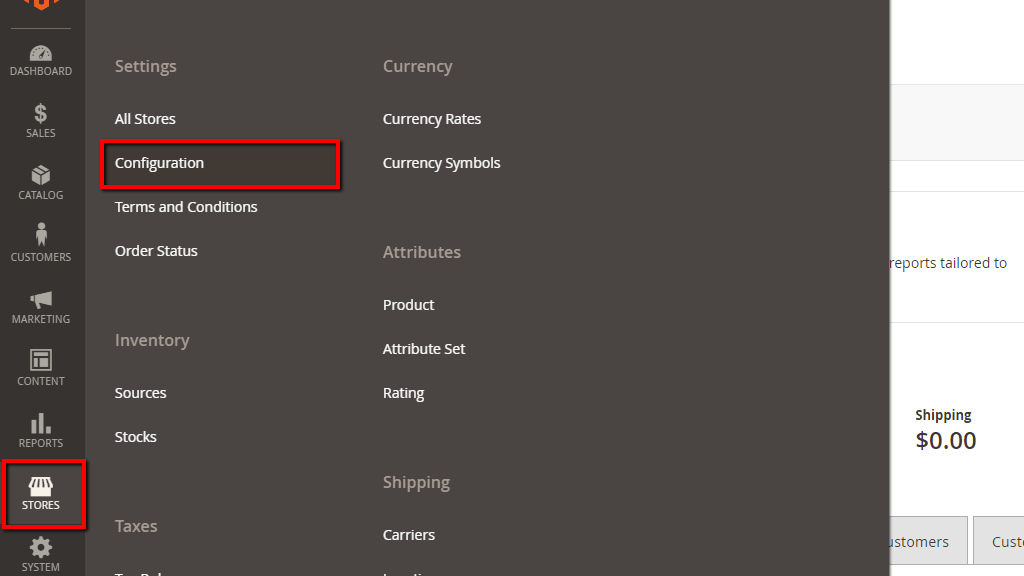
In order to being, please log in to your Magento Admin Dashboard and navigate through the left menu bar to Stores > Configuration.
Once you access the “Configuration” page, please switch to the “Catalog” section under the “Catalog” tab.
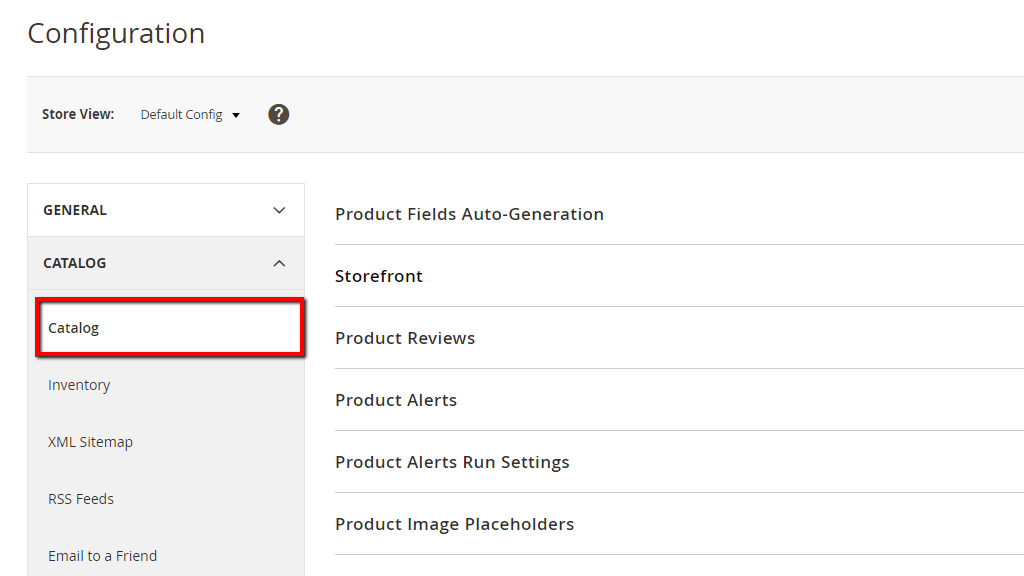
You will notice that the “Catalog” section is split into multiple subsections. We will explain all the settings available and we will pay attention to the main catalog settings that you might want to customize.
Product Fields Auto-Generation
Please click on the first “Product Fields Auto-Generation” subsection in order to expand it. You will notice that all the fields contain autogenerated placeholder values which are created for your convenience, however, if you want to enter your custom values you can do it for each of the settings by unticking the corresponding “Use System Value” checkbox.
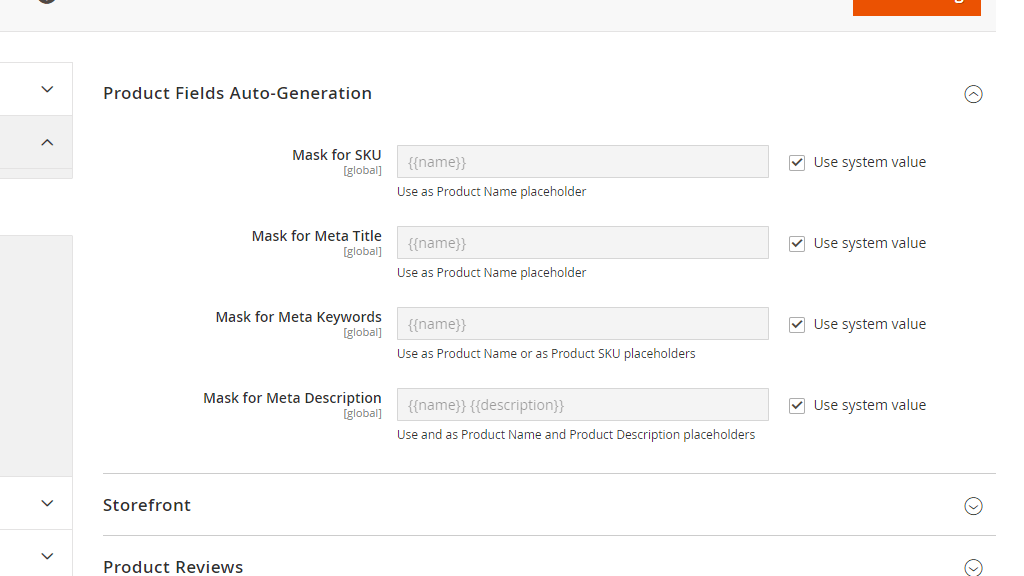
- Mask for SKU - This setting will allow you to determine the default value for the Stock Keeping Unit (SKU) field based on other placeholder value fields and additional text included.
- Mask for Meta Title - This setting will allow you to determine the default value for the Meta Title field based on other placeholder value fields and additional text included.
- Mask for Meta Keywords - This setting will allow you to determine the default value for the Meta Keyword field based on other placeholder value fields and additional text included.
- Mask for Meta Description - This setting will allow you to determine the default value for the Meta Description field based on other placeholder value fields and additional text included.
Storefront
Under the second “Storefront” subsection you will find the settings which will allow you to customize the actual look of the product catalog on your website’s frontend. Please, click on the subsection in order to expand it and let’s review the settings available under it.
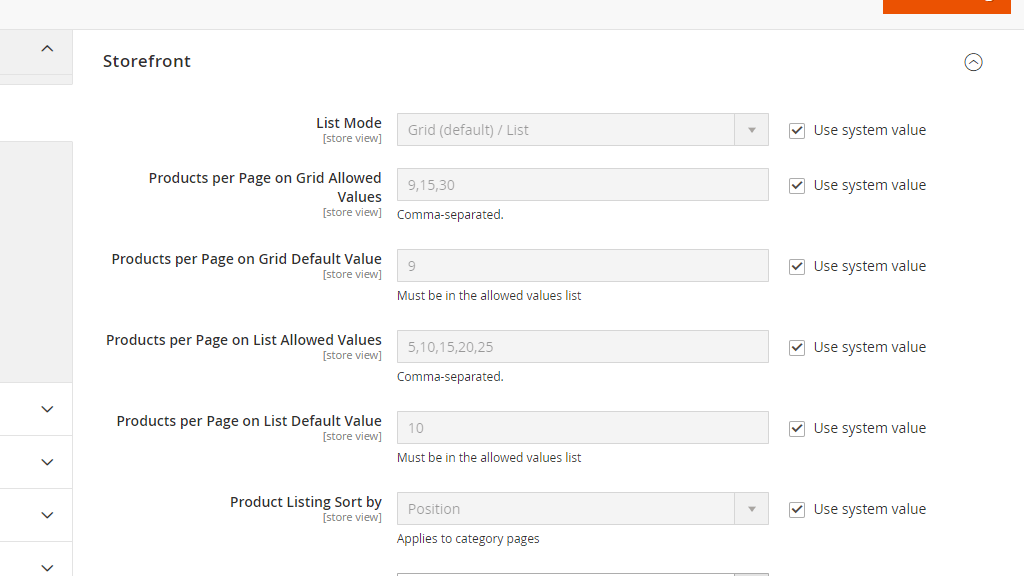
- List Mode - This setting determines how your products are listed. As you will notice, by default it is set to “Grid (default) / List” where the “Grid” view is the default one, but your customers will be able to switch it to the “List” view. With the “Grid” view your products will be listed into three columns, while with the “List” view they will be listed in a single column.
- Products per Page on Grid Allowed Values - This setting will allow you to control how many products are listed per page for the “Grid” view. The default value is set to “9,15,30” which means your customers will be able to choose between these three values. If you would like to change it, please keep the format and make sure to separate the values with commas (,).
- Products per Page on Grid Default Value - This setting will allow you to determine the default number of products listed for the “Grib” view.
- Products per Page on List Allowed Values - This setting works just the same as the above-described one, but it is applicable for the “List” view.
- Products per Page on List Default Value - The same goes here as well for the “List” view.
- Product Listing Sort by - This setting determines the default sort order of your products. From the dropdown menu, you will be able to select between “Position”, “Product Name”, and “Price”. Visitors who are browsing your products will be able to change the default product order from a dropdown menu available on the page.
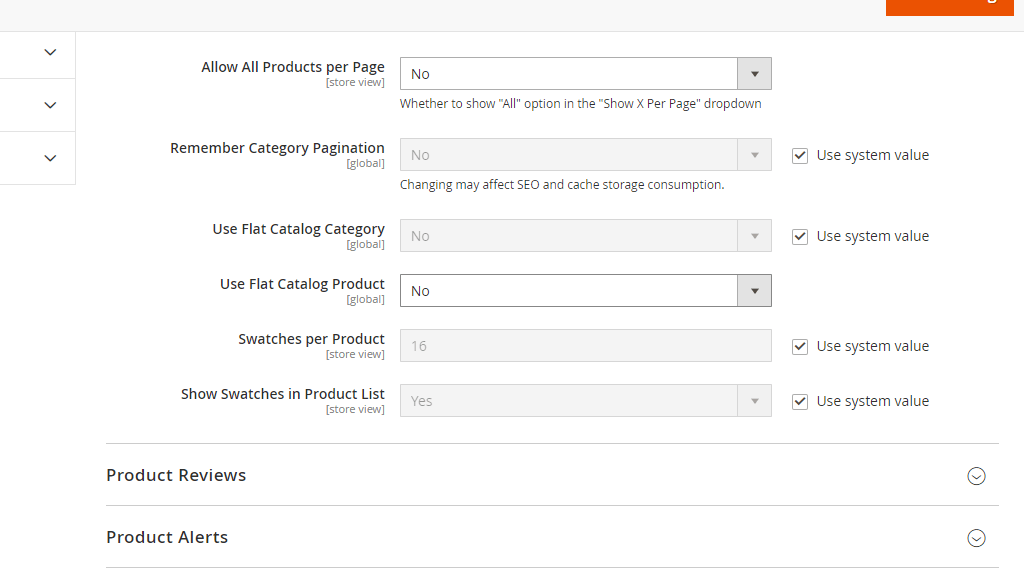
- Allow All Products per Page - If set to “Yes” an additional “All” option will be included in the “Show per Page” dropdown menu and your customers will be able to list all your products on a single page.
- Remember Category Pagination - Enabling this setting will save your visitors’ preferences that determine the number of products displayed per page for the current category.
- Use Flat Catalog Category - Usually, Magento stores category data in multiple database tables, enabling this setting will create new tables where each table row will contain all the necessary category information. Please, note that enabling this option is not recommended for live websites. Also, if you decide to enable it, you will need to reindex your data by going to System menu > Index Management.
- Use Flat Catalog Product - This setting works exactly the same as the above-described one but for product data instead.
- Swatches per Product - This setting will allow you to control the number of swatches available per product.
- Show Swatches in Product List - This setting will allow you to control whether or not swatches are displayed under your product lists.
Product Reviews
Please, expand the following “Product Reviews” subsection.
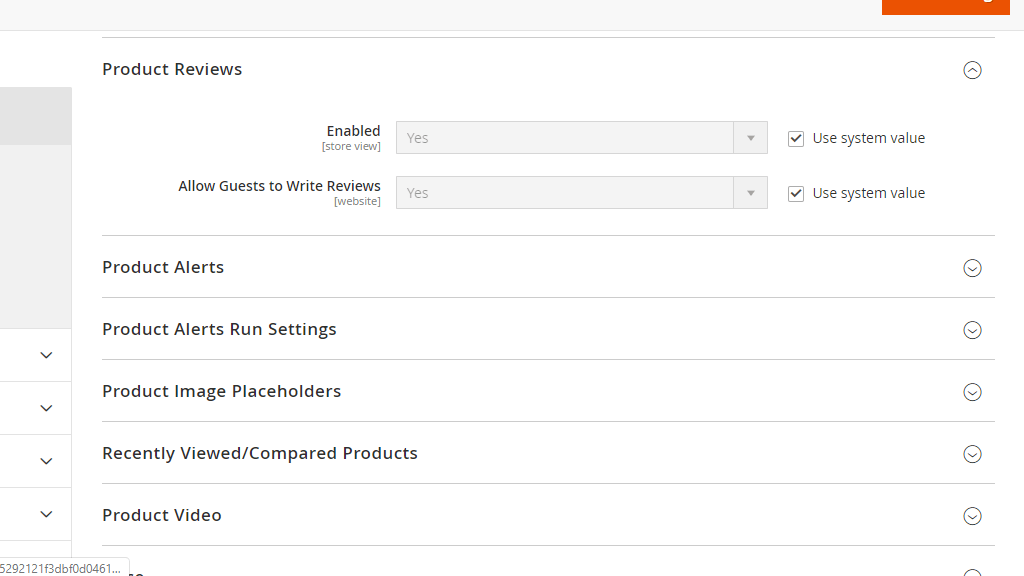
- Enabled - This setting allows you to control whether reviews are enabled or disabled for your products. If you would like your customers to be able to leave reviews for your products, please leave it set to “Yes”, either way, please select “No” from the dropdown menu.
- Allow Guests to Write Reviews - In case you would like to restrict non-registered customers to be able to leave reviews on your products, please make sure to set this setting to “No”.
Product Alerts
Next is the “Product Alerts” subsection. Here you will find settings related to product notifications. Magento provides functions that can be configured to send email alerts to customers who signed up for them.
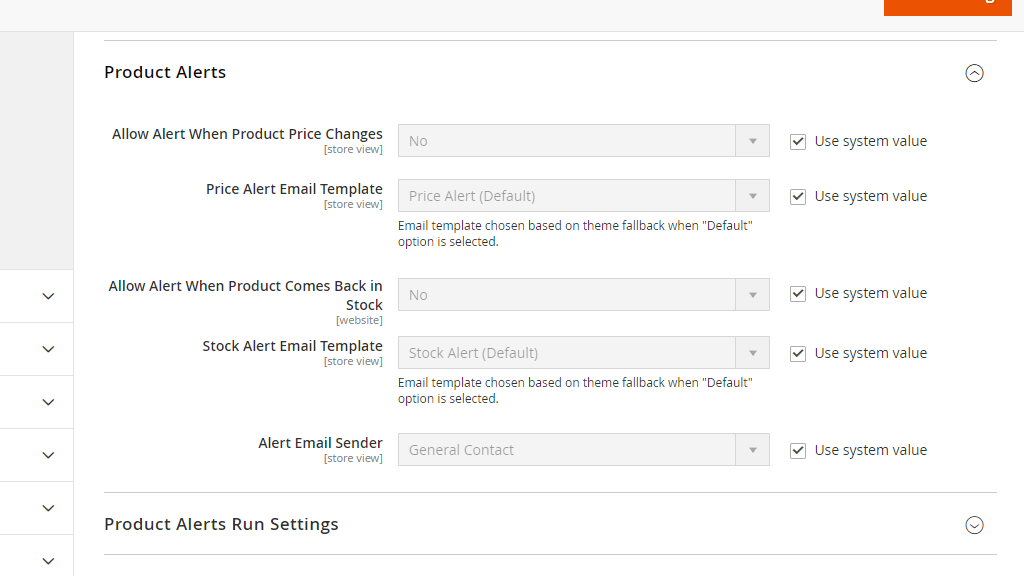
- Allow Alert When Product Price Changes - This setting determines whether email notifications are sent upon product price changes.
- Price Alert Email Template - From this dropdown menu you can select the email template for the product price change alert email in case it is enabled.
- Allow Alert When Product Comes Back in Stock - From this setting, you can enable email alerts sent once products out of stocks are available again.
- Stock Alert Email Template - From this dropdown menu you can select the email template for the products back-in-stock alert email in case it is enabled.
- Alert Email Sender - This setting determines the sender of the email notifications. The selected email address will appear under the “From” field in the email notification.
Product Alerts Run Settings
Following is the “Product Alerts Run Settings” where you will be able to control the product alerts you have decided to enable.
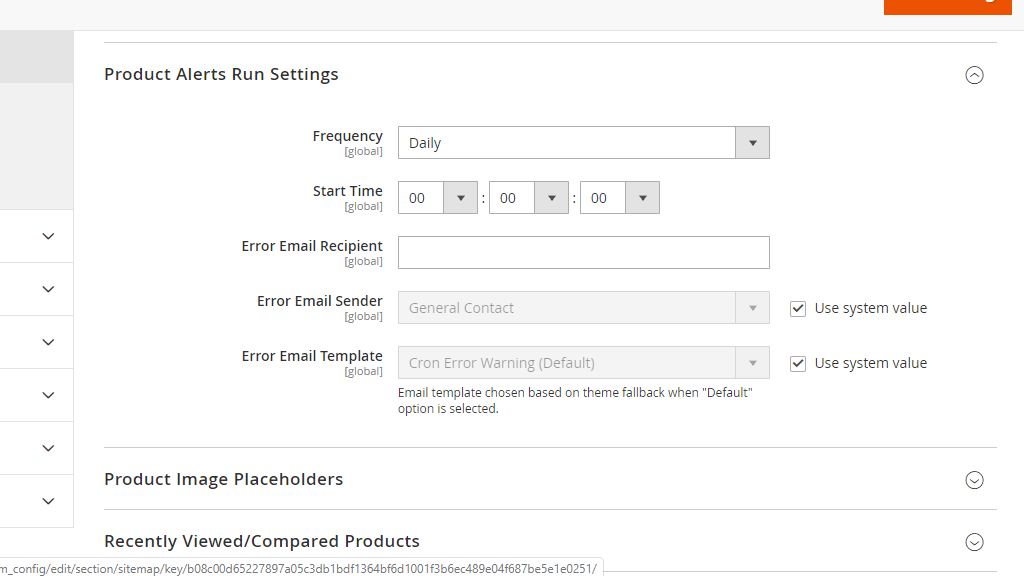
- Frequency - From this dropdown menu you can select how often the email alters for product changes are being sent. By default, the setting is set to “Daily” which means that every day your customers will be notified in case the products they have signed up for had any price changes or are back in stock.
- Start Time - This setting will allow you to determine the exact time when the alert process will start.
- Error Email Recipient - Under this field, you can specify the email address where notifications will be sent in case there is any failure with the product alerts process.
- Error Email Sender - Here you will need to specify the sender of these error notifications.
- Error Email Template - This setting will determine the template of the email notification sent whenever an error occurs.
Product Image Placeholders
From this section, you can select images that will be used as placeholders for your products. You can choose the “Base”, “Small”, “Swatch”, and “Thumbnail” placeholder images.
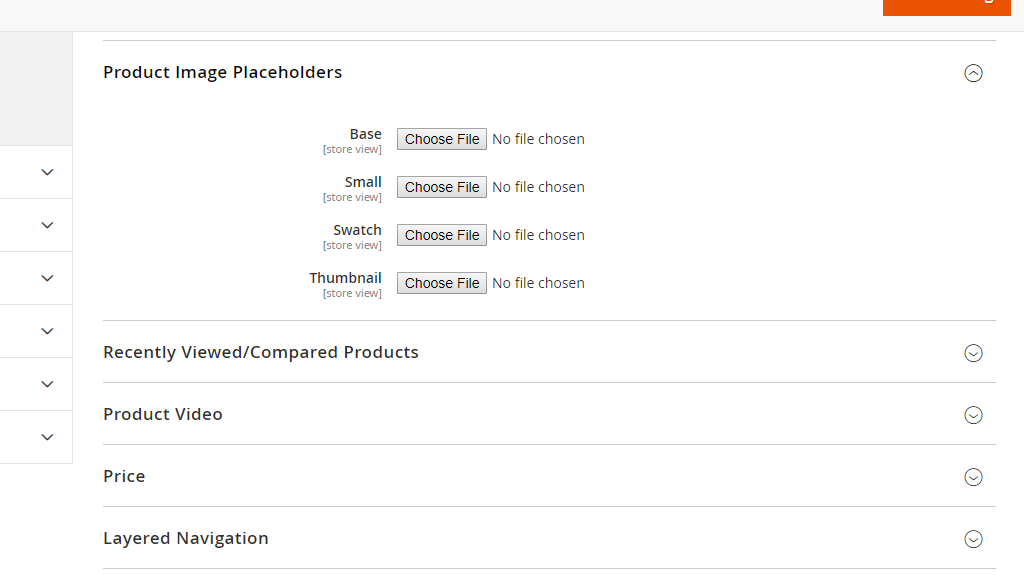
Please click on the “Choose File” button for the corresponding type and select the desired image from your local computer. Once your file is selected and saved you will be presented with an additional “Delete Image” checkbox which will allow you to remove the image in case it is no longer needed.
Recently Viewed/Compared Products
Under the following section, you will be able to configure the settings that control recently viewed and compared products by your customers.
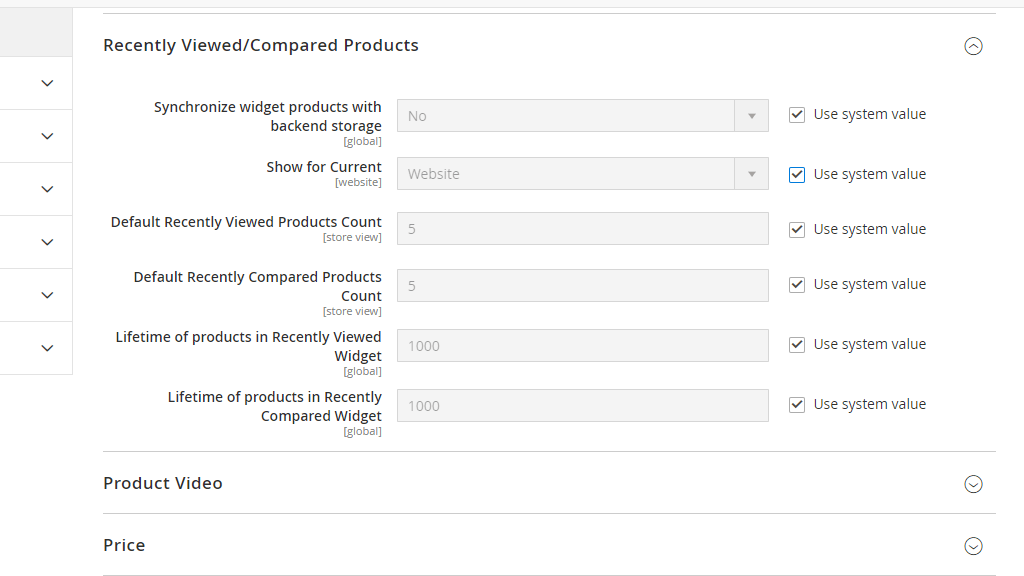
- Synchronize widget products with backend storage - This setting determines whether the products shown will be synchronized with your current product storage availability.
- Show for Current - This setting will allow you to determine the scope of the products shown. You can choose between “Website”, “Store”, and “Store View”.
- Default Recently Viewed Products Count - This setting will allow you to determine the maximum number of products shown in the viewed products list. If your customer views more products than specified here, the products initially reviewed will be replaced with the latest reviewed.
- Default Recently Compared Products Count - Works exactly the same as the above setting but it is applicable to the compared products list.
- Lifetime of products in Recently Viewed Widget - This setting determines how long the products viewed will be shown in the recently viewed list.
- Lifetime of products in Recently Compared Widget - Works exactly the same as the above-described setting but it is applicable to the recently compared products list instead.
Product Video
Under this subsection, you will be able to include a Product Video if needed.
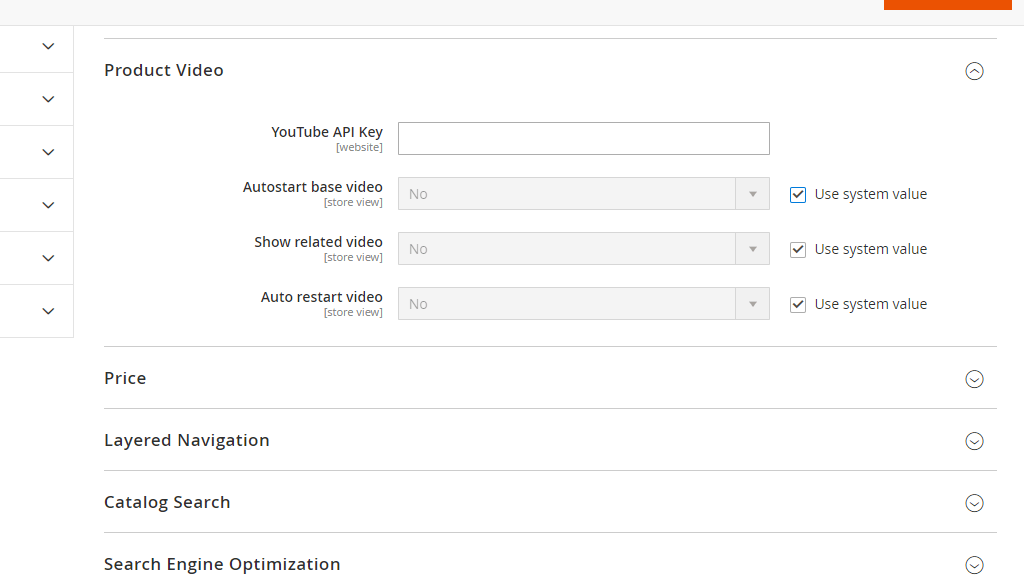
- YouTube API Key - Under this field you will need to specify your YouTube API Key. If you are not certain how to obtain it, you can follow the steps available HERE.
- Autostart base video - If enabled, this setting will autoplay the video you have added.
- Show related video - If enabled, this setting will display related videos to the one you have added.
- Auto restart video - If enabled, this setting will automatically replay the video.
Price
Under the “Price” subsection you will find only one setting which needs to be taken under consideration in case you are running Magento Multistore.
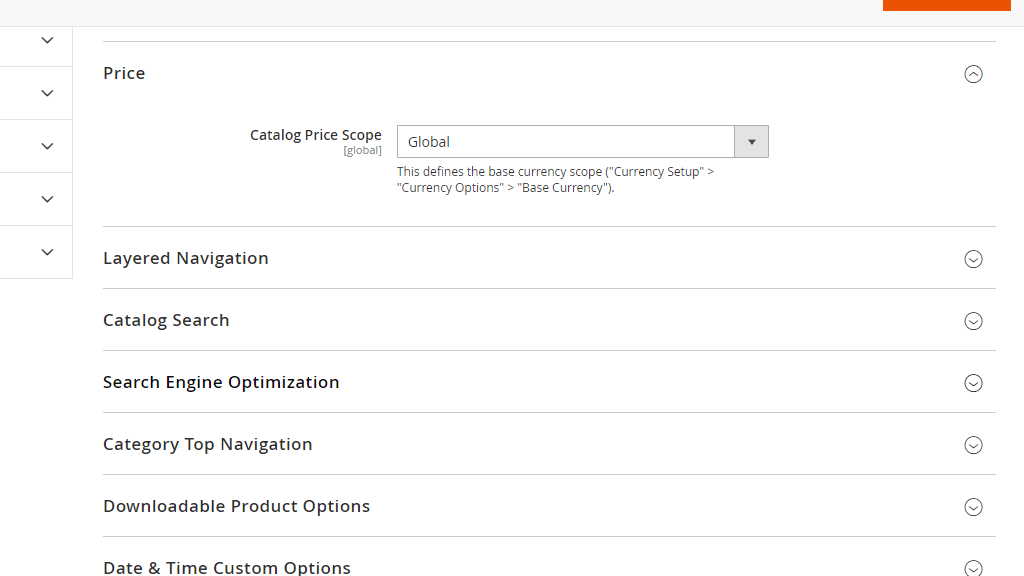
The “Catalog Price Scope” setting determines the scope of the default currency you have selected for your Magento Installation. The default “Global” option will apply that currency to all stores you have under the same installation. In case you are running a few stores, you can set it to “Website” and separately configure the desired currency for each of them.
Layered Navigation
From this subsection, you will be able to control the settings for your layered navigation block.
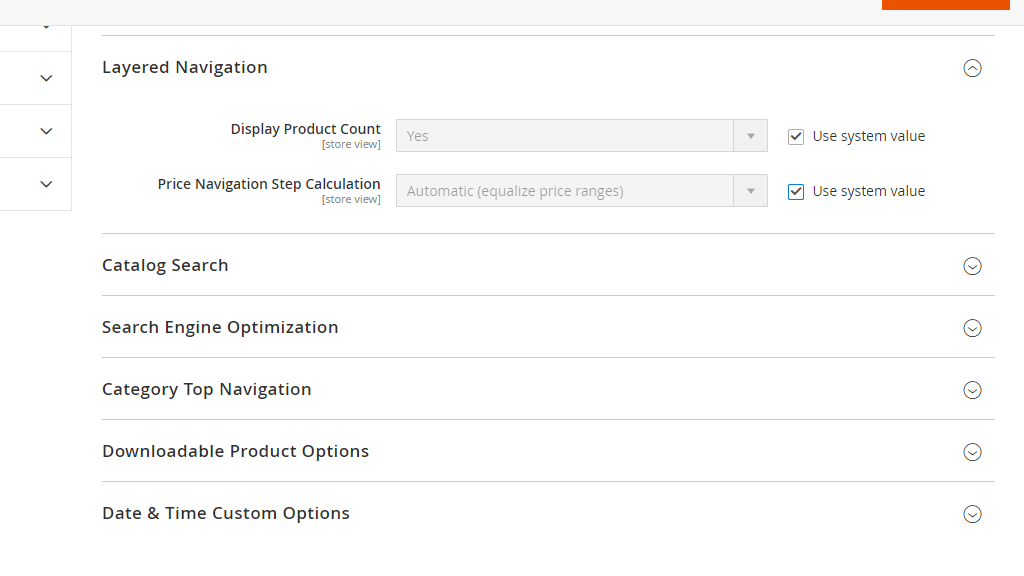
- Display Product Count - If this setting is enabled, the number of products under a specific category, attribute, etc. will be shown at the top of the page. If you would like to disable the count, please select “No” from the dropdown menu.
- Price Navigation Step Calculation - This setting will allow you to control the method used for the price navigation step. As you will notice by default this setting is set to “Automatic (equalize price range)” which means it will be based on the price range of the products in the selected group of products. You can also choose “Automatic (equalize product count)” where instead of the price the number of products is taken under consideration when creating the product ranges. If you select this option two additional fields will appear where you will need to determine if you want the price intervals to be displayed as one price as well as the interval division limits. The third “Manual” option will allow you to manually configure price navigation steps and the maximum of intervals included.
Catalog Search
Please, expand the following “Catalog Search” subsection and let’s review the settings available under it.
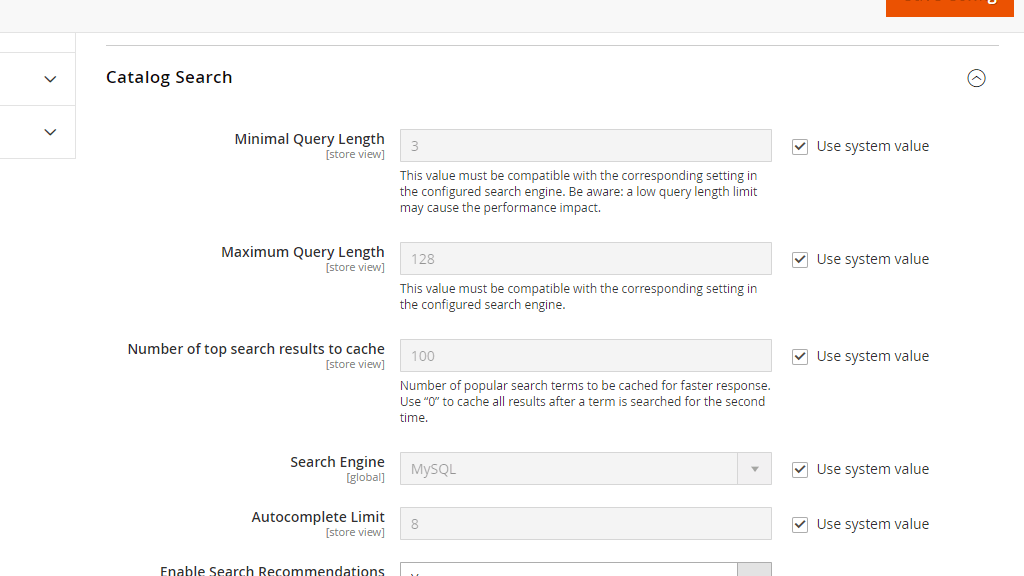
- Minimal Query Length - This setting will allow you to control the minimum number of required characters for a product search in your catalog.
- Maximum Query Length - Respectively, under this setting, you can specify the maximum number of characters allowed for a product search.
- Number of top search results to cache - Under this setting, you can specify the number of popular search terms to be cached resulting in a faster response for future searches. If set to 0, all terms will be cached.
- Search Engine - This setting determines the search engine used to process requests for catalog searches. By default, Magento is set to “MySQL” search engine which improves the indexation speed. Magento also includes “Elasticsearch”, which is deprecated as well as “Elasticsearch 5.0+” and “Elasticsearch 6.0+”.
- Autocomplete Limits - This setting will allow you to control the maximum search results displayed for an autocomplete search.
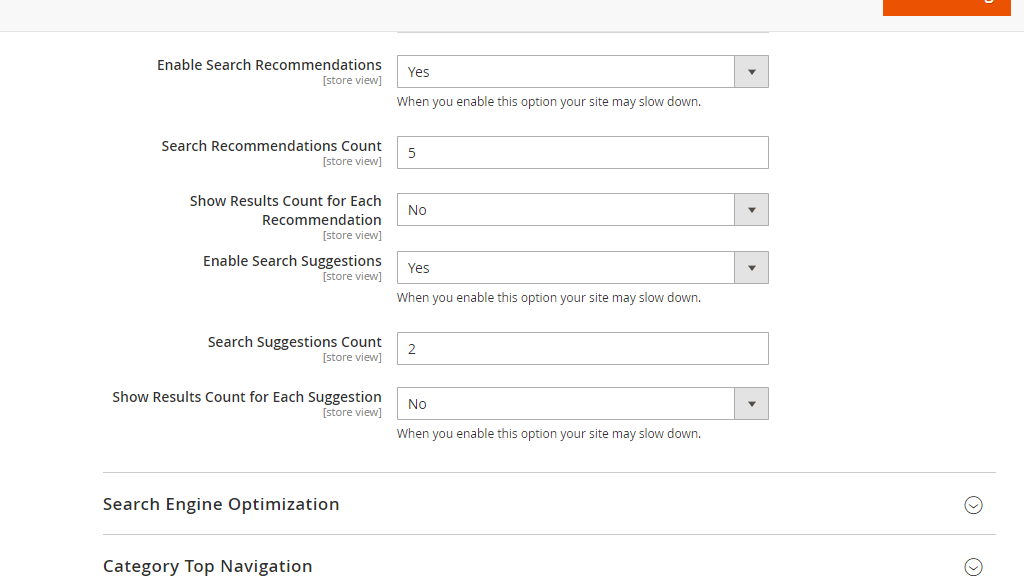
- Enable Search Recommendations - If enabled, this setting will display product recommendations for searches with no results.
- Search Recommendations Count - This setting will allow you to control the number of recommendation terms used for searches with no results.
- Show Result Count for Each Recommendation - This setting will allow you to control whether the number of search results is displayed for each recommendation.
- Enable Search Suggestions - If enabled, this setting will display product suggestions for searches with no results. For example, for commonly misspelled terms.
- Search Suggestions Count - This setting will allow you to control the number of suggestion terms used for searches with no results.
- Show Results Count for Each Suggestion - This setting will allow you to control whether the number of search results is displayed for each suggestion.
Search Engine Optimization
Please expand the following “Search Engine Optimization” subsection where you will find some general settings related to your SEO.
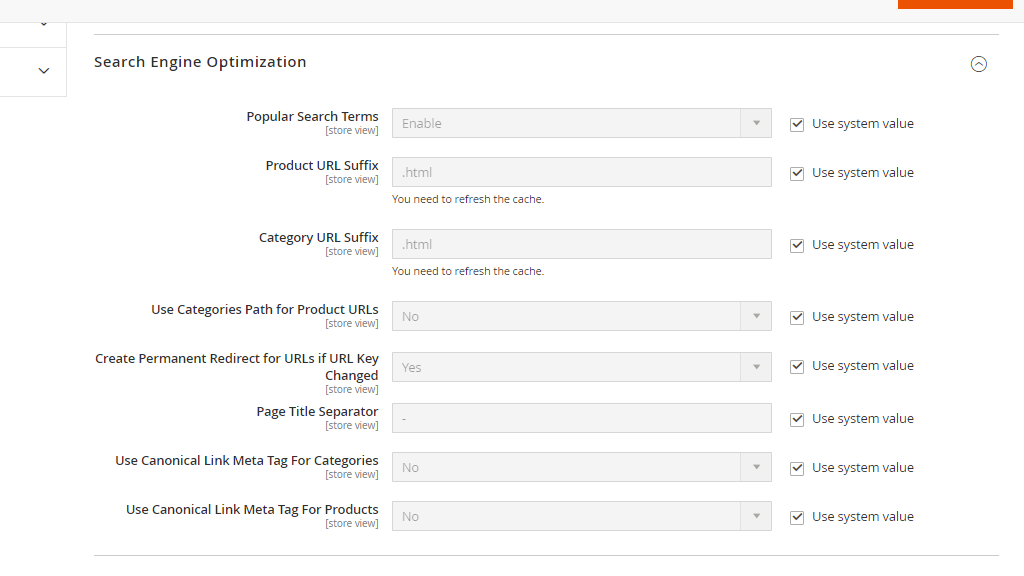
- Popular Search Terms - As you will notice this setting is enabled by default - it will implement popular search terms from searches executed by your visitors.
- Product URL Suffix - This setting determines the suffix applied to your product URLs (e.g. yourdomain.com/category/product.html). In case, you need to change it, please apply the suffix only, without a period (.) as it will be automatically generated.
- Category URL Suffix - Works exactly the same as the above-described setting, but it is applicable to your category URLs instead.
- Use Categories Path for Product URLs - This setting control whether the category path is included in the product URLs (e.g. yourdomain.com/category/product/). If the product in question falls under multiple categories, it will be accessible by separated URLs associated with each of the categories.
- Create Permanent Redirect for URLs if URL Key Changed - When you are adding products and categories Magento automatically creates URL keys for them. If enabled this setting will automatically create a Permanent Redirect in case the old URL key has changed.
- Page Title Separator - This setting determines the character which separates the category name and the product name in the browser title bar in case no meta title is specified. Please note that this is not related to the URL address but the browser title bar. If you leave the default hyphen (-) character the Page Title will appear as “Product - Name”.
- Use Canonical Link Meta Tag For Categories - Canonical meta tags are used to identify the URL address that needs to be indexed by search engines in case there are multiple URLs pointing to the same category. Enabling the use of canonical meta tags will positively improve your SEO.
- Use Canonical Link Meta Tag For Products - The description above applies to this setting as well, but for URLs associated with your products instead.
Category Top Navigation
Under this subsection, you will find only one setting which allows you to control the depth of the subcategories displayed by the top navigation bar.
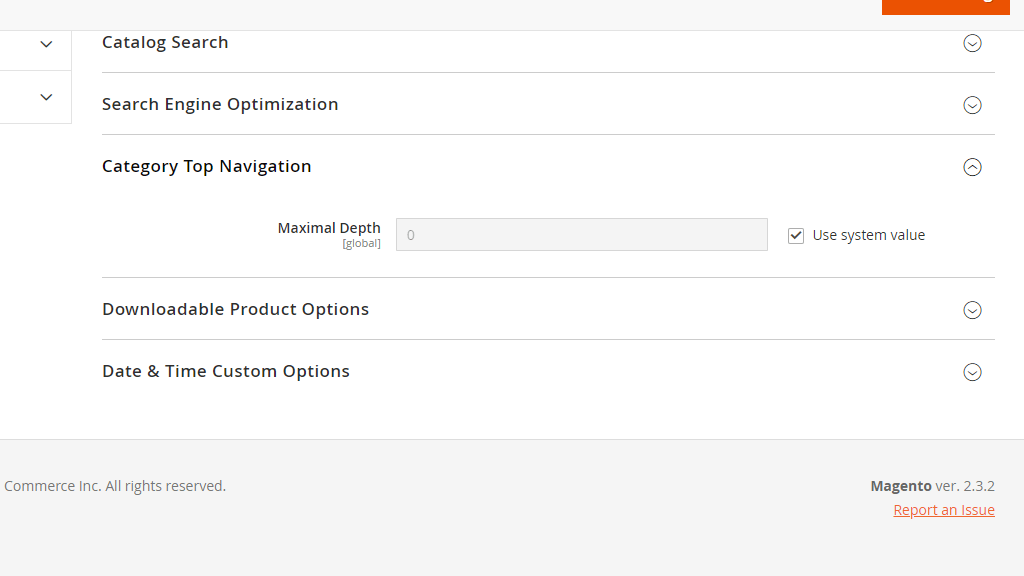
As you will notice the default “Maximal Depth” is set to “0” which applies no limits. In case you would like subcategories to be displayed to a certain level, for example, only to 3 subcategories parented under the main one, please make sure to specify the value under the field.
Downloadable Product Options
Under this subsection, you will be able to configure the general settings for your Downloadable Products. “Downloadable” are products that are provided in a downloadable file format, such as digital products.
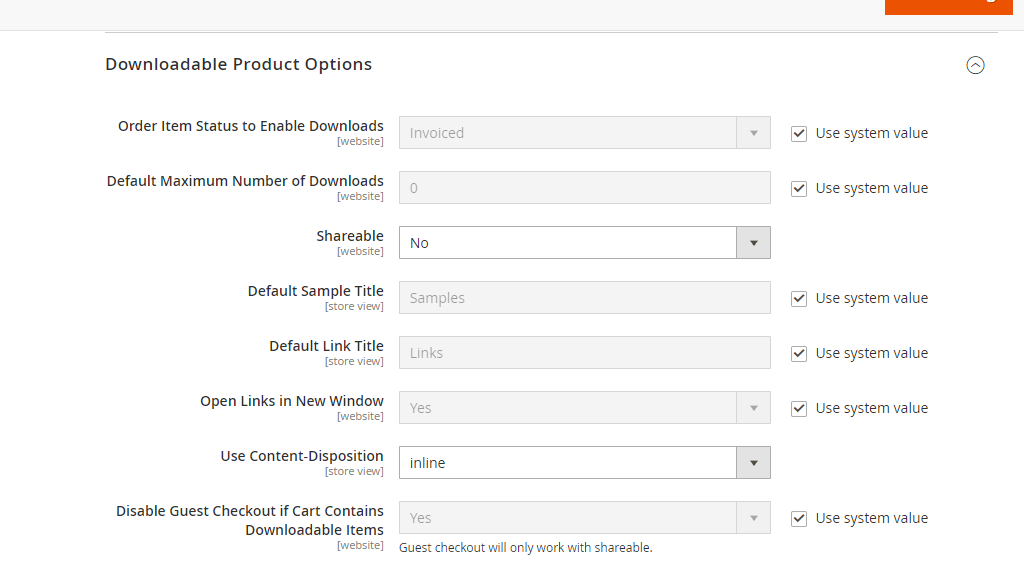
- Order Item Status to Enable Downloads - From this setting, you can select the status of the order determining the order as completed. Once this status is applied to the order the customer will be able to obtain the downloadable product(s) they have purchased.
- Default Maximum Number of Downloads - This setting will allow you to control the number of times the product(s) can be downloaded.
- Shareable - This setting will allow you to control whether the downloadable link can be accessed by guest visitors. In case you have decided to enable guest checkout for downloadable products you might want to enable this setting as well. Either way, the downloadable link will be accessible for registered customers only.
- Default Sample Title - Under this field, you can enter a predefined title of your downloadable sample products. You will be able to give a custom title upon adding a downloadable product.
- Default Link Title - Similarly, here you can specify a predefined link title for all your downloadable product links.
- Open Links in New Window - This setting determines whether the downloadable link is open in a new browser window or in the current window.
- Use Content-Disposition - This setting will allow you to control how the downloadable files are provided to your customers. By default, it set to “inline” which means the link will be displayed in a browser window. If you select the “attachment” option your customers will be provided with an email attachment containing the downloadable link.
- Disable Guest Checkout if Cart Contains Downloadable Items - By default downloadable products can be purchased only by registered customers. In case you would like to allow guest checkouts, please make sure to set this setting to “Yes”.
Date & Time Custom Options
Now, please expand the last section where you will be able to configure your preferences in regards to the date and time settings of your store.
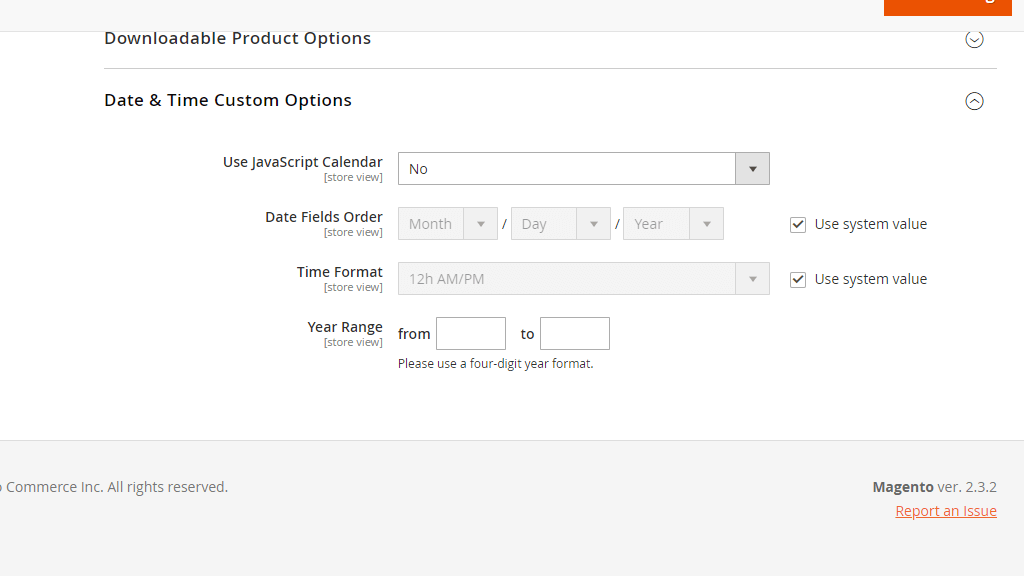
- Use JavaScript Calendar - From this setting, you can select whether the JavaScript calendar is used to control inputs in the data fields.
- Date Fields Order - This setting will allow you to control your date format. As you will notice it is set to (MM/DD/YYYY), if needed you can always change it by selecting the respective values from the dropdown menus.
- Time Format - This setting will allow you to control the time format of your store. You can choose between the “12h AM/PM” and the “24h” formats.
- Year Range - This setting will allow you to control the first and last years your customers will be able to select from the “Year” dropdown on your store’s frontend. Please make sure to enter the year in a four-digit format (.e.g. 2019).
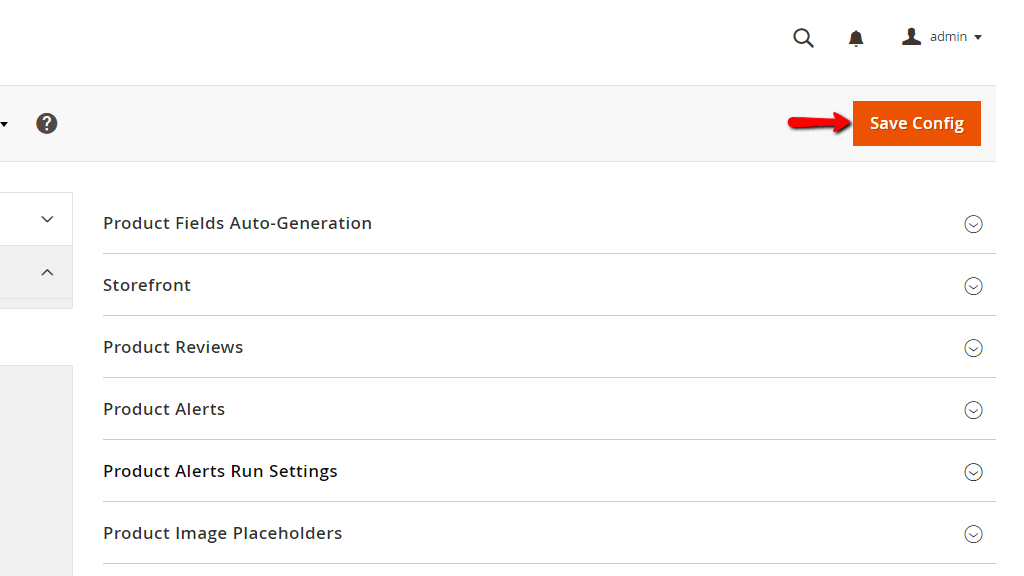
Finally, once you are ready with all your catalog settings, please do not forget to click on the “Save Config” button at the top right end of the page in order to record your changes.
Congratulations! You have now successfully configured your Magento Online Store’s “Catalog” settings. We hope you have not experienced any difficulties following our guidance and you have managed to easily set up all your preferences. In case you have received any error messages, please do not hesitate to contact our Support Team for further review.

