
Learn Prestashop 1.7
PrestaShop enhances its functionalities by providing you with the option to additionally install functional components called modules. Those are small installable programs, thanks to which you can extend your Online Store and in this tutorial, you are going to learn how to fully manage them.
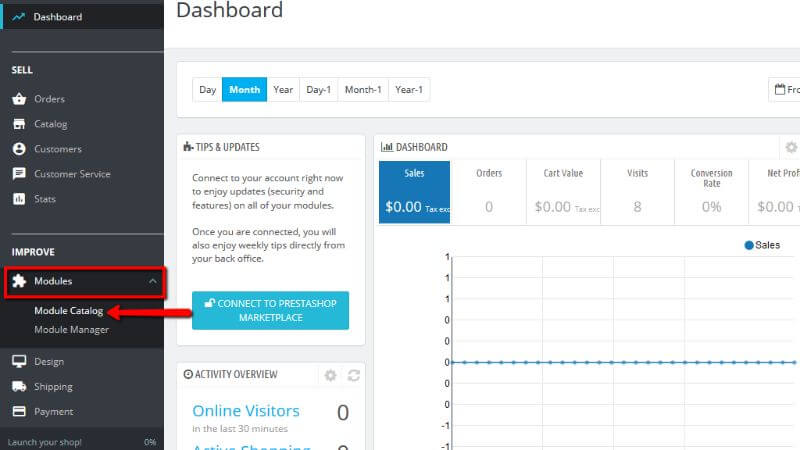
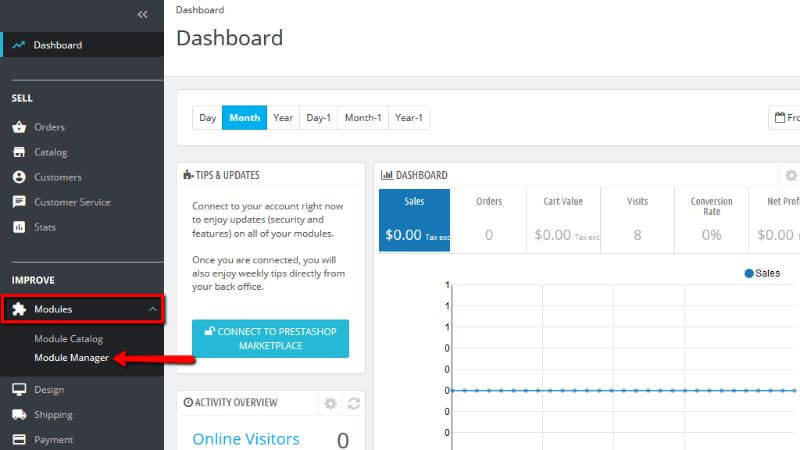
In order to install, enable, disable, or in other words to fully manage the modules of your Online Store, you will have to log in to the Admin area of Prestashop and from the left vertical navigation menu to look for the “Modules” option. When you find it, please, click on it. A drop-down menu will appear with the following options:
To be able to install a module, please, click the “Module Catalog” option.
You will be redirected to a page called “Module Catalog”.
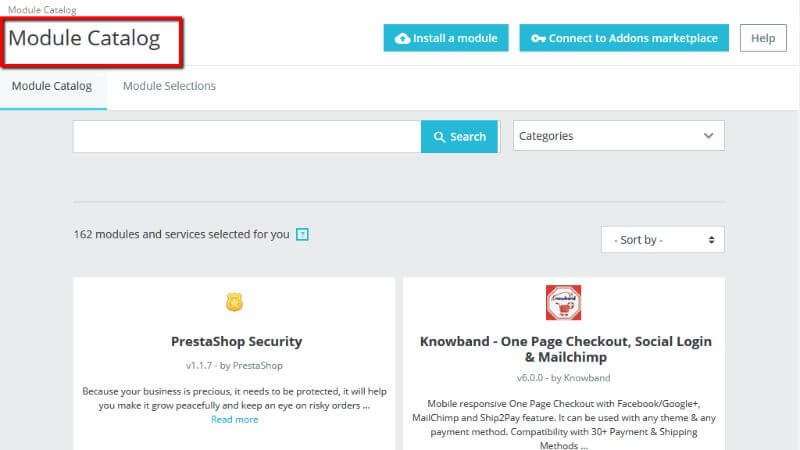
On that page you will be provided with many different modules - some of them free and others licensed under paid license. For the free modules, you should immediately see the “Install” button while for those requiring additional payment you will see the “Discover” button.
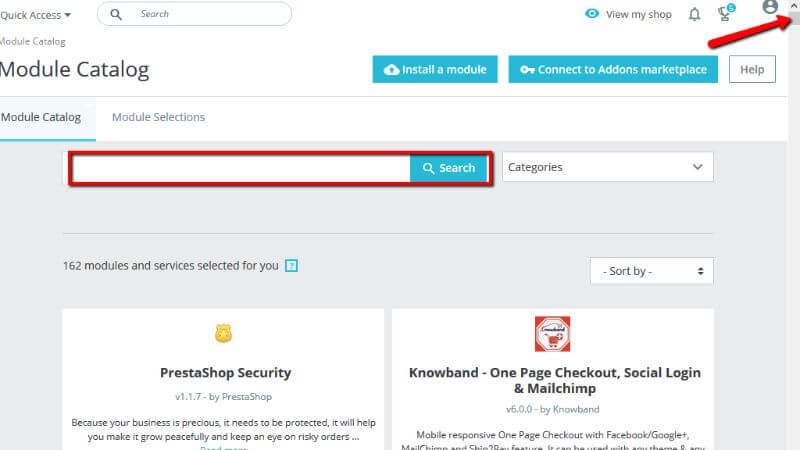
You can scroll down in order to see the offered modules or you can use the “Search” bar to quickly find the module you would like to add to your Online Store.
When you find the desired module, if it is free, you will see an “Install” button at the bottom of the module.
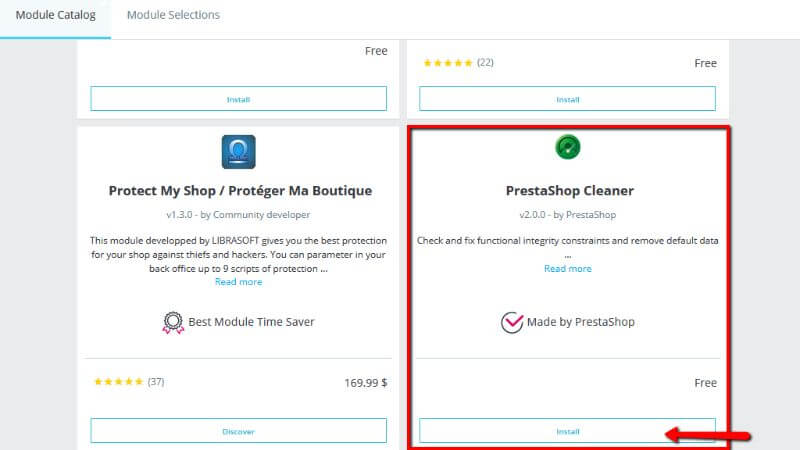
Let’s take for example the “PrestaShop Cleaner” module. This module is used to clear your default Prestashop installation from the sample data it has.
The moment you install the module and refresh the page, the module will disappear since it will be transferred to the “Module Manager” page. In other words, all installed modules are managed under the “Module Manager” page, while all other modules are available under the “Module Catalog” page.
To reach the “Module Manager” page, look for the “Module” option again in the left vertical navigation menu of the Prestashop Admin Area. When you find it, please, click on it, but this time from the drop-down menu click the “Module Manager” option.
That action will redirect you to a page called “Module Manager”.
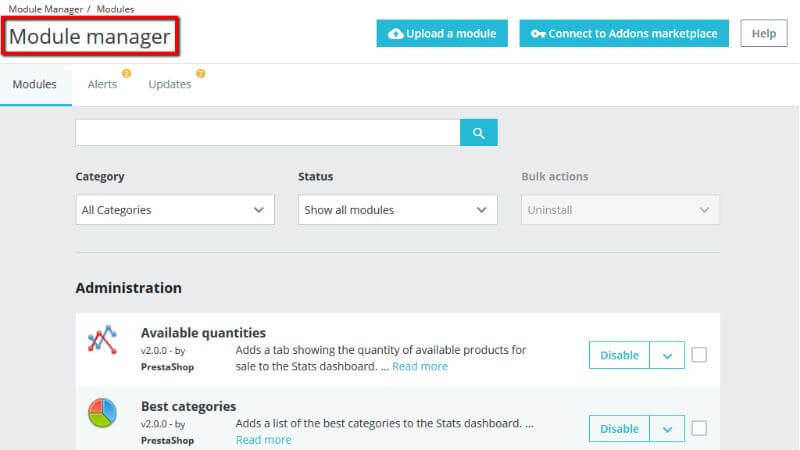
O that page you will be presented with all the already installed modules on your Online Store.

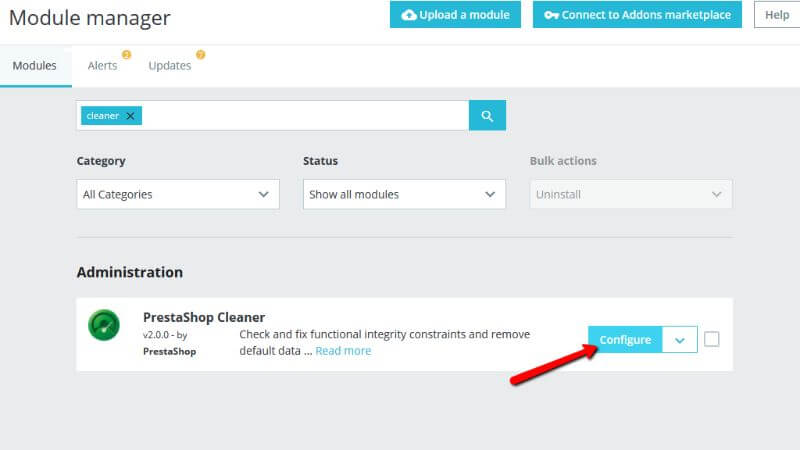
To configure the desired module, please, first find it in the list.
You are going to learn detailed information about the configuration of the “PrestaShop Cleaner” module. However, the process of configuring any other module might vary depending on the module’s configuration options.
Next, to each of the installed modules, you will see a button with an arrow for a drop-down menu.
When you find the “PrestaShop Cleaner” module, please, click the “Configure” button right next to the module itself.
When you click it, you will be redirected to the actual configuration page.

More options, when it comes to module management, you can find on the additional menu available on the drop-down menu right next to the “Configure” button.
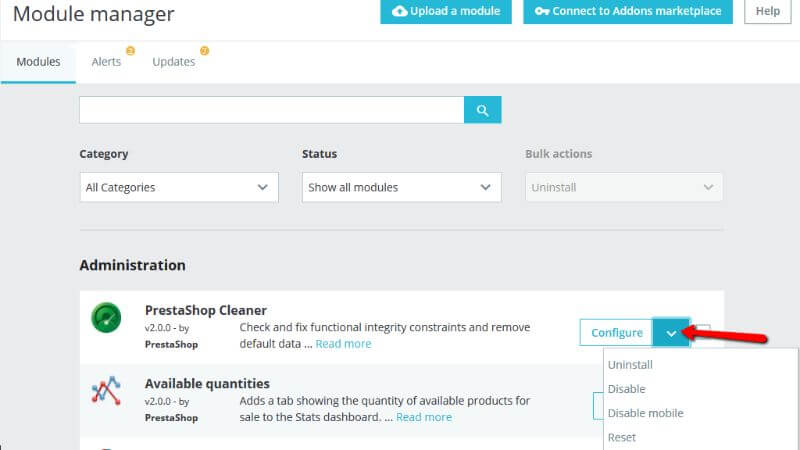
The options available on the drop-down menu are as follow:
Since you already know how the options for the modules work, you can easily manage the module by your likes and also to delete it if necessary.
Congratulations! Today you learned how to install a module, how to enable or disable it, how to fully manage the modules for your Online Store.

Sebahat is a young and bright woman who has become an invaluable part of our team. She started as a Customer Care Representative, mastering that role and, along the way, growing into a tech-savvy individual who is well acquainted with every support layer of the company. Driven by her aim to improve our customers’ experience constantly, she is committed to enhancing the extraordinary support we deliver.
Learn more about Prestashop 1.7 in the other tutorials that we have: